FIXA wrench has an easy synthetic rubber grip that allows you to tighten, fasten and loosen the fittings, nuts, and bolts to complete your DIY projects and other necessary basic practical jobs at home.
Nevertheless, sometimes you might experience your basic Fixa wrench not working as it originally should, and it gets stuck, not allowing you to open or close the jaws of the wrench to fit the bolt or nut you are trying to tighten or lose.
Do you have an IKEA FIXA wrench stuck and can’t seem to get it loose?
This can be a frustrating problem to solve, but with a little patience and some common household tools, you should be able to fix the wrench in no time!
How to Fix IKEA FIXA Wrench Stuck?
Some simple steps you can take to unlock or loosen the Ikea Fixa wrench that is stuck and not opening according to your needs require you to have some basic household tools.
The tools that you should have beside you while you sit down to fix the stuck wrench include a lubricating material for steel surfaces, a lighter or a matchbox, a rubber hammer, and some rubber gloves that you can wear while fixing the stuck wrench to prevent any injuries due to steel rear collar and the jaws of the wrench.
Now that you have collected all the necessary tools let us get started without any further distractions.
- Turn the Rear Collar
Begin with the most obvious solution—try turning the rear collar. The rear collar is at the end of the wrench, opposite the jaws.
Sometimes when you have rolled it anti-clockwise or clockwise way too much, it gets stuck and does not roll back.
The wrench may also get stuck up if there is some obstruction in its rotating wheel. If you find any, for instance, a piece of paper, or wood shavings, you can try clearing it up too.
Another way to try opening it is by applying some pressure to the collar while rotating it clockwise.
You can give it a try twice or thrice but make sure to use rubber gloves as rolling it with your naked thumb can cause you laceration on the skins.
However, If the wrench gets stuck or the collar does not move after trying this, move on to the next step.
- Lubricate with WD-40
If turning the rear collar doesn’t work, you may need to lubricate the wrench with lubricating liquids suitable for steel surfaces. One reliable and effective lubricant is WD-40.
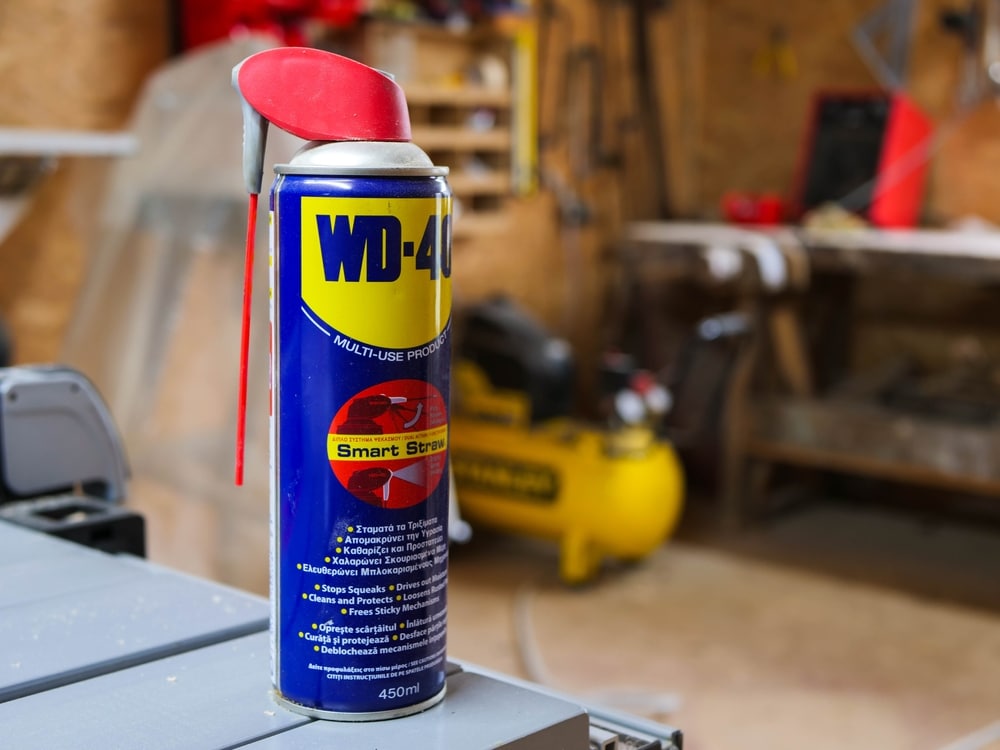
The oil was originally made to help the hinges, rollers, chains, and gears move smoothly.
It also removes any rust or debris causing the wrench to stick.
Apply WD-40 to the wrench’s jaws and also the spanner wrench’s rolling wheel from where you can get just the spanners jaw according to the but and bolt you want to work with.
After applying the WD-40, let it sit for a few minutes. It removes corrosions that may cause the wrench to get stuck, penetrates the stuck parts, displaces the debris, and lubricates almost everything.
Leave it for a while before attempting to use it again.
This solution is by far the most effective in loosening the Stuck Fixa Wrench that keeps you from completing your tasks.
- Use a Hammer
If the wrench gets stuck after trying to turn the rear collar and lubricate it with WD-40, you may need a hammer to get it loose.
The alignment of your Fixa wrench may have been forced out of normal due to overuse or if it’s not accurately placed in its Box and tossed in the tools drawer.
Improper alignment may also cause the wrench to get stuck and not work properly.
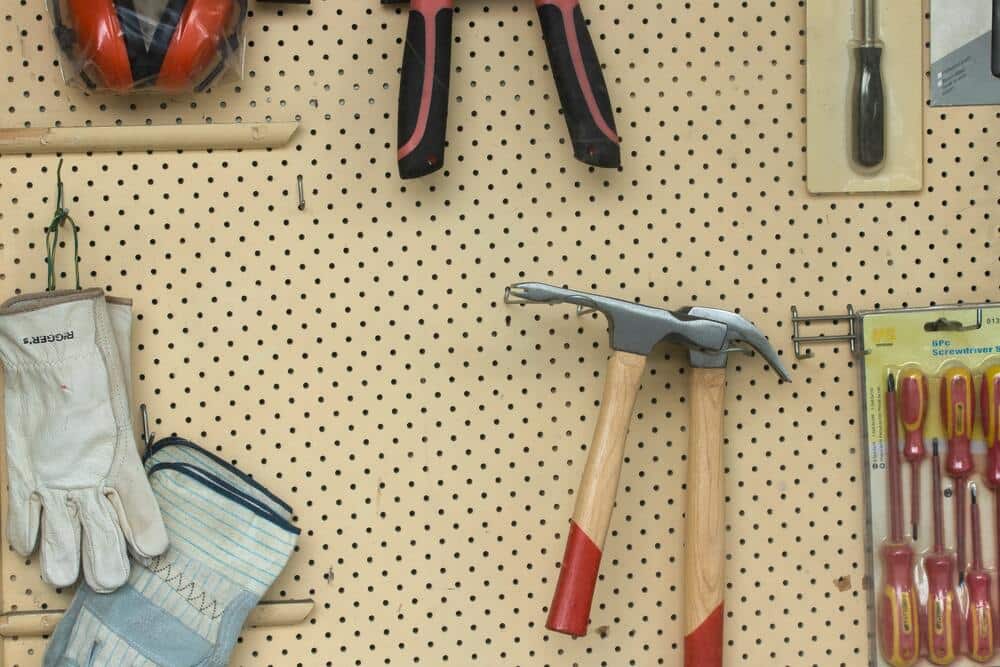
To correct it, place the wrench over some hard surfaces and tap with a hammer to restore the alignment from either end.
After that, keep the wrench jaws over the object you are trying to loosen. Consider gently tapping the end of the wrench with a hammer until it comes loose.
This quick fix will help you solve your issue if your Fixa wrench is stuck due to poor alignment.
- Heat the Jaws
If none of the previous steps worked for you, you could try heating the wrench’s jaws with a blow dryer, heat gun, or kitchen lighter. Heating the metal up will help expand the metal outside the rolling part causing the wrench to stick up.
It will also loosen the wrench’s grip over the nut or the bolt that you are working with.
Be careful not to overheat the wrench, as this could damage it. Not only overheating may cause the steel to become very hot and may harm your skin if you accidentally touch it.
Apply heat for a few minutes before trying to use the wrench again.
Although this may not sound like one of the successful fixes, it’s not costing you money or a lot of energy, so giving it a try shouldn’t be a big deal.
If this doesn’t work for you, you can try calling IKEA customer service so they can guide you on how to fix the stuck wrench.
Another way to resolve your issue is by checking the warranty and reclaiming, considering Ikea’s terms and conditions.
- Try a Larger Wrench
If you’ve tried all of the above-explained tips and the wrench is still stuck, you may need to try using a larger wrench.
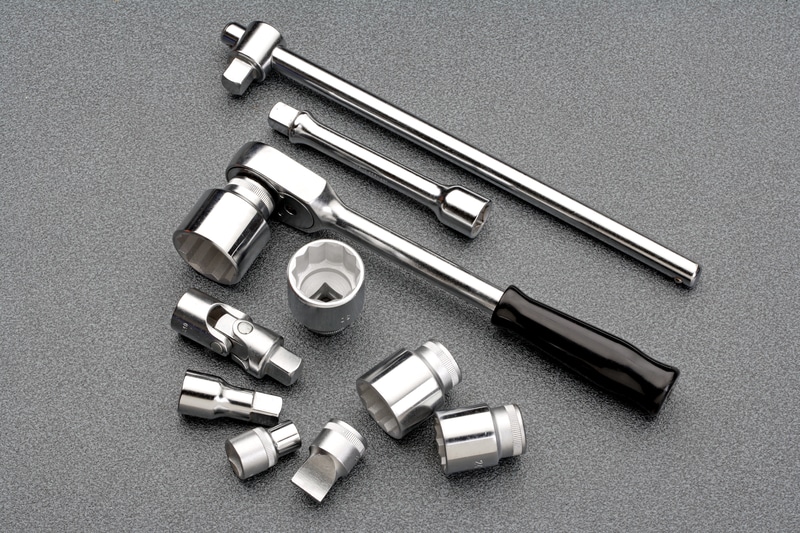
Place the larger wrench over the jaws of the stuck wrench and apply pressure while turning it in a counterclockwise direction.
Ways You Can Prevent Your Ikea FIXA Wrench from Getting Stuck
- Prefer Clockwise Movement
Finally, if you have successfully fixed your Fixa wrench spanner following the methods mentioned above, it’s time to prevent the wrench from getting stuck again in the future.
Whenever you use the wrench to loosen or tighten any nuts or bolts, always turn it in a clockwise direction when loosening or tightening an object.
This will help to avoid any damage to the wrench and keep it working properly for years to come.
- Keep It in its Box
Keeping the wrench in its Box keeps it safe and fine for longer.
If you have taken it out from its original fitting Box and kept it with other tools in a separate box, there are chances the alignment of the wrench would go wrong due to excessive pressure because of another tool.
So it’s better to keep it in its Fixa box, and even if you choose to put it somewhere else, ensure nothing heavier than the wrench rests over it or distorts its shape.
- Keep The Wrench Clean
Ensure to keep the wrench jaws and rolling part clean. After every use, you can dust off the debris or other particles that may build up over time with usage.
- Keep It Lubricated
Since it’s made up of steel, if you work with it under rain or harsh weather conditions, the wrench roller can get rust, and its mobility would be reduced, rendering the wrench dysfunctional as it will be stuck up every time you try to use it.
To prevent it, keep it well lubricated so it can provide smooth movement and keeps the rust away.
- Use a larger Wrench For Bigger Bolts.
Eventually, we would recommend you use a larger wrench for bigger bolts. If you open the jaws way too much for the bolt bigger than the wrench’s original size, it will surely get stuck.
Hence it’s better to use bigger spanners for bigger bolts
To Sum it Up:
If your IKEA FIXA wrench is stuck, don’t panic! With a little guidance and some common household tools, you should be able to fix the wrench in no time.
Start by trying to turn the rear collar, then lubricate the wrench with WD-40.
If those steps don’t work, you can try heating the jaw with a blow dryer or using a larger wrench. Prevent the wrench from getting stuck in the future by following the easy, convenient, and quick steps mentioned in the blog post above.
Always turn it in a clockwise direction when loosening or tightening an object, and keep it lubricating.
Thank you for reading; we hope this blog post was helpful and you can fix your stuck Fixa wrench with our help.
