
As beautiful as IKEA furniture can be, it rarely seems to be the color shoppers want. The furniture comes in neutral colors like black, white, and brown. Luckily, it’s easy to paint IKEA furniture. The video below shows the unique style of painting IKEA furniture!
Here is a step-by-step guide on how to turn that boring brown bookshelf into a vibrant, stand-out piece.
How To Paint IKEA Furniture?
- Choose a Furniture Piece Compatible with Paint
Some IKEA furniture is made with a laminate finish, which paint won’t stick to. Make sure you choose a piece with a surface that can be painted on, such as wood or metal.
If a furniture piece has the wrong color, and the homeowner knows they’re going to paint it, their furniture piece should reflect that. It’s known that painting over white is easier than painting over brown. Choose the best color option IKEA has for painting over.
The right color can make for easier painting in the long run. The possibilities for paint are endless. Acrylic and latex paints work well for IKEA furniture. Both come in various finishes, such as satin, high gloss, and matte.
When choosing a color, consider the room the piece will go in and what colors it will be surrounded by. Choosing a color that complements the rest of the room’s decor is important.
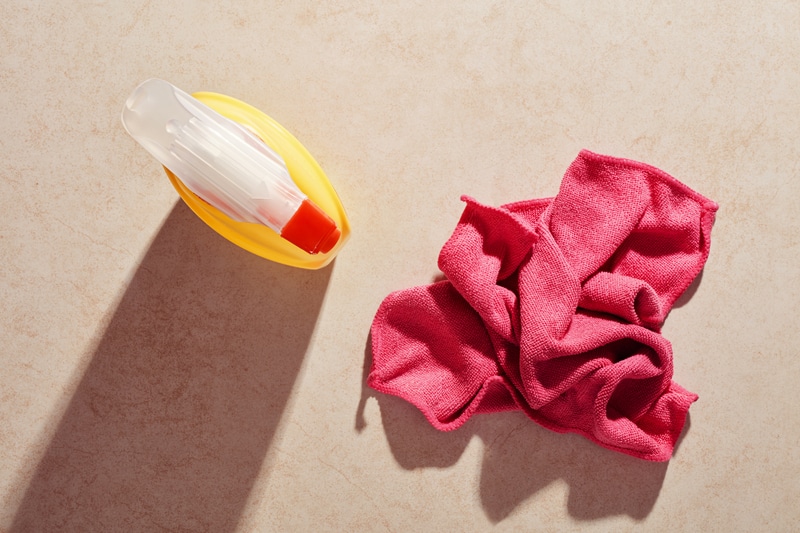
- Clean the Product
Remove any dust or grime from the furniture piece using a damp cloth. The paint needs to have a clean surface to stick on.
Even though the product is brand new, some stray dust may be lingering on the wood. Be sure to wipe down every surface of the product before painting.
- Sand the Product (optional)
Before starting any project, it’s important to sand down the furniture’s surface. This removes any imperfections on the surface and allows for better paint adhesion.
Next, prime the furniture. Primer helps with even coverage and can also change the surface texture. A smooth primer can help create a smoother finish on the furniture, while a gritty primer can create a unique, textured finish.
IKEA furniture is well-made and often comes in laminated wood. Because of this, it is not necessary to sand the product before painting.
However, it may smooth the piece and give it a cleaner cut. It is okay to sand IKEA furniture before painting, but it is not an essential step.
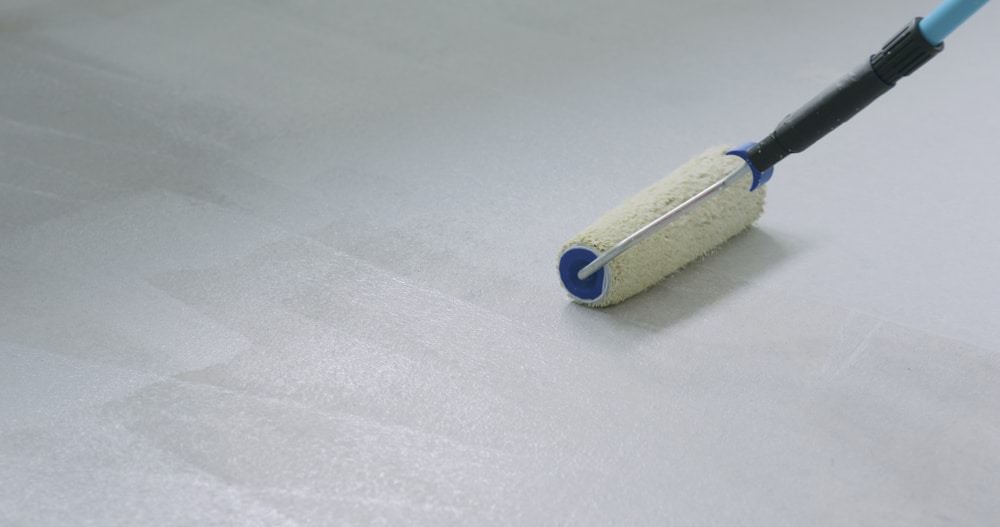
- Cover the Furniture in Primer
Adding Primer to IKEA furniture is a vital step in the process. The use of primer makes it, so sanding is non-essential. It’s up to the homeowner to decide what kind of primer to use.
There are oil-based primers that are best used on bare wood.
This primer is great at fighting off water-based stains. Another kind of primer is latex. Latex primer is best for softwood and more solid materials like brick and stone.
Latex primer is best used before painting but can work as a sealer following the painting process.
Shellac-based primer is not as common as the other two but is actually the most effective when blocking out stains. Both oil and latex primer can be applied over this one.
- Add the 2nd Coat of Primer
After allowing the first coat of primer to dry, it is time to add a second layer. This will ensure that all surfaces are fully covered and create an even base for the paint to adhere to.
To apply the second coat, start at the top of the wall and work your way down in even strokes, overlapping each stroke by about 50%. Allow this coat to dry before moving on to the painting step.
Like paint, primer needs a second coat. After applying the first coat, wait for the primer to dry, then add a second coat.
- Paint the Furniture
Now, it’s time for the fun part: adding color to your walls! Start at the top of the wall and work your way down in even strokes, again overlapping each stroke by about 50%. It may take multiple coats to achieve the desired IKEA color and coverage.
Allow each coat to dry before adding additional coats.With patience and a little elbow grease, you’ll have beautifully primed and painted walls in no time. This is the biggest step.
Paint the furniture with whatever color and paint works best. Most paint can be used on IKEA furniture, like latex paint, chalk paint, and even spray paint. What’s more exciting is that the piece can be painted before being assembled.
This way, it’s unlikely to have missing spots. Make sure to properly sand and prime before painting for the best results.
It may take multiple coats, but once it’s fully dry, admire your refreshed IKEA piece that looks like new.
- Apply the 2nd Coat of Paint (and maybe a 3rd)
Just like the primer, IKEA paint often needs a second and even third coat to fully cover the surface and achieve the desired color and coverage. Allow each coat to dry before adding additional coats.
Once all coats are applied and dried, your furniture should be transformed with a fresh look.
The color of the furniture needs to stand out. After the first coat dries, add a second coat of paint. If the wood underneath is still shining, feel free to add a third coat.
- Apply a Primer Sealer (optional)
Consider applying a primer sealer after the paint has dried for added durability. This will help protect the paint from wear and tear and keep it looking fresh for longer.
To apply, use a brush or roller to cover the entire surface in even strokes. Allow drying before using furniture as normal.
Adding a primer sealer is optional, but it will make the furniture more durable and keep its color longer. Apply it after the paint has dried, using a brush or roller to cover the entire surface. Allow it to dry before using it as normal.
As I mentioned before, latex primers can act as sealers. This helps bring the piece together with a glossy finish. This step is unnecessary, so don’t do it unless it’s wanted.
- Assemble the Furniture
Finally, it’s time to assemble your newly painted furniture and enjoy your hard work! Following the IKEA instructions, carefully assemble the piece and admire your handiwork.
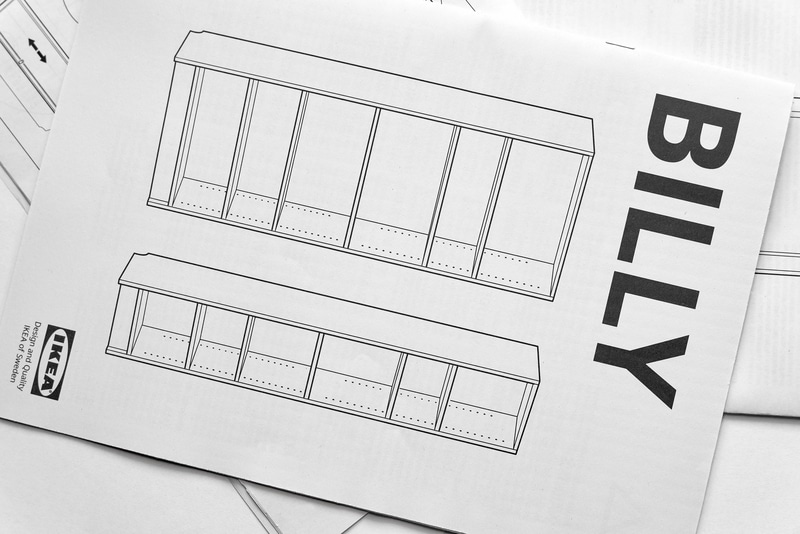
Once the paint has dried, and any sealer has been applied, it’s time for assembly. Follow the IKEA instructions and put together the piece to complete the makeover. Admire your handiwork and enjoy the new, refreshed furniture in your space.
Following these steps, you can easily spruce up any IKEA piece with a fresh coat of paint and transform it into something unique and personalized for your home.
- Enjoy the New and Improved Furniture
With painted and assembled furniture, enjoy your refreshed piece in your space. Show it off to friends and family, or keep it as your own little secret makeover.
The possibilities for customization are endless, so have fun and let your creativity shine through. Happy painting!
The IKEA piece is surely a lot more fun now. Enjoy the look and relax before painting and assembling another piece!
What to avoid while painting IKEA furniture?
- Avoid using oil-based paint as it may not adhere well to the surface.
- Applying too thick of coats can lead to drips and a rough texture. Apply thin, even coats instead.
- Don’t forget to properly sand and prime before painting for the best results.
- Make sure to allow proper drying time before adding additional coats or sealer. Rushing this process can lead to a less-than-desirable finish.
- Take your time and carefully follow the instructions while assembling the furniture to avoid accidents or damage.
How to Keep IKEA paint Intact?
- Consider applying a primer sealer for added durability and to keep the paint looking fresh for longer.
- Use coasters, placemats, or other protective measures on tables and surfaces to prevent scratching or wear.
- Regularly clean with gentle cleaning products and avoid harsh chemicals that may harm the finish.
- Proper care and maintenance will ensure your painted IKEA furniture lasts for years.
How to remove IKEA paint from your hands?
- Wash with soap and warm water first.
- If the paint is still present, rub gently with a mild abrasive such as baking soda or toothpaste.
- Apply a small amount of olive oil or cooking oil to the affected area and scrub gently before washing again with soap and water.
- Repeat as necessary until all paint residue is removed. Remember to always use gentle and non-irritating products on your skin.
Concluding Thoughts:
Painting IKEA furniture can add a personal touch to any space and make it unique. Remember to properly prepare the surface, apply thin coats, and allow proper drying time for the best results.
