
IKEA Touch Up Paint is a paint specifically made for IKEA furniture. It is available in various colors and can be used to cover up scratches or other blemishes on IKEA furniture.
IKEA Touch-Up Paint is easy to apply and dries quickly. It is also durable and resistant to chipping and fading. IKEA Touch-Up Paint is an ideal way to keep your IKEA furniture looking new and fresh.
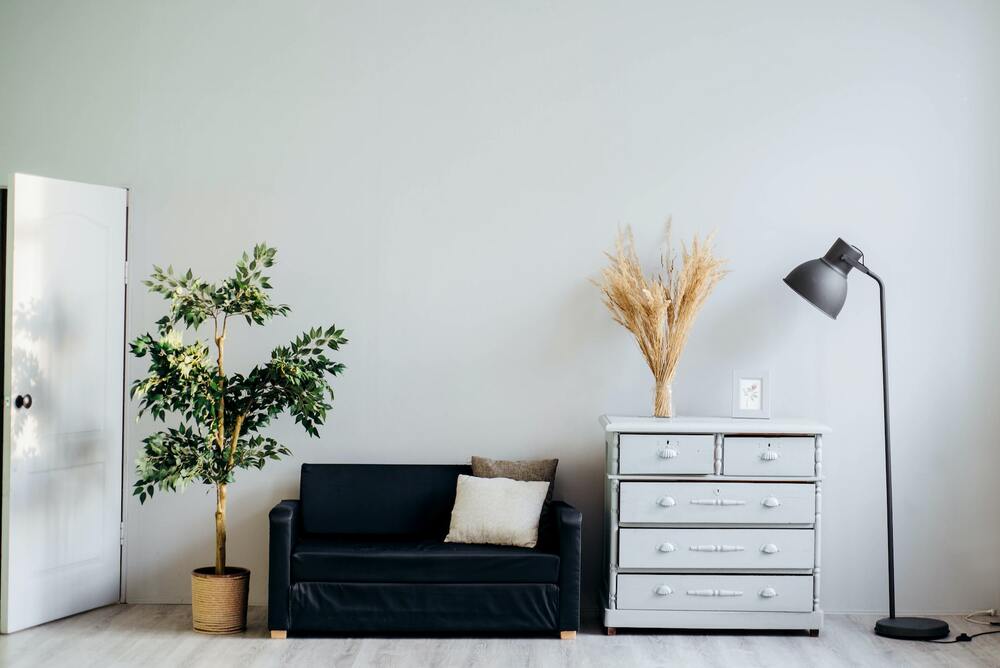
If you have IKEA furniture, you know how important it is to keep it looking its best.
What You Need To Know About IKEA Touch-Up Paint?
Over time, scratches and other blemishes can start to show up, making your furniture look worn and outdated. Scratches are common with any piece of furniture or appliance.
It may be because a kid banging on it with a toy or a pet scratching it. We’ve covered you if you’re worried about an IKEA paint scratch.
What is the difference between Touch up paint and regular paint?
Touch-up paint is a specially formulated paint that is intended for small repairs. It is thinner than regular paint, and it dries faster. Touch-up paint is also more resistant to chipping and fading.
Not all IKEA paint is the same; it isn’t necessarily touch-up paint. Naturally, you can go to the store. An experienced customer service representative would be able to guide you better.
That doesn’t mean there aren’t many other ways of getting the right paint for the job.
The first question is, of course, whether or not now is a good time to repaint the entire thing. Perhaps the color never really appealed to you. If so, it is much easier; no matching is required.
How to apply IKEA Touch-Up Paint?
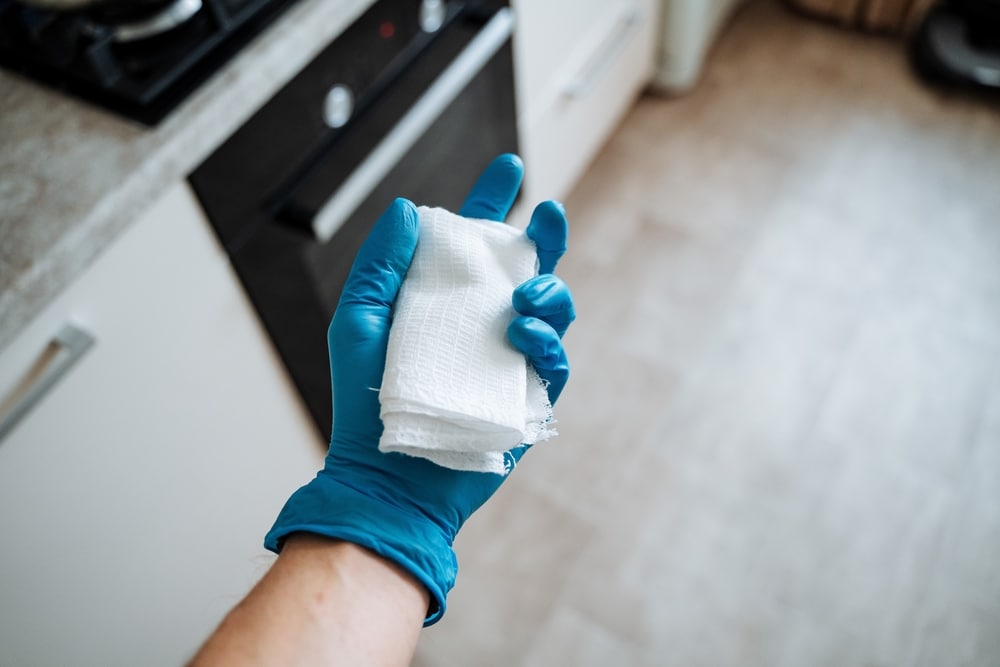
IKEA Touch-Up Paint is easy to apply. Begin with cleaning the surface of the furniture with a damp cloth.
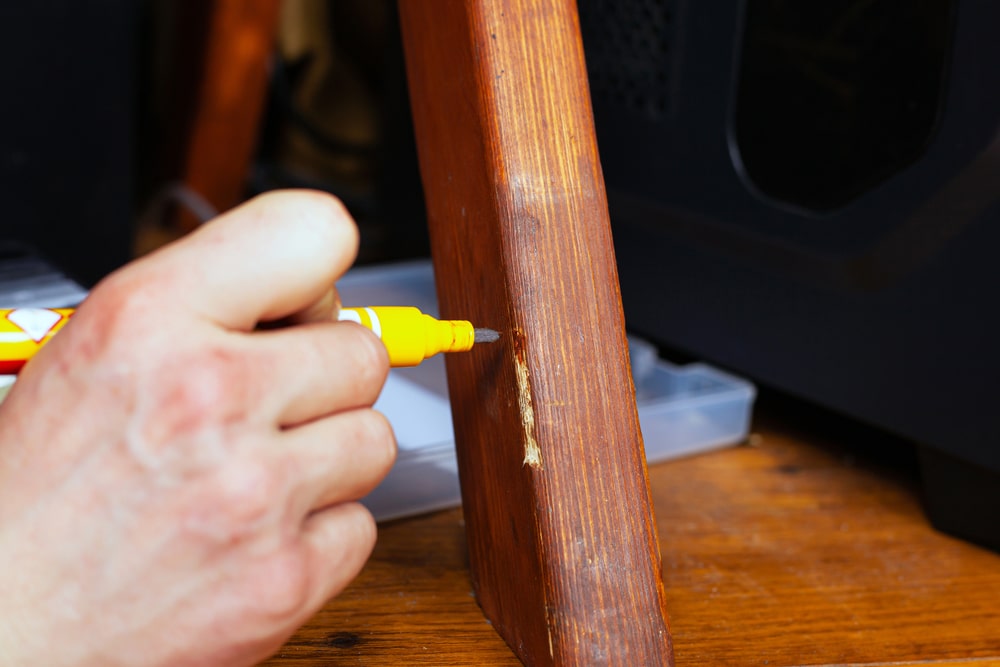
Next, use a fine brush to apply the paint to the scratch or blemish. Allow the paint a sufficient duration of several hours before using the furniture.
IKEA Touch-Up Paint is available in a variety of colors. To find the right color for your furniture, consult the IKEA color guide. Most of the time, people want a quick way of fixing the damage.
Here is where the internet comes in handy. Many companies sell kits that allow a touch-up of slightly dinged furniture and cabinetry. Simply match the color, click and wait.
One of these companies, Mohawk Consumer Products, carries repair sticks in the most popular of IKEA’s paint colors.
The process is very simple:
- Sand the area with fine-grit sandpaper until it is smooth.
- Apply the repair stick to the area, using even strokes.
- Allow the repair stick to dry for 24 hours before using the furniture.
- If necessary, apply a second coat of the repair stick.
- Once the repair stick is dry, apply a topcoat of paint to protect the area.
This company also offers pens and markers for those who want a more precise way of touching up their furniture. The markers come in a set of three, each with different tip size.
The pens are available in five colors: black, brown, gray, white, and walnut.
If you’re unsure about the color choice, a helpful chart on the website allows you to compare different colors side by side. Once you have found the right repair product for the job, simply follow the instructions and enjoy your like-new furniture.
1. Multiple Coats:
Apply multiple coats of Touch up paint if needed, but first, allow the first coat to dry completely before applying the second. This will ensure that the Touch-up paint adheres properly and doesn’t come off easily.
The good thing about this product is that it can do more than cover up a scratch. Junior ran his toy truck into the bookcase, creating a small gauge mark. The paint won’t cover that up.
However, the repair stick will. It’s also good for some problems while assembling IKEA furniture, such as hammer marks and other slips.
2. The Repair Stick:
The repair stick is available in black, brown, gray, white, and walnut. The pens are available in five colors: black, brown, gray, white, and walnut.
To find the right color for your furniture, consult the IKEA color guide. If you are not sure which color to choose, there is a helpful chart on the website that allows you to compare different colors side by side.
Once you have found the right repair product for the job, simply follow the instructions and enjoy your like-new furniture.
The good thing about this product is that it can do more than cover up a scratch. These sticks are designed to be a color match and don’t require much looking around.
Once you have your product choice, it is time to repair it. The first question is; what material is the product made from?
The repair will be different for different materials. If you don’t remember what the piece is called, there is usually a sticker somewhere on it that says. Once that is done, you can look it up on IKEA’s webpage.
3. Wood and Plastic
IKEA uses a variety of materials in its furniture. The most common are wood, plastic, and particleboard. If you have a wooden piece of IKEA furniture, the best way to touch up the paint is with a brush.
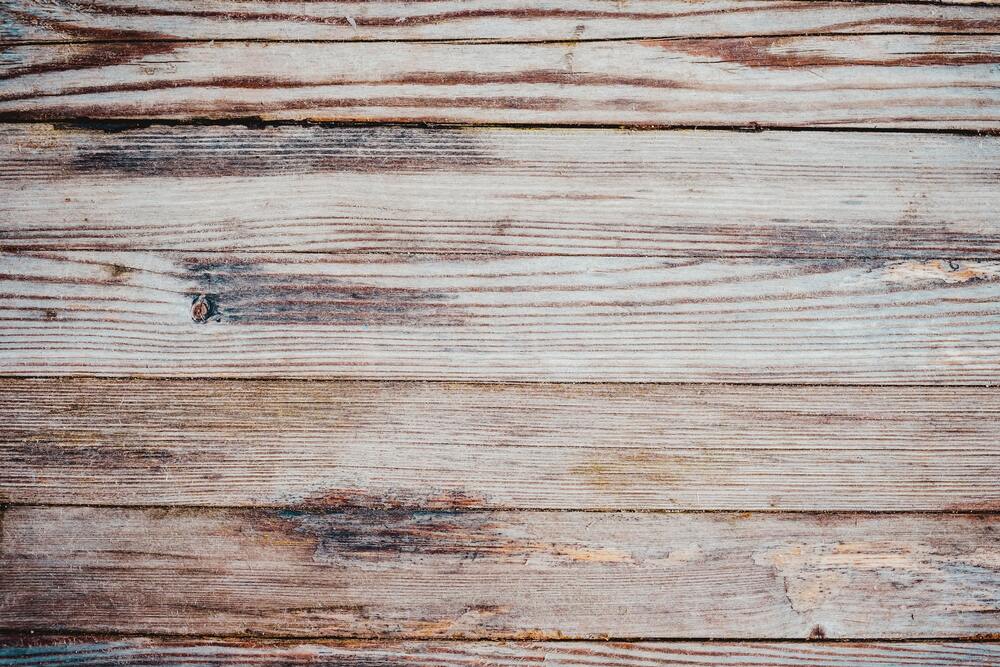
Simply apply the paint to the area that needs it and blend it with the rest of the finish. You may need to apply several coats to get a good match.
4. Particleboard
For plastic and particleboard, you will want to use a sponge. Dab the paint onto the needed area and then blend it in. Again, you may need to do several coats to get a good match.
Once you have applied the paint, you want to let it dry. Once dry, you can apply a clear coat to protect the paint and make it more durable.
Unless you are repainting the whole thing, it isn’t necessary to take it apart. Depending on the material, you may want to sand it. Laminate materials don’t require it. Metal doesn’t unless it is rusty. Solid wood does.
Once the surface is prepped, it is time to apply the paint. Again, follow the manufacturer’s instructions on this. Once it is dry, put everything back together and enjoy your like-new piece of IKEA furniture.
It should be noted that some people think that painting IKEA furniture is a sacrilege.
While it may not be to everyone’s taste, if you like your furniture and want to keep it looking good, touch-up paint is an easy way to do so.
5. Primer – Optional
If you want to paint your IKEA furniture a different color, you will need to use a primer. This goes for any type of paint job, not just IKEA furniture. The primer will help the new paint adhere to the surface and give you a better finish.
Again, primer can be skipped unless repainting the entire thing. If you are using any repair stick, it will have instructions on how to use it.
Sticks and pens are the fastest way to touch up paint, although an artist’s paintbrush can also be used.
Once the repair is made, allow it to dry. Scuff marks, common during a shifting or general wear and tear, require a regular paintbrush.
At times it is easier to remove the damaged piece before painting it. That prevents unwanted drips or runs of paint. However, that isn’t a compulsion.
6. Painting Tape
Cover the area around the repair with painter’s tape first. Use a fine brush, dipping it only a little bit into the paint can. Blot off any excess on a paper towel. This will help prevent drips or runs.
Start at the edges of the scuff mark and work your way in. Depending on how big the mark is, you may need to make several coats. Once it is dry, remove the painter’s tape.
Now that you know how to handle a scratched IKEA piece, you can keep your furniture looking great for years to come.
Regular touch-ups will make it last even longer. Whether you use a kit or do it yourself, keeping your IKEA furniture looking new is easy.
Conclusion:
After the touch-up paint is dry, blended in, and good-looking, it is time to reattach or put back the piece you were repairing.
Make sure everything is tightened up and level before putting things away. Now your IKEA furniture looks as good as new! Just remember, next time something happens, there is an easy fix.
