IKEA is a well-known company for its affordable and ready-to-assemble furniture and other home appliances for setting up your new home or refurbishing.
It may surprise a few of you that IKEA also sells economical tools and electronics that you can use to assemble or fix your furniture or anything at your home. One among all is the FIXA series.
IKEA’s popular FIXA series gives you all the essential tools and equipment you need to get your home exactly how you like it to be.
It not only complements the tools you already have at home but also helps you build a starter kit for all your grand future projects.
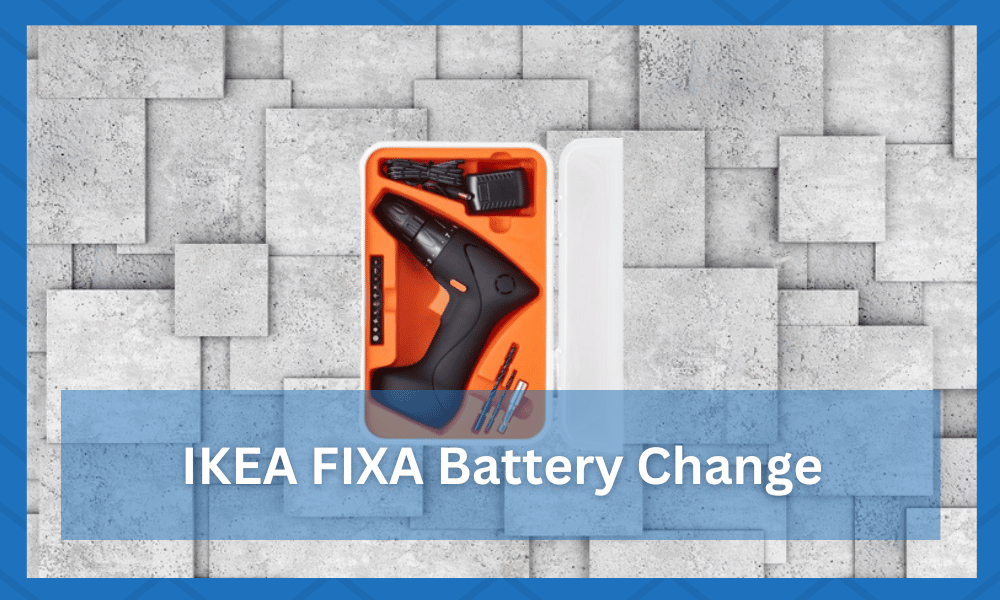
The popular FIXA drill has a soft synthetic rubber handle, making the gripping easy and secure.
It is a cordless speed screwdriver/ drill suitable for all kinds of drilling work, be that drilling in the wall for a screw to hang your photos or fixing the two segments of your IKEA DIY bed.
he drill allows 15 different torque settings for driving, enabling you to adjust the amount of torque according to your task.
The FIXA drills come in with a built-in 3.6V lithium-ion battery.
The moderate self-discharge rate of the FIXA’s battery makes the power tool ready to be used anytime, anywhere.
The battery has electronic cell protection that prevents it from overloading, intense discharging, and also overheating, warding off any damage to the battery.
As mentioned above, the FIXA drill is a cordless device operated with an inbuilt lithium-ion battery and may sometimes not work for several reasons.
Run-down batteries are one of the most common problems that may cause your FIXA not to work.
If your IKEA FIXA drill isn’t working due to the flat or the broken battery, don’t worry! You can easily change the battery.
This article will walk you through the steps of changing the battery in your IKEA FIXA drill and help you troubleshoot if you’re having trouble getting your drill to work.
So without any further distractions, let’s get started!
IKEA FIXA Battery Change
The IKEA FIXA drill is not so big, making its handling relatively easier.
The housing of the drill is secured with seven 4mm screws, and the battery pack resides inside the housing, so to change the battery, you’ll need to open the drill apart.
Changing the battery of IKEA FIXA is not a really hard thing to do, but it does require some attention and concentration.
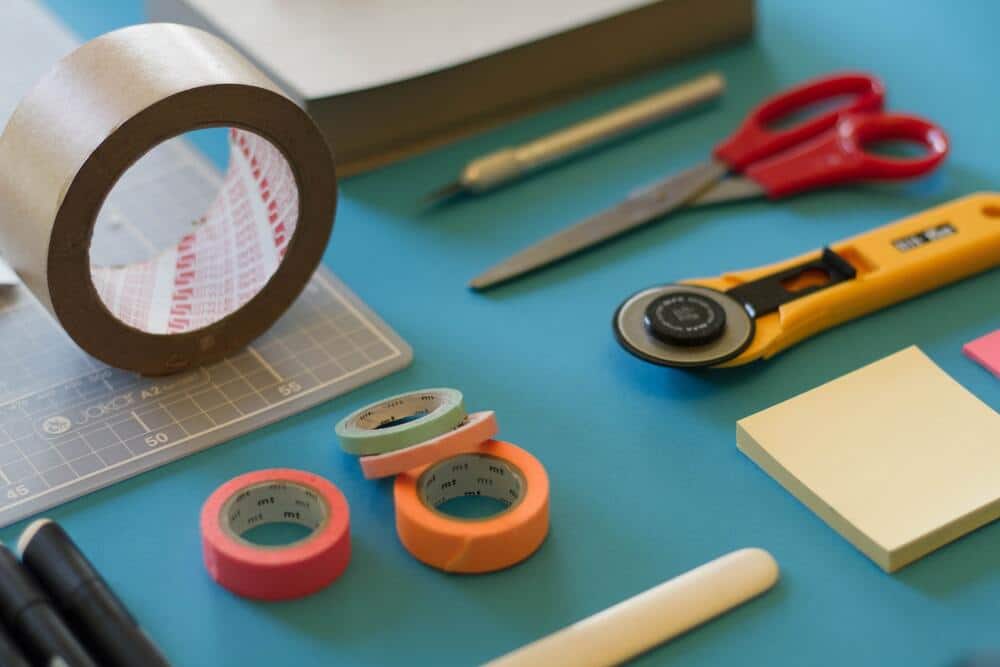
To replace the battery, you would require a 4mm screwdriver, a tough ironing station to work on, a utility knife, heat shrink tubing, and two new 3.6 V lithium-ion batteries.
Ensure to be in an area with sufficient lights to make the process quick and easy.
Having a voltmeter to check the previous batteries may also prove worthwhile as you can check the previous batteries supply through it and know better if any one or both of them need to be replaced.
If you have all your tools and a sturdy station to work on, then follow the given steps to change your FIXA drill’s battery and continue using it for your future DIY projects.
5 Steps for IKEA FIXA Battery Change
- Use a Screwdriver to Open The Drill
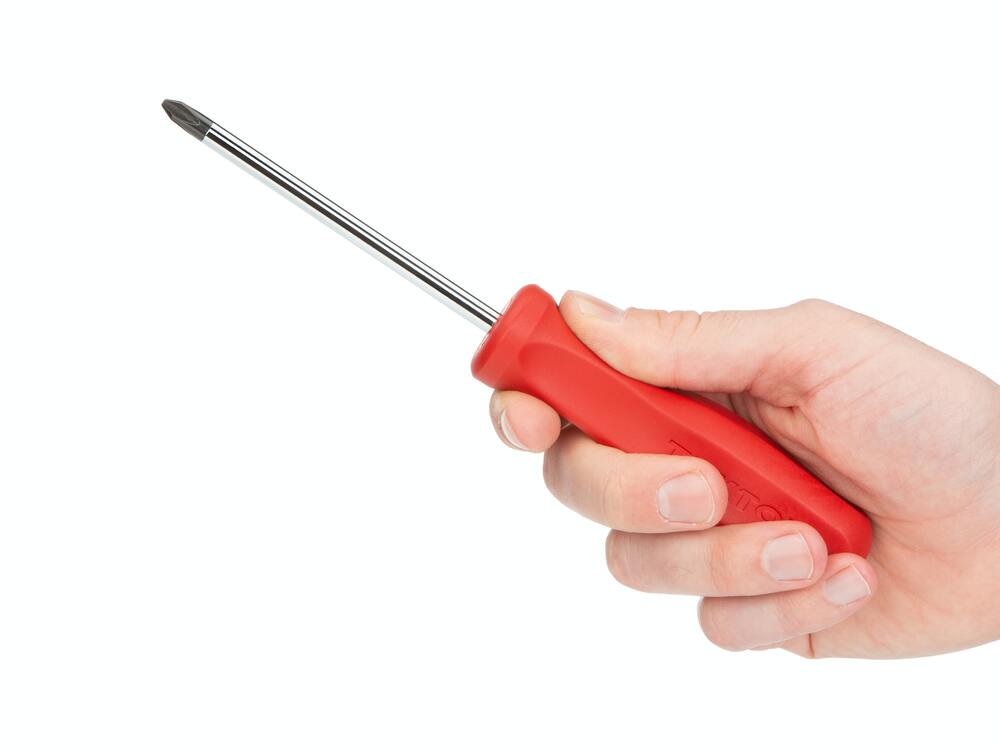
Find a 4mm Phillips head screwdriver. It’s best if you find the same screwdriver that’s the one with a crosshead.
Otherwise, a similar screwdriver will also work. With the screwdriver, unscrew the seven screws, 4 from the front side and 3 from the back side, while holding the cover of the battery.
Once you have removed the screws, you can lift off the battery cover.
Ensure to keep the screws safe at a side or in a zip lock bag so you can screw them back in after you have replaced the battery.
To open the case of the drill, you will have to remove the sticker at the bottom of the drill.
After you have put aside the screws and the sticker, you can carefully pull apart both sides of the drill in opposite directions.
Keep the drill on the iron station to prevent any mishaps and detach the electric circuit. Also, keep the rotation switch of the drill apart.
- Locate The Battery Pack

Now that you have access to the drill inside, you can appreciate its different parts that, include; the gearbox, electric motor, the turning off/on switch, battery back, charging light, and the charging light.
The entire device is a really simple device, and you can easily find the battery pack when you open it.
The battery pack is near the front of the drill. In some models, the battery pack, a clip, or a screw fixes the battery in place.
If your IKEA FIXA drill has a clip holding the battery pack in place, don’t worry. You can undo the clip by releasing it and pulling it out of the pack.
Here you can do a money-saving hack if you have the voltmeter. Measure the batteries while they are still inside.
Occasionally, one out of two batteries is low or damaged. If the voltmeter detects the battery’s voltage around 2.5 to 3 V, it indicates it is in good health and does not require replacement.
However, if the voltmeter gives a reading of less than 1 of any of the cells, you should replace them to get your FIXA drill working again.
- Remove The Old Battery Pack
Once you have located the battery pack, you can remove it from the drill.
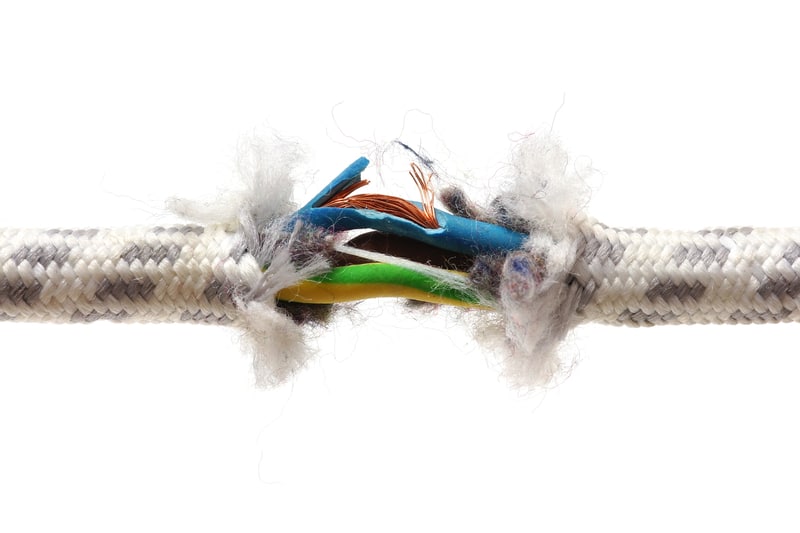
Begin by disconnecting the battery pack from the drill. For this, you will remove the black heat shrink tubing around the contact points of three wires using a utility knife.
Be careful not to hurt yourself or damage the batteries’ wires while doing this.
At times you need to press a release button or squeeze a tab to disconnect the battery pack.
Use the soldering iron to disconnect the three wires from the batter. With the old battery pack disconnected, you can now remove it from the drill.
- Install The New Battery Pack
Now comes the part where you install the new battery pack. Begin by placing the new heat shrink tubing to the new wires by sliding them on attentively.
When you have two separate batteries, it is recommended to attach both of them together with adhesive tape.
Now attach the batteries with the drill wires using the soldering iron. Connect the black wire with the negative pole of the two-faced wire.
Slide the tubing forward and heat each of them up with the lighter. If the tubes become hot, they will shrink and secure the wires and batteries together.
You have now connected the new battery pack to the drill.
Make sure that you connect the new battery pack securely to the drill.
Once the new battery pack is connected, you can install it by inserting it into the drill and clipping or screwing it, as mentioned above.
- Close Up The Drill
Now that you have installed the new battery pack, you can close up the drill.
First, put back in place the removed electric circuit and the rotation switch of the drill. Replace the battery cover. Make sure the cover is securely placed.
When you assemble the two parts together, you’ll hear the proper clicking sound of it closing.
Secure the drill housing by screwing back in the seven screws with a Philips screwdriver. Once the cover is in place, your IKEA FIXA drill should work again!
Most Common Issue Faced While Changing The Battery.
Getting the new battery pack to connect to the drill is one of the most common issues people face while changing the battery in their IKEA FIXA drill.
If you are having trouble connecting the new battery pack, make sure you are pressing the release button or squeezing the tab (depending on your model) when you disconnect the old battery pack.
Also, ensure that the new battery pack aligns with the connections in the drill.
Troubleshooting Tips
If you are having trouble getting your IKEA FIXA drill to work, here are some troubleshooting tips:
- Make sure the battery pack has a secure connection with the drill.
- If the battery pack is not securely connected, try disconnecting and then reconnecting the battery pack.
- Make sure that the new battery pack has a full charge by checking it through the voltmeter
- If the drill isn’t working, try contacting IKEA customer service for further assistance.
The Bottom Line
Changing the IKEA FIXA drill’s battery does not require a lot of hard work, but it does need little attention and precision.
Using a voltmeter to check your batteries is a plus, as this will confirm if your FIXA needs a battery replacement or if there is some other issue that’s causing it to not work.
If it’s the battery that is causing the trouble, then change the battery by following the aforementioned 5 easy steps and get going with your project using the IKEA FIXA drill!
