Every homeowner knows that developing a complete toolkit can be a bit heavy on your budget, and not every brand offers the same value or price point to the owners.
Sometimes, it is just too difficult for the owners to find the right fit, and you will deal with the same errors.
Luckily, the IKEA FIXA series is one of the next options on the market for first-time owners.
You will not only get a cheaper price point here, but the performance from these tools will be far better than the majority of units available in the market.
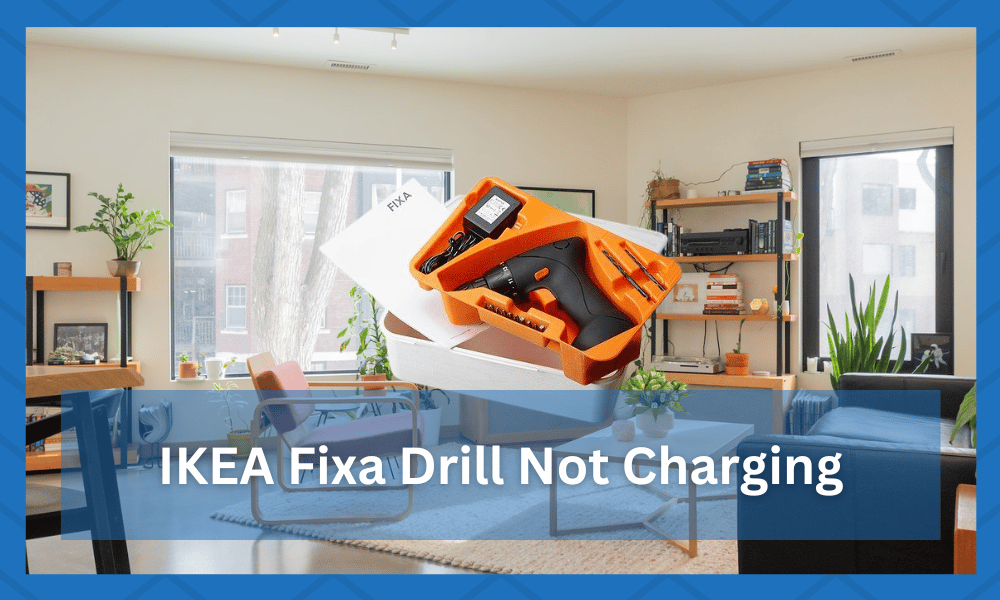
The same statement is true for the IKEA FIXA drill, which offers a nifty price point, a sleek design, and an amazing presentation to the owners.
The only compilation that some owners have had to deal with relates to the IKEA FIXA drill not charging. It can be quite annoying at times and can be linked to wiring.
If you have an IKEA FIXA drill that isn’t charging, don’t worry! You can troubleshoot and fix the problem yourself. In this article, we talk about tips to help you get your drill up and running again.
IKEA FIXA Drill Not Charging
- Check Battery
Begin with checking the connection between the battery and the drill. Ensure that the battery is properly seated in the drill and that no debris or dirt is blocking the connection.
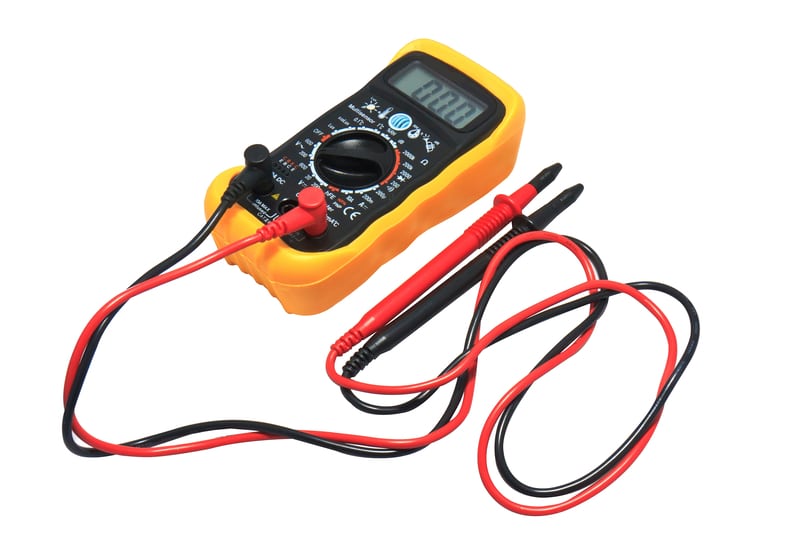
If everything looks good, try charging the battery again. Charging the battery takes around 5 hours at max. Also, if the batteries look good, check the voltage of the batteries with a voltmeter.
All that you’re trying to do here is make sure that the output from the battery itself is optimal and that the unit is not in need of a fresh battery pack.
If you’ve been using the drill for an extended time and it has been years, then we suggest that you try out a replacement.
The lifespan of the battery can vary a great deal depending on the storage and the operating conditions.
You’re not left with many options when it comes to fixing the battery, and a replacement is the most logical method here.
Once you get the new battery, try focusing more on limiting usage and developing proper storage.
You can’t expect the battery to perform when the storage of the unit is not optimal. So, try to find a dry box and don’t use the battery below the 20 percent charging status.
- Try Jumping The Battery
Sometimes, you will have to jump the battery to get it to respond to the charger.
The issues with the owners using the drill past the 20 percent status can leave the battery completely drained. You will not be left with any options here.
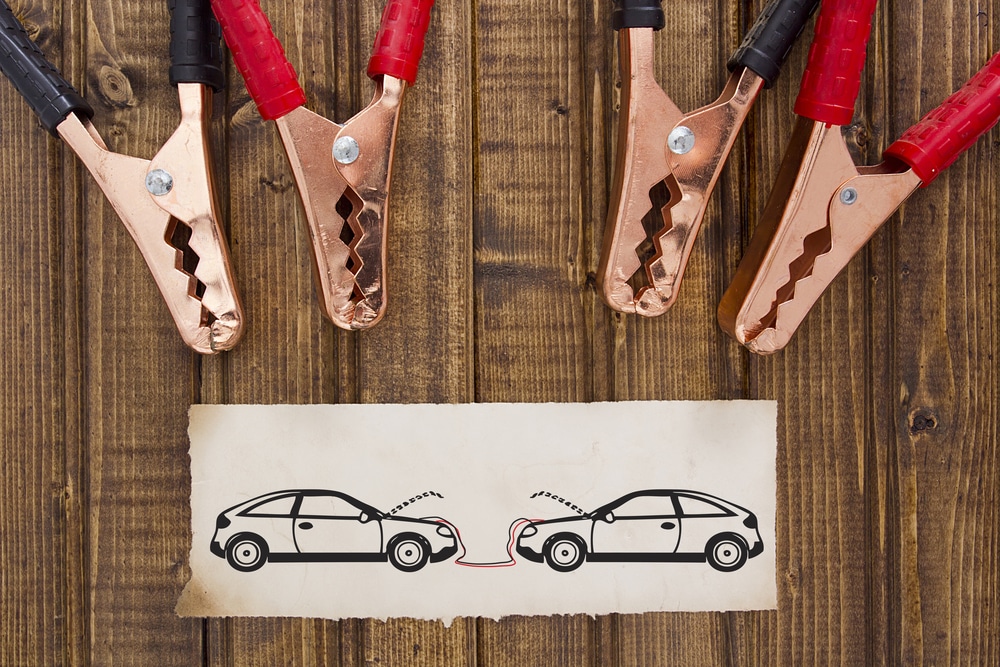
So, if you’re in a similar situation with the unit and can’t seem to figure out the situation with the battery not charging, just jump the battery with a charged one. All you need here is a pair of wires along with a charged battery.
From there, you can connect the charged battery with your current one with the wires and leave them connected for around 30 minutes. This should be more than enough to get the unit to respond to your input again.
This time around, the drill will start charging as long as the connection points and the response from the outlet are optimal.
So, be sure to keep that in mind as you try to jump the battery and adjust it in the drill to get the system to charge.
- Check Charger Connection
Next, you will want to check the connection between the charger and the battery. Ensure that the charger is plugged into an outlet and that no debris or dirt is blocking the connection.
If everything looks good, try charging the battery again.
- Try a Different Charger
Use a different charger to see if that will charge the battery. If you have another IKEA FIXA drill, you can use its charger.

Consider using another outlet to see if that makes a difference. If the charger is faulty, you can get a new charger. A brand-new charger will be the more expensive but reliable option.
There is no point in wasting more time with a defective charger that can’t transfer any power from the source to the drill.
You can get a better grasp of the situation by using a multimeter with the charging points. If you don’t get any response, then you’ll know for sure that the charger is defective.
So, be sure to grab a replacement and try using the new charger to avoid more issues down the road.
It all comes down to how you’re planning on addressing the citation with the charger not working. We will always suggest that you go with a new one to avoid more issues with the battery not charging.
- Check for Damage
There may be damage to the drill. Check the drill for any visible damage. If you see any, take the drill to a professional for repair. However, if you’re sitting on a valid warranty, there is no point in going with any of these fixes.
The damaged unit should and will be replaced by the customer care team or the dealer.
All you have to do is to provide these dealers with proof of purchase and the damage to the drill. They will take a few days to verify your claim and purchase.
From here, you will get confirmation of the delivery address, and the new unit will be delivered to you within the same week.
Furthermore, messing with the drill yourself might void the warranty. So, we suggest that you only claim the warranty and don’t try to mess with the system yourself.
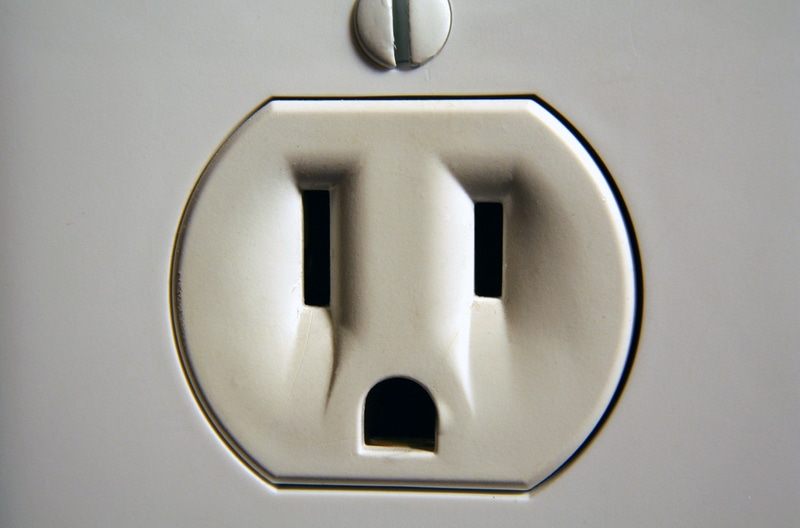
- Check The Socket
If you still have trouble charging the battery, check the socket on the drill. Make sure that it is clean and free of debris.
You can use a cotton swab to clean out the socket if necessary. Check if the socket is in working condition, try using it for other purposes, and see if it’s just the charging wire that’s not responding or if there’s a new issue.
Similarly, reaching out to a local technician will help you figure out the issues with the power connections.
You should get the power connections serviced at least once every six months, if not every other month. These experts will make sure that you don’t run into fire hazards down the road.
Moreover, the lifespan of the appliances will also increase when the power connections are in good shape and supply the system with enough power.
- Don’t Overcharge The Battery
Overcharging the battery can cause damage to the battery and shorten its lifespan. When the battery is fully charged, unplug the charger from both the drill and the outlet.
Overcharging causes damage to the battery cells and can lead to a fire.
- Replace The Battery
If you still have trouble charging the battery, it may be time to replace it. IKEA offers replacement batteries for the FIXA drill. You can purchase one online; a new battery would cost around $19.99.
What does it mean if the drill is not charging?
If your IKEA FIXA drill is not charging, it could be because of a few different reasons.
The most common cause is that the battery is not properly seated in the drill or that there is debris blocking the connection between the battery and the drill.
You can check and clean the connection to see if that fixes the problem. If the issue persists, check the drill’s charger, outlet, or socket.
Use a different charger or outlet to see if that makes a difference. If the problem persists, it may be time to replace the battery.
Wrapping Up
Keeping the drill in perfect condition can be a bit hard at times, and you will have to educate yourself on the basic care requirements to get an optimal response from the battery.
One of the more common errors that owners deal with is the drill not charging. You’ll have to focus a bit more on storage here.
Keeping the drill out in the open without any proper storage box will create issues for the battery.
The battery won’t last in humid conditions where the temperature is also a bit low. So, if you live in a region with high humidity or low temperature, try to find a better storage box for the system.
Next, you need to look at the condition of the drill itself to isolate the errors. If the drill seems to be damaged or broken, you will have the new one within the same week.
All you have to do on your end is to claim the warranty, and the dealer will provide you with a new one.
The only complicated part about the warranty is the claiming routine which can take a few days at max.
However, you can speed up this verification process by providing the dealer with valid proof of purchase, like a receipt. He will take it from there.
