
THE IKEA RIGGAD lamp is a bright lamp controlled by your smartphone. It has a LED light source that lasts up to 20,000 hours. However, if the lamp is not working, here’s how you can fix it in no time.
IKEA RIGGAD Lamp is Not Working
- Make Sure the Lamp is Plugged
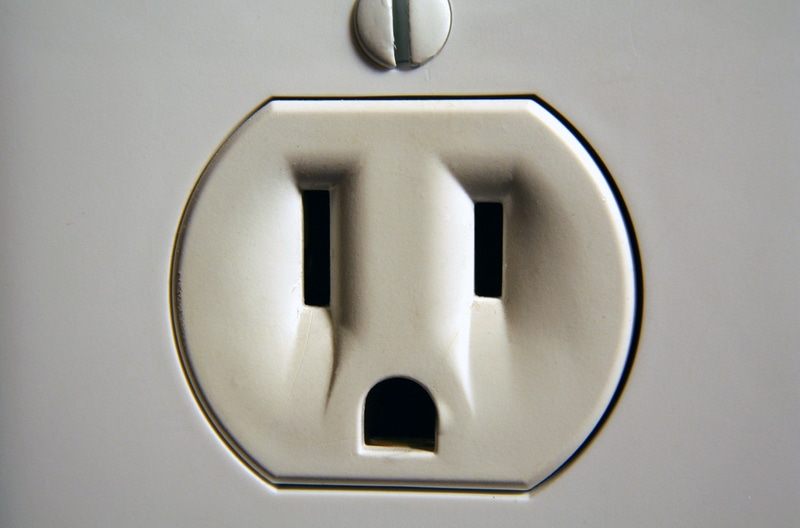
Ensure the lamp is plugged in and the power switch is turned on. The lamp must be plugged into an outlet connected to a power source. The lamp will not work if it is not plugged in or the power switch is turned off.
- Check the LED
The most common issue faced is with the LED light not working. If you discover that your lamp was not correctly assembled or a faulty connection is the cause of the problem, you can quickly fix it.
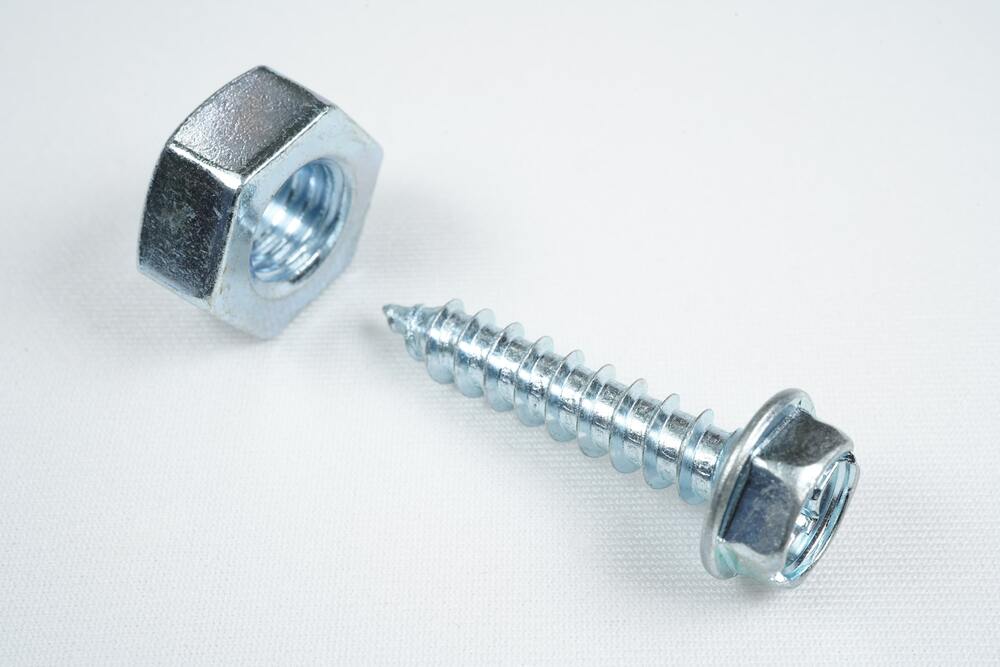
You should first check if all the screws inside the lamp head are tight enough and ensure that all wires are in good condition. You can also try replacing it with a new LED light or test its working on another socket.
Still having a problem with the IKEA RIGGAD Lamp not working? If this is your case, you might want to seek help from an expert. Please take it to a certified electrician or contact the customer service department of IKEA.
However, if you feel like you can fix the LED at home, follow the following steps to replace the LED.
- Purchase an LED Replacement
The first thing you will need to do is purchase a replacement LED. You can find these online or at your local hardware store.
Look for one that is compatible with the IKEA RIGGAD lamp, and make sure to follow any instructions included in the package. Make sure you purchase the 18-volt LED to ensure that it will work with the existing power source.
- Remove the Existing LED
Once you have your new LED in hand, you will need to remove the old LED. To do this, loosen the screws on the lamp head and gently pull out the existing LED.
You may want to label the wires or take a picture before disconnecting them. Remove the reassembled light and the light diffuser.
- Replace the LED and Reassemble
Once the new LED is in place, carefully reconnect the wires to their corresponding terminals. Then, reattach the lamp head and light diffuser, ensuring that all screws are tight and secure.
Soldering the wire can be an alternative to successfully assembling the lamp.
Test your IKEA RIGGAD lamp to ensure it is working correctly before you put it back into use. If everything looks good, you are good to go!
However, if the LED is still not working correctly, contact a professional for further assistance.
Before you put the lamp back together and use it, test your new LED light to ensure it works correctly.
Power on the IKEA RIGGAD lamp and turn on the latest LED to see if it lights up as expected. If you notice any issues, do not hesitate to contact a professional for further assistance.

With the right tools and expertise, you should be able to get your lamp up and running in no time!
- Charging Issues:
A Common problem with IKEA RIGGARD is Charging. The device will not charge when plugged in, and the USB port can be found at the bottom.
There are instances where a faulty switch can cause this issue, but it is rare. A recommended solution to this problem would be to find an alternate source for the IKEA RIGGARD. If this does not resolve the issue, consider seeking a professional
One possible solution to charging issues with IKEA RIGGARD is to try an alternate power source for your device.
This can include using a wall charger or plugging it into a computer via a USB cable. If this does not resolve the problem, you may need to take your IKEA RIGGARD to a professional for further diagnosis and repair.
This could be done by contacting the manufacturer of your device or seeking repair services from a local electronics store.

It is essential to stay patient and persistent when addressing charging issues with IKEA RIGGARD, as there may be a simple solution to get your device back up and running quickly.
In the meantime, you may consider using another charging option until your IKEA RIGGARD is fully functional.
- Replace A Burned-Out Bulb
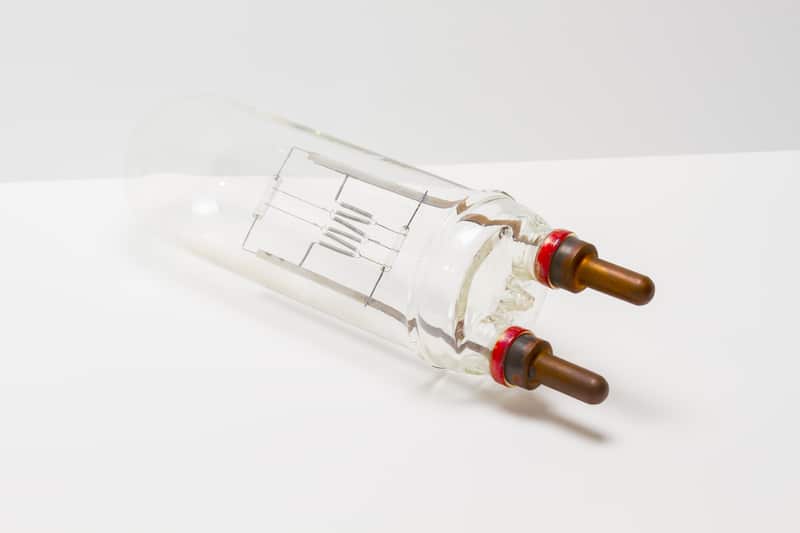
Check if the light bulb is burned out or if the power is on. If the bulb is burned out, replace it with a new one.
Many influencers who reviewed the lamp initially said that the bulb was not replaceable. However, that is not true. The bulb can be replaced, and it is straightforward to do.
Turn off the power by flipping the switch on the wall to “off.” Then, loosen the screw at the base of the light fixture with a flathead screwdriver.
Remove any existing light bulb from its socket, then insert a new one. Re-tighten the screw and turn the wall switch back to “on” to test your new bulb.
Check for other possible issues, such as a bad electrical connection or faulty wiring. Contact IKEA customer support for further assistance if you continue to have problems.
- Cellphone not Charging:
An exciting feature of RIGGAD lamps is their ability to charge the cellphone. If your cellphone is not charging correctly, there could be a few reasons.
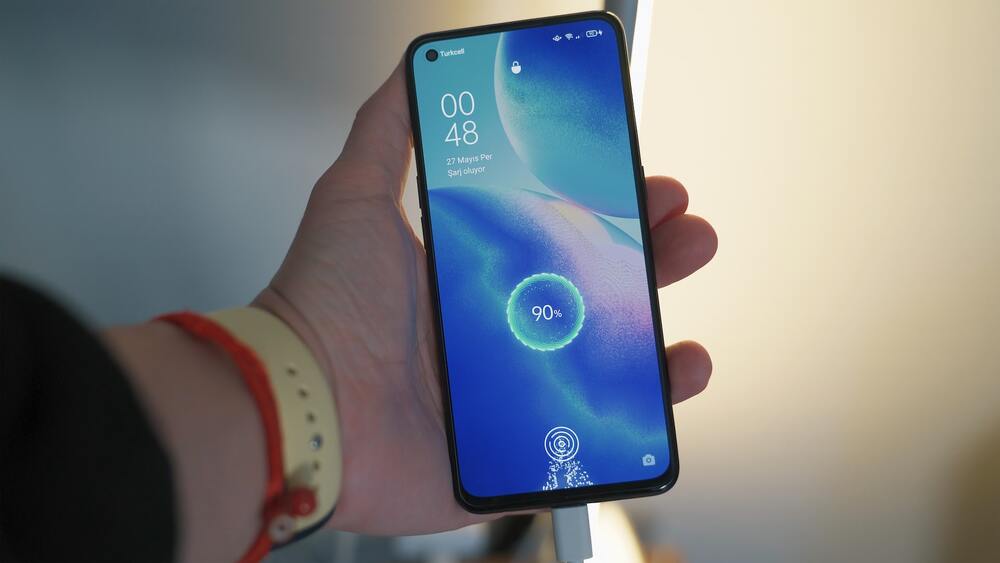
You have the proper charger and cable for your phone model. Some newer phones require a specialized USB port that may be different from what came with older models.
Ensure you’re using an official charger and cable compatible with your phone model, and check to ensure the cable is connected correctly.
If you’re using the correct charger and cable but still having charging issues, try restarting your phone or performing a soft reset.
A soft reset involves restarting your device without losing any data or settings, which can often help clear up minor software issues preventing proper charging.
If you continue to experience problems with your cellphone, reach out to the manufacturer or a trusted repair shop for additional troubleshooting and assistance.
- Use A Different Light Bulb
If you replaced the light bulb and the lamp still does not work, try using a different light bulb. Sometimes other types of bulbs will not work with certain lamps.
- Check The Fuse
If the lamp still does not work, check the fuse. A blown fuse will need a replacement. To replace a fuse, unscrew the cover and remove the old one. Next, insert a new fuse of the same size and screw the cover back on.
- Clean The Lamp
Consider cleaning it. Use a soft cloth to dust off the lampshade and base. Always use a slightly dampened cloth to wipe down the lamp.
If the cord is dirty, you can use a cloth dampened with soapy water to clean it. If the lamp does not work after following these steps, it may be defective and need to be replaced.
- Reset The Lamp
If the lamp has an internal switch, try resetting it by turning it off and on again. Don’t worry about resetting the lamp, as this will not affect the warranty.
- Check the Battery Pack
If the lamp is battery-operated, check to see if the batteries are fresh and inserted correctly. Try replacing the batteries if they are not working.
- Reset the Light Sensor
If the lamp has an automatic light sensor, it may need to reset. To reset, turn off the power switch and then turn it back on again.

The light sensor should then be reset, and the lamp should work properly. Although it’s rare, if you cannot reset the light sensor, your only option is to purchase a new lamp.
If you are wondering what the light sensor is, it’s simply a tiny piece of hardware that detects light levels and automatically switches the lamp on or off so that it consumes less energy when lighting isn’t required.
Conclusion:
These are the steps to take if your IKEA RIGGAD lamp is not working. First, ensure that the lamp is plugged in and the power switch is turned on.
If the power is on, check if the light bulb is burned out and replace it with a new one if necessary.
Next, try using a different light bulb. If the lamp still does not work, check the fuse and replace it if necessary.
You can also try cleaning the lamp. If the lamp is battery-operated, ensure that the batteries are fresh and inserted correctly.
Finally, if the lamp has an automatic light sensor, you may need to reset it. We hope these tips help you fix the issue and you managed to fix the lamp.
