
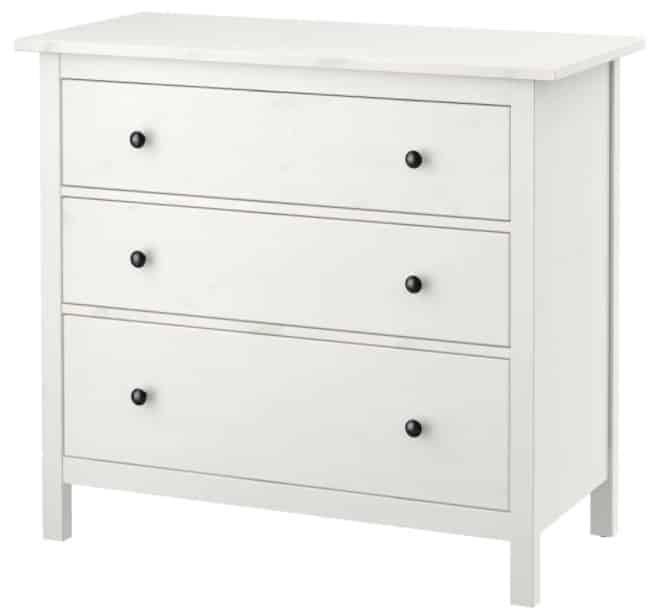
How To Remove and Put Back Together IKEA Hemnes Drawers
Removing drawers from the Hemnes dresser may be necessary for moving or cleaning purposes. However, figuring out how to properly remove and reassemble the drawers can also be confusing.
There are drawers in a lot of IKEA furniture. Drawers must be put together in the kitchen, bedroom, bathroom, or even living room.
Sometimes they also need to come out, particularly if they need to be repaired.
The process is fairly simple; however, you must be mindful of a few things.
IKEA Hemnes Drawer: Removing and Putting Back Together:
Firstly, to remove the drawer from the dresser, start by lifting up the front of the drawer until it pops out slightly from the dresser frame.
Then, grab the sides of the drawer and pull it out completely. To avoid any confusion, follow the step-by-step guide mentioned below.
Remove The Drawers
- Empty the drawer completely, removing any items inside
- Open the drawer fully
- There are two plastic knobs or buttons on each drawer side. Push these inwards and hold them while pulling them out of the drawer at the same time
- The drawer should come right out
- Repeat the steps for any other drawers in the furniture
This process is complicated because the drawers are screwed into the slide. Dismantling is necessary, but be careful, or there will be more reconstruction at the end of the repair.
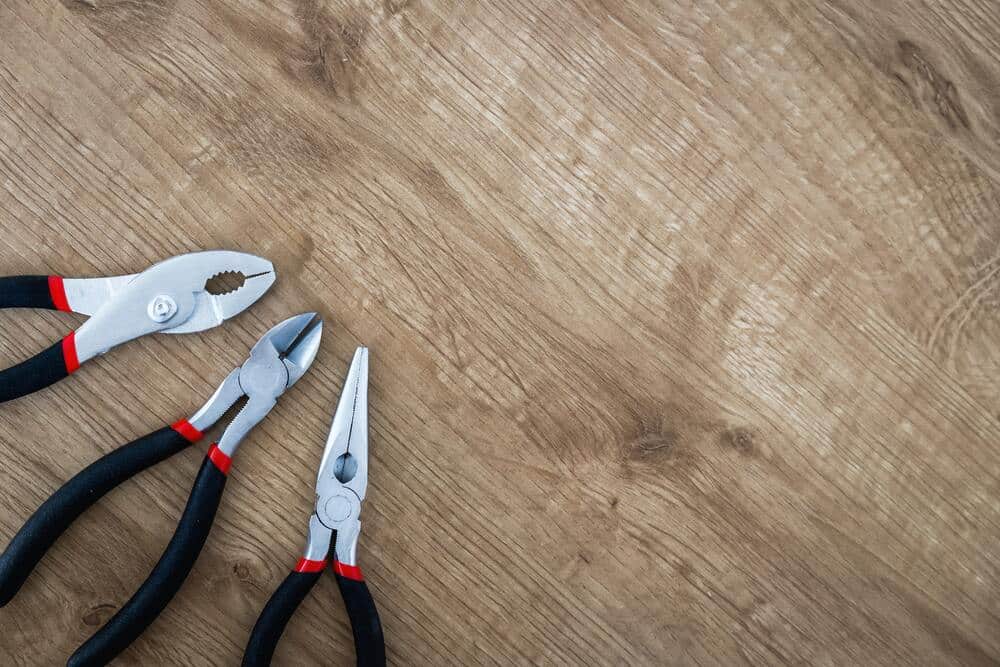
You will need a screwdriver and a small dish to hold the screws. Carefully gather all the screws, as they are often small and can be easily lost.
Look at the drawer carefully and find the tiny screws that hold it to the glide mechanism.
Remove the screws and place them in the dish so they can be used again. If screws have it to the front, remove them as well.
Fair warning, if there are cats or small children, it would be best if they were not in the room.
Once that is done, take hold of the sides of the drawer with both hands. Care has to be taken when lifting the drawer out, or the ball bearings will come flying out.
That would cause a mad scramble to find them and further work putting them back in.
After the repair or the unit has been moved, it is time to put it back together. After checking on cats and/or small children, look carefully at the drawer.
If it was taken out for reasons other than repair, it might be time to do a little maintenance.
Vacuum the inside, wipe it down and check for any cracks or damage. It is easier to fix now before it goes back in.
IKEA drawers have a tendency to sag over time. A good, strong glue, such as gorilla glue, will help to prevent sagging.
This will require that the drawer be out until the glue dries, but a little work now will save more jobs in the future.
After the drawer has been checked out, it is time to put it back in; begin placing the drawer onto the glide mechanism, ensuring everything lines up correctly.
Then put the screws back into where they were before using a screwdriver. Repeat the steps for any other drawers that were taken out.
Reassembling The Drawer
- 1. Start by inserting the drawer back into its slot, making sure it is fully inside
- On each side, push the plastic knobs or buttons inwards while pushing the drawer all the way in
- The drawer should be securely back in its place
- Double-check by opening and closing the drawer, making sure it moves smoothly
- Replace any items inside the drawer
It’s important to note that if you are having trouble removing or putting back together the drawers, do not force them, as this could cause damage. It may also be helpful to
Now it is time to put the drawer back in. Take the drawer in both hands and gently place it on the glide mechanism.
Take the screws and put them back in. Once the screws are in, the job should be done. Before replacing items, it is a good idea to check the drawer’s movement by opening and closing it.
If there are any issues, fix them before putting anything back inside.
If there is difficulty in removing or replacing the drawers, do not force them, as this could cause damage. It may also be helpful to consult the instruction manual for assistance.
Some Hemnes drawers do not have ball bearings, so that won’t be a problem.
While keeping the instructions around is a good idea, IKEA is known for having pictograms instead of words for its units. This prevents them from having to print in multiple languages.
Instead, if there are problems and the instructions aren’t helping, IKEA has eight hundred numbers that will get a helpful customer service representative to explain things.
Also, in the case of cats and/or small children, if the screws have gone missing, they can send replacements.

Taking care of the drawers and following these steps will ensure that they stay in good shape for years. A little maintenance now can save time, effort, and frustration in the future.
There are a lot of tips and hacks online for IKEA drawers and the furniture they are in. Some people don’t like white stains and want to change them.
This does call for drawers to be removed. The wood underneath is lovely and can be stained a natural color.
Some people want to add a little extra functionality to the furniture, such as adding dividers or rolling casters.
These also require drawers to be taken out and put back in. But with creativity and effort, any IKEA piece can become even more useful and personalized for individual needs.
However, remember safety first and be careful while removing, fixing, and replacing drawers.
Other people want their furniture to last longer and use glue or screws to help prevent sagging. It’s important to note that any changes made void the warranty on the furniture.
Overall, take care when repairing IKEA drawers and ensure all screws are securely back in place before using them again, as any accidents caused by loose or missing screws will not be covered.
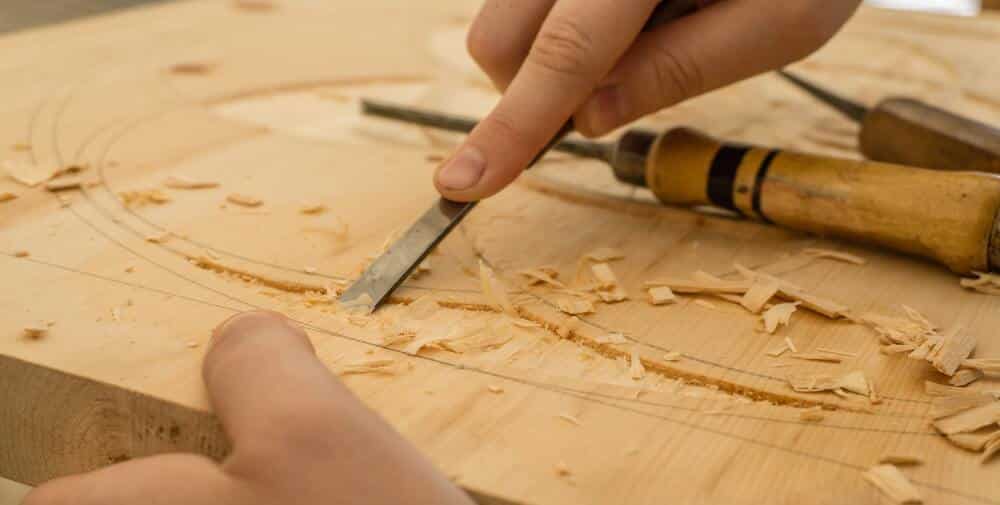
When To Call a Carpenter:
If you’re not equipped or comfortable with removing and replacing drawers on your own, it’s always a good idea to call a professional.
In addition, if the drawer is severely damaged or broken, it may be better to take help than attempt it yourself.
If the drawer is beyond repair, it might be necessary to call in a professional carpenter.
This could include when the glide mechanism needs replacing or if the drawer has been damaged beyond what can be fixed with glue or screws.
It’s always important to remember that safety comes first and if there is any uncertainty about repairing the furniture, it’s best to call in a professional.
It may cost more, but it’s worth the peace of mind and helps avoid potential accidents.
To Avoid Potential Accidents:
– Don’t force drawers into their slots
– Make sure all screws are securely fastened
– Clear the area before reassembling
– Consult the instruction manual or IKEA customer service for assistance
– Call in a professional carpenter if necessary
Overall, taking care when repairing and maintaining IKEA drawers helps ensure their longevity and safety for everyone using them. Happy assembling!
To Sum it Up:
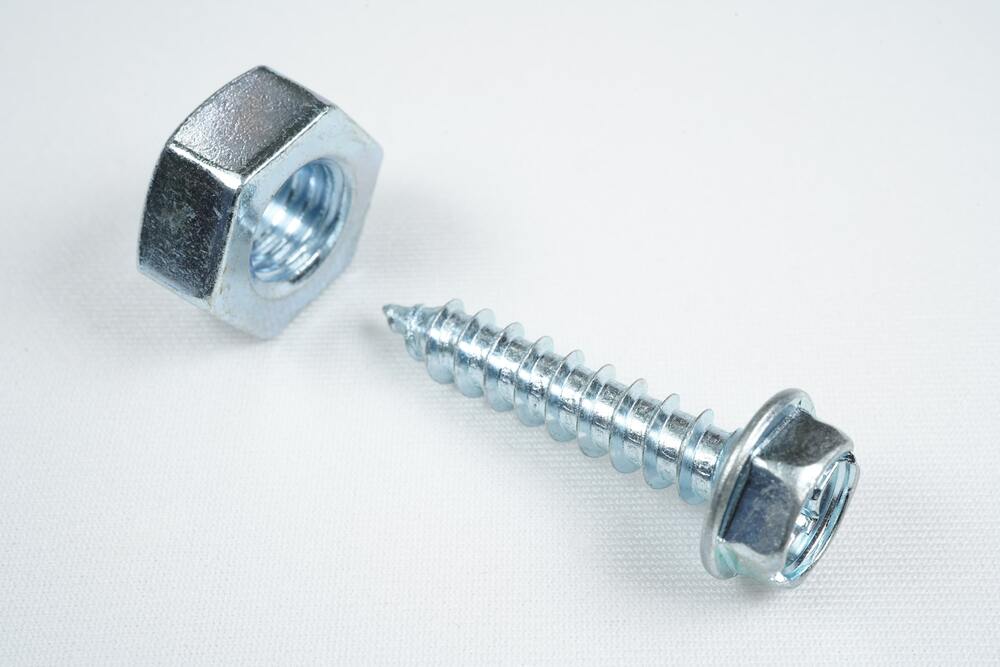
- Before beginning, gather the necessary tools: a Phillips head screwdriver and any applicable screws or nuts that may have come with the drawer.
- Open up the drawer fully and locate the back panel on the underside of it. This panel will likely be held in place by several screws; unscrew these using your Phillips head screwdriver.
- Once the back panel is removed, you will see the drawer glides and where they are attached to the drawer sides. Unscrew these using your screwdriver and remove them from the drawer sides.
- In some cases, the drawer front may also be held in place by screws on the underside of the drawer. Using your screwdriver, remove these screws and carefully detach the drawer front from the rest of the drawer.
- To reassemble, follow the steps in reverse order: first, attach the drawer front using your screwdriver and any applicable screws. Next, reattach the drawer glides to the sides with your screwdriver. Finally, replace the back panel and secure it with screws using your screwdriver.
- Your IKEA Hemnes drawer is now disassembled and reassembled! Enjoy the newfound storage space in your home.
Conclusion:
It’s important to be careful and follow all safety precautions when disassembling and reassembling IKEA drawers.
Consult the instruction manual or contact customer service for assistance if needed. Always call a professional carpenter if the damage is too severe to repair on your own. Happy assembling!
