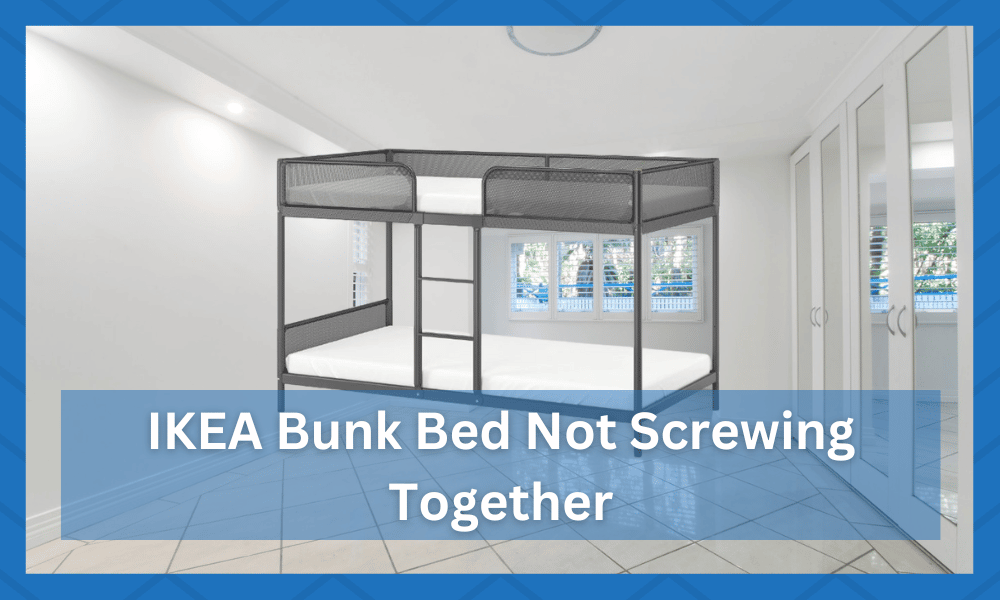
The IKEA Bunk Bed is a popular choice for kids’ bedrooms, but some parents have found the bed difficult to put together.
The bed consists of two twin-sized beds, one on top of the other. The bunk bed is often placed in the corner of a room to save space.
However, the screws that hold the bed together can sometimes be difficult to reach, making it difficult to put the bed together.
If you’re having trouble getting your IKEA bunk bed to screw together, don’t worry – you’re not alone. This is a common problem with IKEA bunk beds, and there are multiple things you can do to fix it.
IKEA Bunk Bed Not Screwing Together
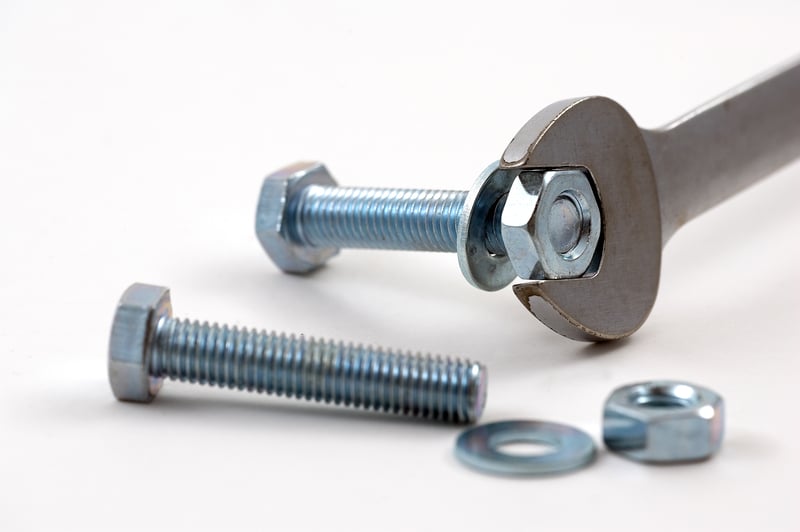
- Screws Should be the Same Size
All of the screws should be the same size. If they’re not, they won’t fit together properly, and the bed will be wobbly. To fix this, get screws that are all the same size.
Next, ensure that the holes in the bed frame are aligned properly. If they’re not, the screws won’t go in all the way, and the bed will be wobbly.
To fix this, align the holes properly. Use the correct type of screws for the material of the bed frame. If you’re not, the screws will strip, and the bed will be wobbly. To fix this, use the correct type of screw.
- Check the Weight Limit
Another common problem is that people try to put too much weight on the bed.
The weight limit for an IKEA bunk bed is heavy, so if you’re putting more than that on the bed, it’s no wonder it’s wobbly! Remove any excess weight from the bed, and it should be fine.
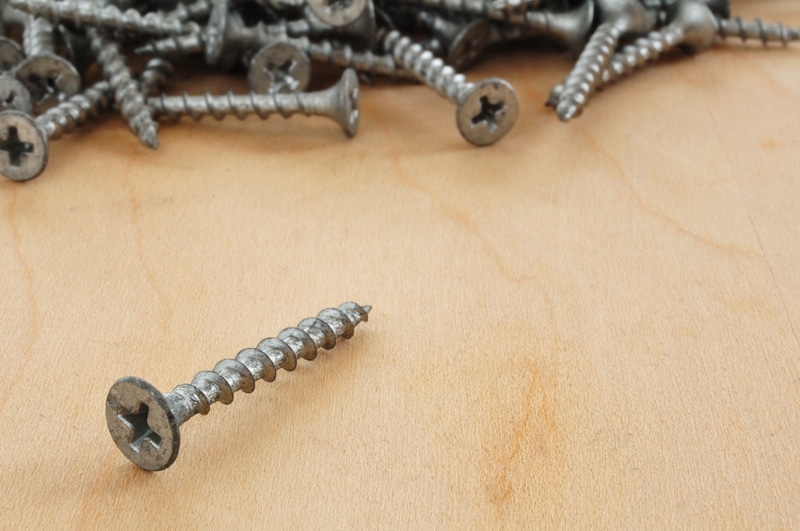
- Check for Missing Pieces
Sometimes, the bed won’t screw together properly because of missing pieces. IKEA is notorious for leaving out pieces, so it’s always a good idea to check and ensure you have all the pieces before assembling the bed.
- Tighten All Screws
Make sure you are tightening the screws properly. If any of them are loose, the bed will be unstable. This may seem simple, but ensuring all the screws are tightened correctly is important.
To do this, you may need to use a screwdriver. If the screws are too tight, use a wrench to loosen them and ensure all screws are tightened properly. As harmful as a tight screw is, so is a loose one.
- Check Connectors
Make sure all connectors are secure and in the proper place. If you have trouble connecting any of them, try using a flathead screwdriver to help push it into place.
You should also make sure none of the connectors are bent or broken, as this can cause instability with your bunk bed.
Once everything is in its right place, tighten all the screws and connectors to ensure they are secure. You may need to buy a replacement part if this doesn’t fix the issue.
- Use a Drill
If you’re still having trouble getting the screws to fit together properly, you may need to use a drill.
IKEA furniture is made with slightly different-sized holes, making it difficult to get the screws in place by hand.
A common reason the screws won’t fit is that the holes have been paneled over, meaning that there’s too much material on top of the hole. If this is the case, you can use a drill to create a larger hole.
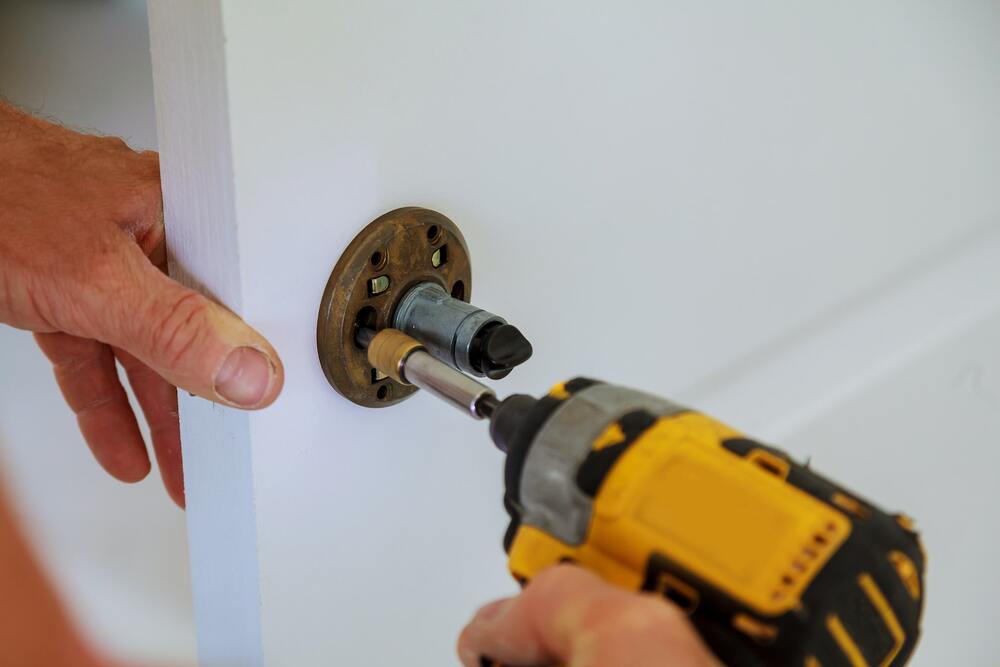
Start by using a small pilot bit – this will help you gauge how deep the hole needs to be and save time overall. You can then use a larger drill bit to widen the hole until it’s big enough for the screws.
While widening the screws won’t make it easier to get them in place, it will help the screws move more freely and may save you from having to apply extra force when getting the pieces together.
It’s also important to double-check that all of the pieces are aligned correctly before trying to screw them together.
This will help ensure the pieces fit together properly and reduce the risk of having to unscrew everything again.
- Use the Correct Size Drill Bit
Use the correct size drill bit when using a drill. If not, you could strip the screw and make the hole too big, making the bed unstable.
Hopefully, some of the above-explained tips will help you get your IKEA bunk bed to screw together properly. If not, you may need to return the bed and get a new one.
- Check for Loose Boards
One of the boards on your bunk bed might be loose. Check each board to make sure they are all secure and in place.
If a board appears loose or out of alignment, tighten it before moving forward. To identify a loose board, look for gaps between the boards or feel for a wobble.
- Check User Instructions
Make sure you are following the IKEA bunk bed instructions correctly. People often overlook directions that can cause them to assemble their bunk beds incorrectly and only realize it once they try connecting all the pieces together.
Read through the instructions closely and ensure you follow the exact steps according to the directions.
- Check All Components for Damage
Carefully inspect all components of your bunk bed assembly. Look for any signs of damage or wear and tear to the boards, screws, brackets, and other parts that make up the bed.
If you notice any broken pieces or damaged hardware, replace these items before continuing with the assembly.
Once you’ve troubleshot the steps mentioned above, it’s time to assemble the bed with the following steps.
- Equipment Required:
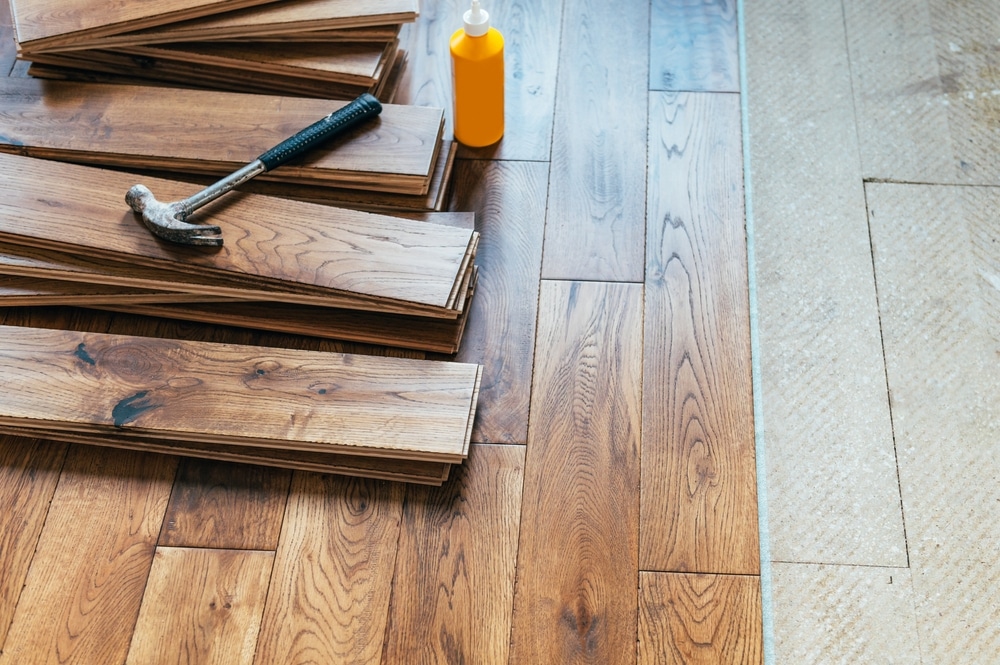
If you are looking to assemble an IKEA bunk bed, there are a few tools and equipment that you will need to complete the job.
Depending on the type of bunk bed being assembled, these items may include a Phillips screwdriver with appropriate size bits; flat-blade screwdriver; adjustable wrench or socket set; drill and drill bits; hammer; measuring tape and pencil; level; hex key set (for IKEA beds); and an assistant.
Step-by-Step Instructions:
- Gather all of the necessary equipment for the job before beginning. This includes a Phillips screwdriver, flat-blade screwdriver, adjustable wrench or socket set, drill and drill bits, hammer, measuring tape and pencil, level, hex key set (for IKEA beds), and an assistant.
- Carefully read through the assembly instructions before beginning work. Make sure you understand each step before proceeding. Please familiarize yourself with the parts included in the kit and their purpose.
- Start by laying out all the pieces and hardware on a flat surface to ensure that everything is accounted for before assembly. Ensure all parts are in good condition and free of damage or defects.
- Begin attaching each part according to the instructions, making sure to use the proper screws and other hardware. Start by attaching the side rails and support beams, then assemble each stair step according to the directions.
- Assemble all other components as instructed, using the appropriate screws or bolts for each part. Make sure to use a level while assembling to ensure proper alignment. Secure each component with an appropriate amount of force to ensure maximum stability.
- Once the bunk bed has been assembled, carefully inspect the entire structure to ensure all connections are secure and free of gaps. Make any necessary adjustments or repairs before allowing anyone to use the bed.
- Finally, enjoy your newly-assembled IKEA bunk bed!
Safety Precautions:
Always take safety precautions when assembling IKEA bunk beds. Wear gloves, protective eyewear, and other appropriate clothing, such as long sleeves and trousers.
Avoid over-tightening screws, as this can damage the materials used in the bed’s construction. Make sure to double-check all connections at each step of the assembly process.
If any part seems damaged, replace it with approved replacement parts from IKEA before proceeding. Keep children away and never allow them to help during assembly.
Most importantly, always follow the instructions provided carefully and precisely to ensure the safe assembly of the bunk bed.
It is also important to check the bed’s weight capacity before allowing anyone to use it, as exceeding this limit could result in serious injury or property damage.
Finally, utilize wall-mounted safety straps and additional furniture anchors when appropriate to prevent tipping or falling furniture accidents.
Concluding Thoughts
Assembling an IKEA bunk bed can seem daunting, but with proper preparation and the right tools and supplies, it is possible to assemble this product safely and securely.
Following the instructions provided precisely and double-checking all connections will help ensure that your new bed is secure, stable, and safe for use.
Utilizing proper safety precautions is also essential for a successful assembly. Taking the time to read and understand the instructions before starting work will save you time and help ensure your new bed remains secure, safe, and stable for years to come.
