
Ikea beds come in thousands of different designs and styles, giving you various options to pick according to your preference and the style that best matches your bedroom vibe.
Although each design would have its assembly instructions, the assembling can use very similar methods. Most of the reviews for assembling IKEA beds are found in video format.
There are also quite a few on YouTube that will provide you with enough knowledge to complete your IKEA bed at home without any professional help.
How to Assemble an IKEA Bed?
Although I would not recommend you to do it all alone, as there would be few moments when you would need another pair of hands to hold pieces in place until they are fixed with screws, this person, however, doesn’t have someone very strong or skilled, you can do it with your siblings or partner quickly at home.
IKEA has been ranked as the world’s largest retailer since 2008. Its franchises are spread across over thirty countries and sell ready-to-assemble furniture, kitchen appliances, and other good home services.
When buying from IKEA ready-to-assemble furniture, especially beds, people indifferent countries expect to have a guide/ instruction for assembling and its care in a language that they easily understand.
Although it would be costly to have instructions written in every language for different countries, IKEA has still considered these language issues.
Considering this language issue, we have put together some of those people who purchase from IKEA but can’t read in any language, and all the instruction manuals like Mydal bunk bed that come with only the product and company name are written basic steps to assemble your IKEA bed.
For those of you who are visual learners, this article will probably be the best bet as we are also providing here in a video clip the easy assembling steps of an IKEA bed with instructions.
9 Steps to Assemble an IKEA Metal Frame Bed
- Ensure You Have All the Parts of the Bed
The first step in putting together any IKEA product is to ensure that all of the parts of the bed are there.
It is essential to have the headboard, footboard, side panels/arms, and center support beams, screws, screwdrivers, and hammer.
Keeping all the parts and necessary tools in the same room where you are starting to assemble your bed will save you from a lot of hassle, and also, you wouldn’t need to look for parts or tools in the middle of your work, saving you a lot of your time.
Now ensuring that all parts are present is a relatively easy task when assembling smaller beds because fewer parts exist.
However, it is hard to be halfway through a project andfind out that the next piece of hardware is missing; it breaks your work tempo and sometimes makes you lose interest.
- Connect the Legs
The instruction manual shows the right and the wrong way to do each step. The characters used to put the bed together are a bit goofy looking, but the pieces themselves are very accurately drawn.
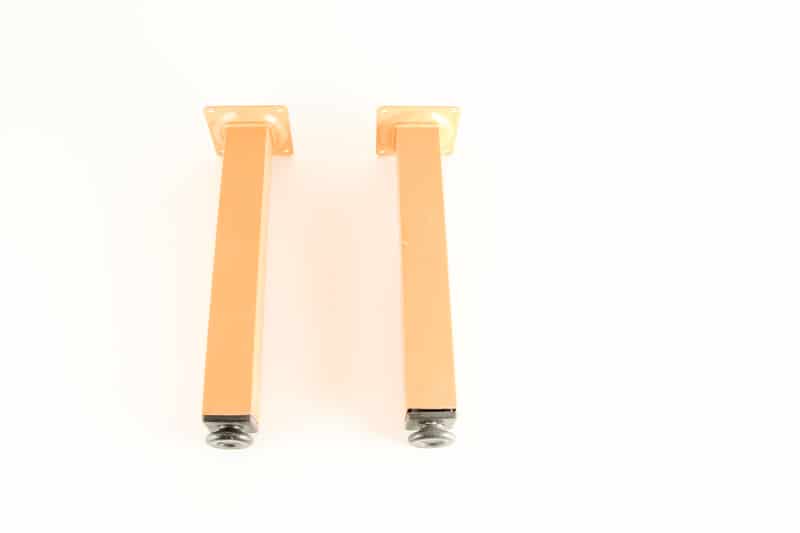
Now that you have ensured the presence of all the parts, start by connecting the four legs, two with the headboard and two with the footboard. Each leg is designed such that it can slide in through the designed panels in the head and footboard.
The metal pieces of the bed have holes in them for the screws and other hardware. You would see the length of these four legs is designed such that the hole in the board panel will rest on the holes in the legs.
Fix each leg with two screws in the two side holes while using the small plastic stopper to guide you on how deep you must go with each screw.
- Attach Feet Or Wheels To Each The Leg
It is also essential to make sure each piece of hardware is the right one for that area and that you are attaching it correctly in the right direction. When you are done connecting the legs, Look for the short beams extending from each metal leg.
Connect the feet to the portion if you’re putting together an immobile bed frame. If the bed you assemble is a mobile, make sure you connect the included wheels.
For most bed frames, you can watch those without any special hardware.
However, some models require you to secure them with a screw, so they stay together and do not come off, causing you any inconvenience later.
- Attach the Side Arms and Lock Them
The next step in the IKEA bed assembling is connecting the side panels or the side arms. Some metal bed frames house their side arms inside the metal legs themselves; this makes their packaging compact and shipment easy.
If that is how it is in your IKEA bed, you should pull the arms out of the legs and ensure they are fully extended.
If the legs do not contain already attached side arms, you will need to connect the arms separately with the head and footboard using screws and nuts.
During this step of the bed assembling, you would need a little assistance from your partner or sibling to hold the panels while you tighten those screws to lock the panels that connect to the headboard and the footboard.
- Attach A Center Support Beam If Necessary
A few metal bed frames, especially those that connect the side arms using a metal plate, come with a center support leg.
If this support beam has come up in the shipment with your bed, connect it. Lay it across the center of the bed frame. Slide the ends of the grooves of your center leg into them.
Otherwise, attach those using screws and nuts. If your bed didn’t come with the center support beam and the leg, there’s nothing to worry about. You can skip this step and move forward.
- Place Protective Caps on the Edge of the Bed Frame If Necessary
Make sure your bed frame doesn’t leave small, exposed pieces of metal on the corners. Cover these with included protective caps; if caps don’t come up with the bed and it does have exposed metal, cover it with multiple layers of duct tape or adhesive foam sheet.
Covering these spots will keep you from scraping your or your baby’s skin if you bump into the bed frame.
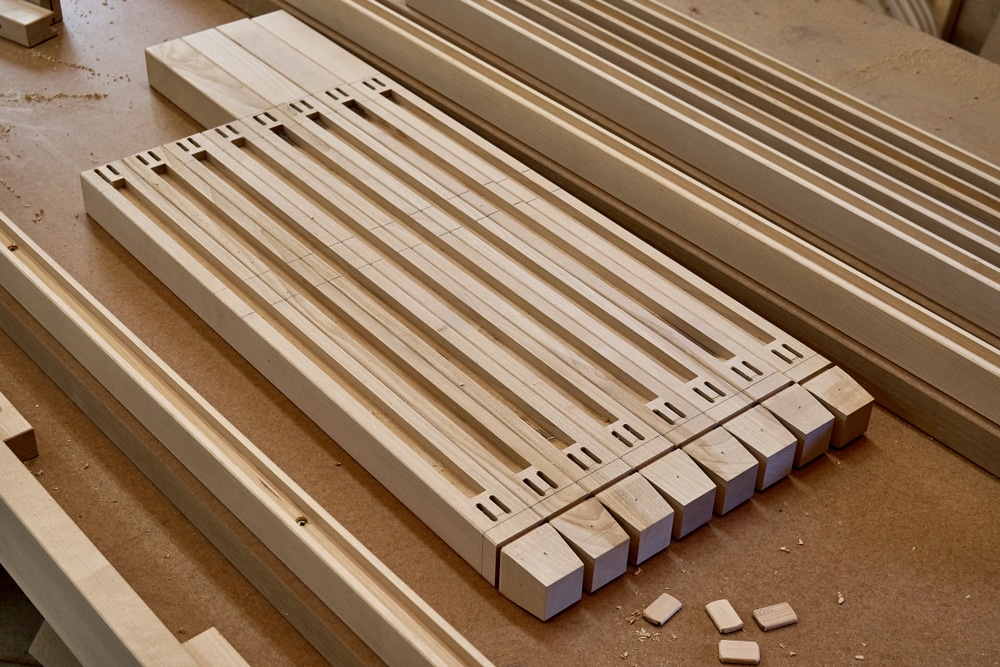
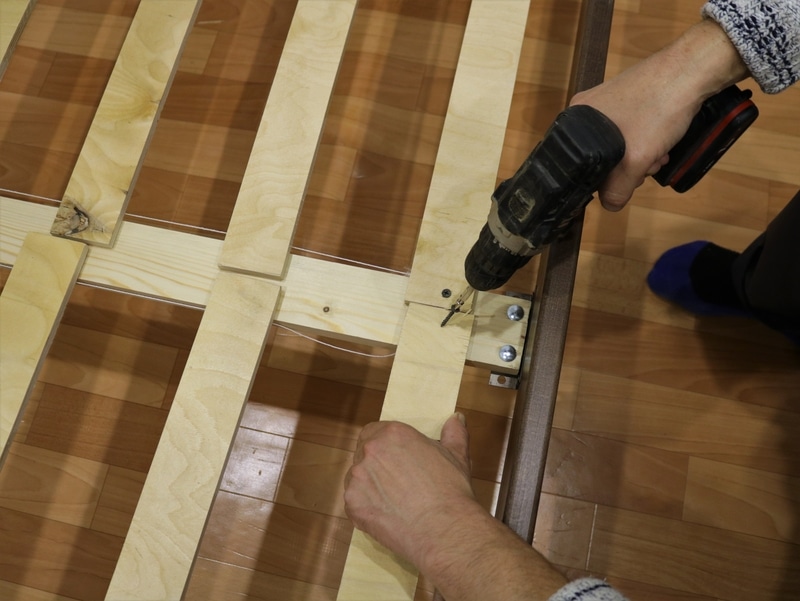
- Attach the Bed Slot Foundation
Once the frame is put together, it’s time to work on the foundation. Again, the drawings show how to do this correctly.
One thing to note is that the pictures show that the hammer should not directly hit some parts. A piece of wood should be used to buffer the blow.
However, there are different options simplest being the one where you hook them to stoppers and slide it all the way to fix that bed’s wooden foundation when you are done putting the frame together.
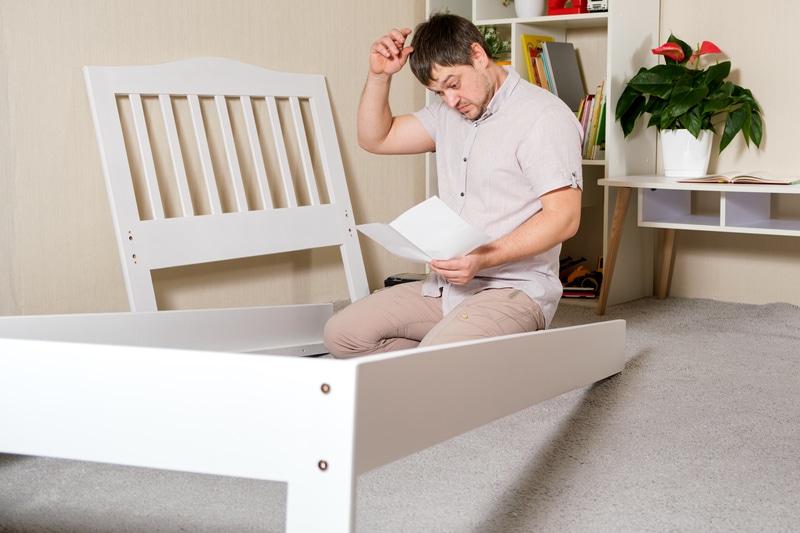
- Attach The Upper Part of the Headboard.
Most of the beds have two parts of the headboard. The lower one is fixed with the legs and the side panels to make the bed frame. It is this frame over which the bed slot foundation sits.
After you have completed this frame and foundation, it’s time to put up that upper part of the head side to give your room a more decorative look.
Ensure to attach the two pieces of the headboard with screws such that they are fixed together tightly and don’t fall on you when you jump on the bed.
- Finish the IKEA Bed Assembling By Adding the Mattress
After completing all these steps, your bed is finally ready. All left to do now is add the mattress and make it more comfortable by adding sheets, blankets, and pillows.
These are the steps to follow to assemble an IKEA bed. As you can see, it’s not difficult to do, and you don’t need special skills or knowledge. Just follow the instructions and enjoy your new bed!
If you have done all these steps, you are ready to put the matters on and the most comfortablesheets to jump on and have a cozy night.
Conclusion
The mentioned eight steps are the basic steps to assemble an IKEA bed at home by yourself. Although the instruction manual suggests that putting together the bunk bed is a two-person job, many reviewers say they have done the job independently.
It may take longer, but if needs be, it’s doable. That said, for safety’s sake, the consumer should have someone available to help, making the work easier and quicker.
Following these steps, you can assemble most of the beds; however, if you still get stuck up, consult the model-specific instruction manual or contact IKEA to help you.
