IKEA is a Swedish conglomerate well known for its ready-to-assemble and do-it-yourself home appliances, kitchen accessories, and furniture, including beds, dressers, storage drawers, tables, and so much more.
But first-time buyers may not know that the company doesn’t use many words to explain how to do things. In other words, IKEA doesn’t always print instructions with its DIY furniture and appliances.
While saving paper and preventing pollution this way is good for the planet as there is no need to print directions in the official language of every country IKEA inhabits, it does, however, make assembling furniture and putting things together harder.
Considering IKEA’s one of the finest furniture productions, tables in different sizes and shapes have various adjustments before they can be utilized constructively to serve food, enjoy your evening tea, or as your children’s study table.
If you are a first-time buyer or your IKEA table has come in without its user manual, you may find assembling the table generally difficult and adjusting its legs even more intricate.
So we are here to solve your worries about adjusting your IKEA table legs.
IKEA Table Legs: How To Adjust Them
In this article, you’ll find a detailed explanation of adjusting your IKEA table legs without going through a user manual.
The good news is that there are various websites and videos on how to do this. YouTube has a diverse range of videos and pictures with written instructions that can make your task easy.
A key feature of IKEA adjustable leg tables is that you can adjust the table legs to whatever height meets your needs.
Besides this, adjusting also depends on the type of the legs on your unit and whether or not the leg is being installed for the very first time or being readjusted after they had been misaligned.
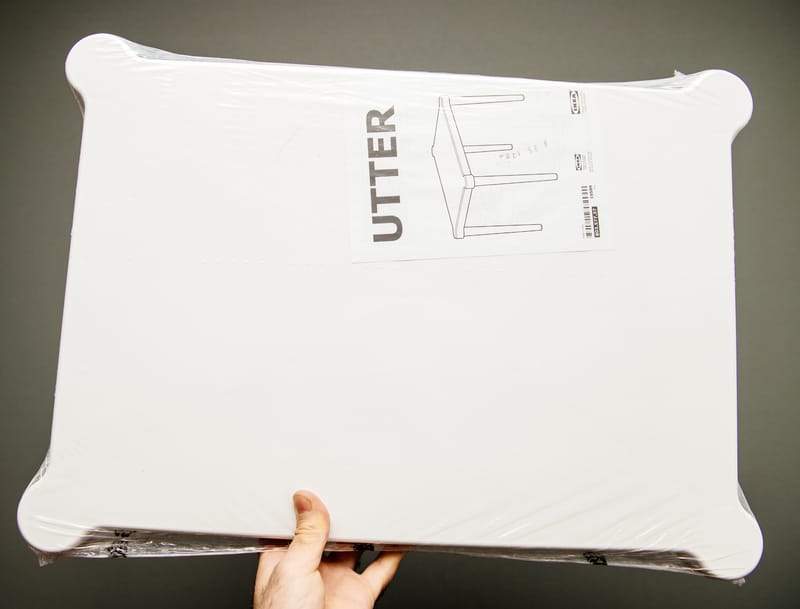
Before making the adjustments, you must know which type of table leg it is. Your IKEA table with adjustable legs would either have the T Type legs or it has come as four adjustable legs- desk unit.
Especially when your table has T-type legs, you would need an extra pair of hands to adjust it before you can conveniently use it.
The T Type of Legs
The T-type legs are the ones that require two people. They also require an Allen wrench rather than a standard screwdriver for the job. If this is the type of table legs, collect your tools, get some help with you, and get started.
Step 1 – Locate the Screw
While one person holds the opposite end of the table to keep the table from falling or any mishap, the other person goes under the table to locate the screw on the center of the table leg.
Step 2 – Loosen the Screw
Now grasp your Allen wrench and start loosening the screw located in the leg’s middle by turning it counterclockwise.
Make sure you are turning the screw counterclockwise because if you turn it the other way around, you will be tightening the screw disabling the legs to be adjusted the way you want.
One complete turn of the Allen wrench in an attempt to loosen the screw should be enough to get the right amount of sliding to adjust the table at the height that suits you best.
Step 3 – Adjust the Leg
If the table height needs to be higher, you would need to grasp the bottom portion of the leg and push it up to raise the height of the table.
Adjusting the leg to increase size is a one-person thing; however, if it needs to be lower, you would need your helper to slowly push down/ lower the table end until it is at the right height.
Step 4 – Lock the Leg
After you have achieved the correct height of the table for your personal use, tighten the screw. Turning the screw clockwise would tighten the loosened screw and lock the leg in the achieved height, so now it will stay that same way.
Step 5 – Adjust the Remaining Legs
Follow steps 1 to 4 to adjust the other legs that have come with the table. Ensure to lock the legs tightly to prevent accidents while using the table.
Step 6 – Check Level
When all four legs are done, it’s time to get out to the tabletop level. Anyone among the laser or bubble tabletop levels would work, provided it works well.
By checking the level, you can ensure that all four legs are at the same height, and this way, it’s easier to see if any further adjustments need to be made.
If they do, it is recommended to repeat the steps and try locking all the legs at the same height.
Once you are done and the tabletop level is accurate, you can put your tools back in, place the Allen wrench inside the rubber clip for future adjustments, and your table is ready to be used!
The Four Leg Desk Unit
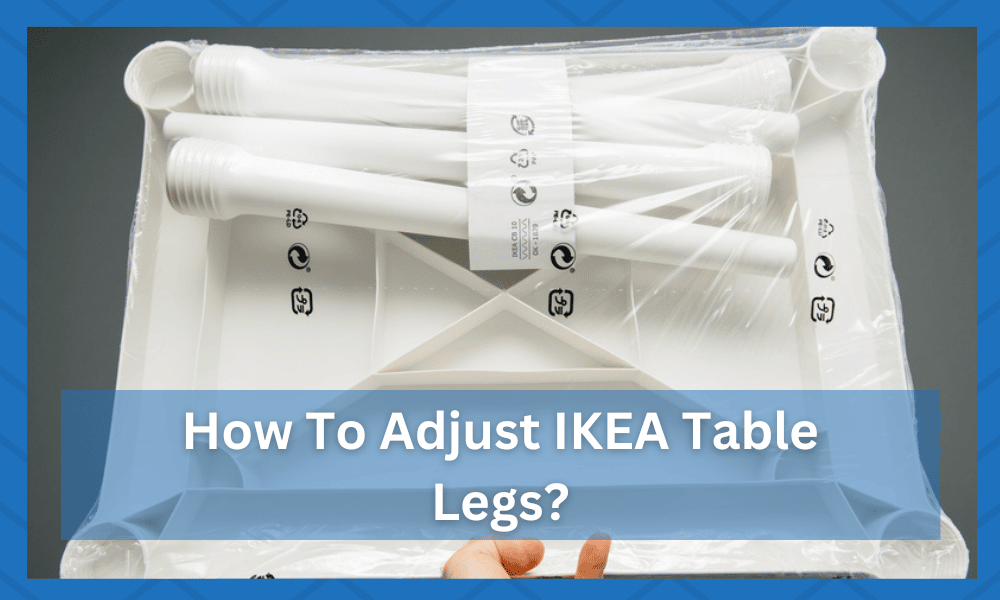
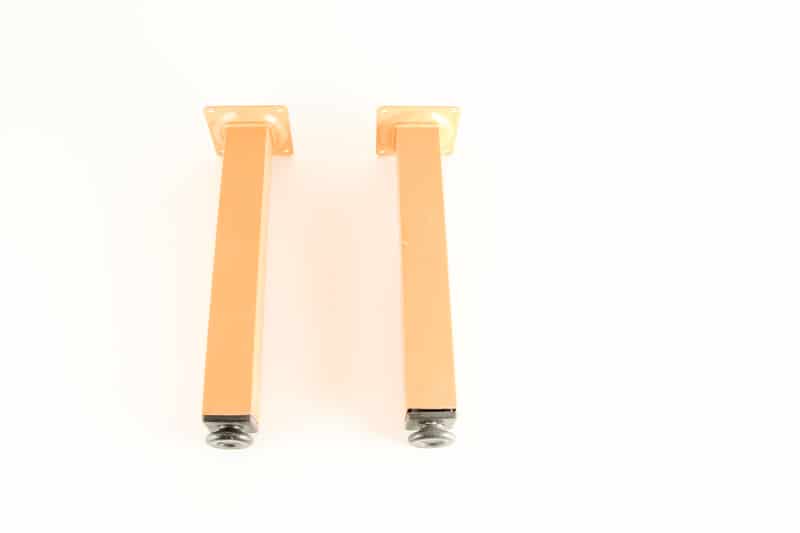
As suggested by the name, the four-leg desk unit comes with four straight adjustable legs with an outer upper portion and a lower portion.
It is constructed such that the upper outer portion is combatively wider than the lower portion and allows the sliding of the lower portion in it when the legs are unlocked.
This structure enables mounting the table top at a height that suits you. An impressive thing about these adjustable table legs is that they have plastic feet that allow easy shifting of the table from one place to another without scratching your delicate wooden floors.
The easy and quick adjustments in the table give you an advantage of using it to serve coffee and snacks to your gets in the evening and afterward adjust your legs to your child’s height for homeschooling him in the morning.

Unlike the T-type legs that require an extra pair of hands, these legs can be adjusted exclusively by only one person.
Now that you know adjusting the table legs is easy, you do not have to wait for your partner’s help to get started.
Without any further delays, let’s get started. Follow the five quick steps to adjust your four-leg desk table height now.
Step 1 – Unlock the Leg
As already mentioned, the legs have two parts; an outer upper piece and a lower inner piece.
To unlock the legs to adjust at a suitable height, grasp the upper portion of one leg in one hand. With your other hand, hold the lower part and turn that lower portion of the leg counterclockwise.
Step 2 – Adjust the Height
Push the inner leg up in the upper outer portion to lower the table height or pull it down until the height to which you want to raise the table. There are notches on the inner leg to indicate table height.
You can adjust the legs to whatever height you want, between 60 cm to 90 cm, minimum and maximum height, respectively, which can be attained with adjustable legs.
Step 3 – Lock the Leg
When you are done adjusting the leg and are sure you need that height to lock the legs.
Locking requires turning the inner leg clockwise until a click is heard, and you are unable to turn it any further. This will lock the leg in position.
Step 4 – Repeat on the Other Legs
Repeat the steps for the other three legs and ensure they are all at the same height. It is essential that all your table legs be locked at the same height to ward off any accidents.
Step 5 – Check the Level
Check the table level by lasing or bubble tabletop level device to ensure all the table legs are at the same height. If it’s not, make the adjustments accordingly, and once it’s accurately leveled, your table is ready for use.
THINGS TO REMEMBER
There is a caveat to these instructions. If you are putting the table together for the first time, it will most likely be upside down. In that case, turning it counterclockwise is counterproductive.
Turn it clockwise to tighten it, or the legs will slip down when it is turned upside right.
There are some pitfalls that can come with putting together these legs for the first time. It is possible to over-twist the screws. If that happens, the locking mechanism will slip off.
To reattach it, collapse the leg entirely and twist until it reconnects. After that, be careful not to over-twist.
Whether or not help is needed for turning it over the first time after putting it together will depend more on weight and size rather than someone holding something.
A small coffee table may be something one person can do whereas a dining room table will need at least two people.
Following these easy steps you can adjust your table legs to meet your needs however if you are unable to do so IKEA has a helpline for anyone who has further difficulties or if any parts are missing or broken.
