IKEA’s wide range of well-designed table tops in solid wood, tempered glass, and other finishes gives you the opportunity to pick your choice of tabletop and legs.
The separate purchase option allows you to make your own combination according to the designated space.
Having said that, IKEA’s Linnmon table tops are ranked among the few best table tops IKEA manufactures.
It is made of fiberboard with a Honeycomb structure paper filling.
It is light in weight around (40lbs), is quite sturdy, and also resistant to all types of weather conditions and UV rays.
It is weatherproof, impact-resistant (no dings and dents), and scratch-resistant, making it one of the best choices for you if you are looking for a reasonably lightweight, durable tabletop.
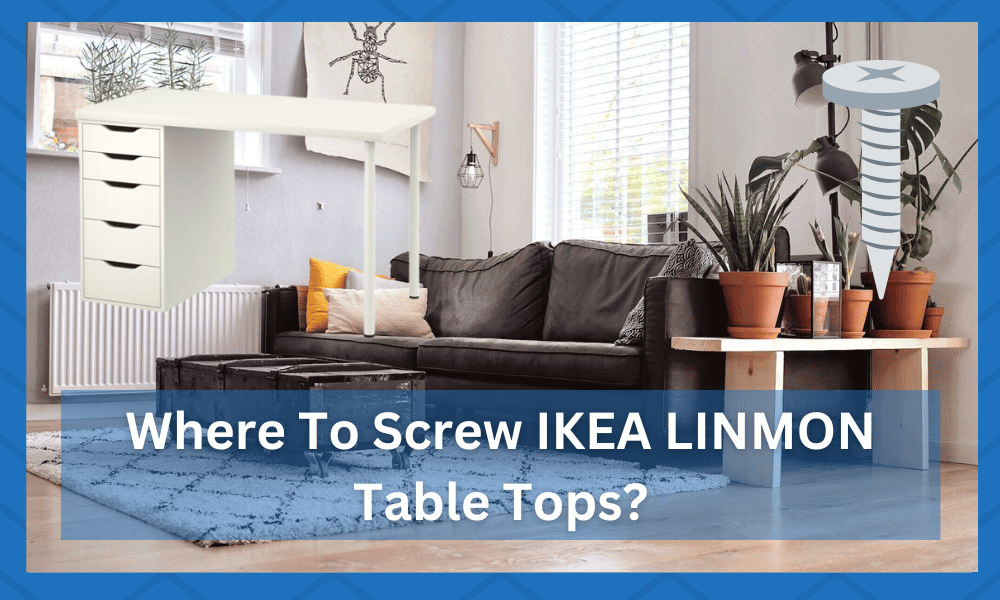
Where To Screw IKEA Linnmon Table Tops? (9 Things To Know)
It comes with pre-drilled leg holes that make it easy to assemble.
For the tabletop to be sturdy, it is necessary that the legs, trestles, or the storage units to which these table tops are attached are properly screwed with the tabletop; failure to do so would result in tables or storage units collapsing, crumpling your necessary items on the floor, making a mess that could otherwise be avoided.
IKEA’s Linnmon table tops have drilled holes for the structure to be screwed well with the legs to make it sturdy and robust.
However, if you’re having trouble attaching your Linnmon table top to the legs, you must know a few reasons that could be causing this problem.
- Faulty screws
- Poorly aligned screws
- Using the wrong size of screws
If you encounter any of these problems, we are here to solve them. In this article, we will tell you 9 essential things for where to screw the Linnmon table top, so it’s sturdy and can be used safely.
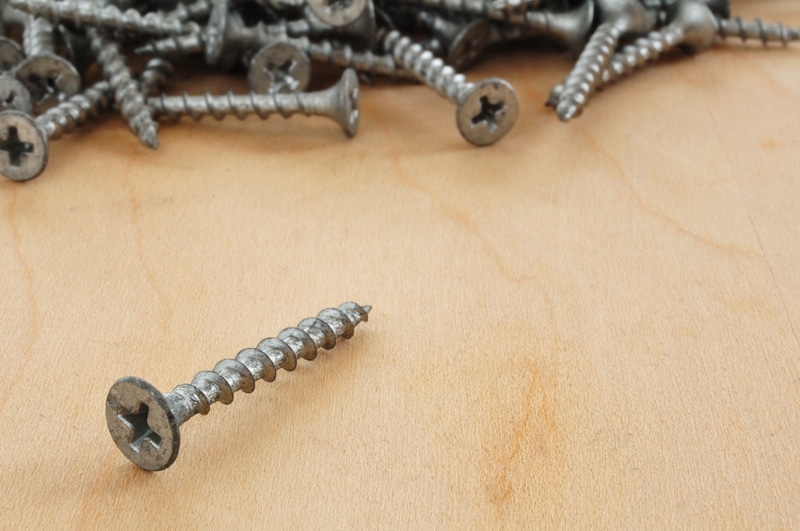
Before you begin screwing the IKEA Linnmon table top with the legs, check to ensure that the screws are not damaged and are the right size for the holes in the tabletop; only then can you properly screw them up.
It would be great if you use the screws with the tabletop and legs in the IKEA package.
If, however, you are finding it difficult to use those screws or you have lost some and have decided to use another pair, read the article below to know exactly where to screw IKEA Linnmon table tops.
So they are not only sturdy but also add to the overall vibe of the room.
Where To Screw IKEA Linnmon Table Tops?
- Align all Screws
Ensure the screws you use (whether the ones that have come in with the package or the extra ones you are using) are properly aligned in the pre-drilled tabletop holes.
All of the screws should be positioned correctly and adequately tightened.
If any of the screws are loose or merely just positioned and not tightened well enough, this could cause the table top to become detached from the frame, legs, or storage unit.
- Tighten all Screws
It is essential to tighten all the screws. Leaving any one of the screws not tightened well enough just because you are eager to have a final look would later cause you great problems.
If the screws are properly aligned and tightened, but the table top is still becoming detached, you may need to use a different type of screw.
Look for a screw that has a thicker shaft and a smaller head. These screws will be able to grip the table top better and keep it attached to whatever structure you have decided for it.
- Replace Damaged Screws
If you’re using the proper type of screws, especially those that came in the package or some extra ones that you have scrutinized for shape and size, and the tabletop is still becoming detached, the screws are most likely to be damaged.
Either the screws’ round point would be slightly chipped off or deformed, which will not allow you to apply the required pressure and create friction without damaging or deforming the material, or the threaded shank would be flawed.
Although it may not appear significant, the threaded shanks are the main thing that allows for a stronger grip when screws are used to fix things together.
Nonetheless, damage to any part, the point, threaded shank, or the head of the screw will require you to replace any damaged screws with new ones to attach the tabletop to the frame properly and firmly.
- Use Larger Screws
If you’re using the proper type of screw and the tabletop is still becoming detached, the screws are likely damaged.
You’ll need to replace any damaged screws with new ones to properly attach the tabletop to the frame.
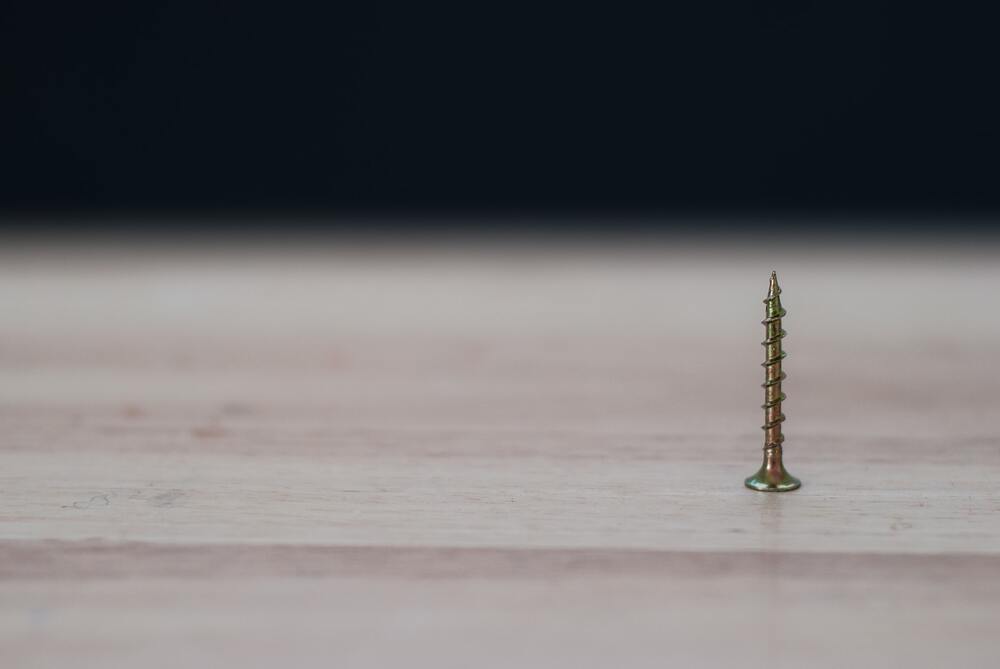
It’s also possible that the holes in the tabletop are too small for the screws. In this case, you’ll need to use a larger screw. Look for a screw slightly wider than the one you’re using now.
Or, depending upon the depth of the drilled holes in the tabletop, you can select a screw that is a little longer in size if the smaller ones don’t provide the required grip and move freely, even when tightened well enough.
This will create a tighter fit and help keep the tabletop attached to its other parts
- Use Washers
If you’re using the proper type of screw and the tabletop is still becoming detached, the screws are likely worn out.
Over time with usage, the screws either become worn out or the holes become a little bigger due to constant pressure and weight.
You’ll need to replace any damaged screws with new ones to properly attach the tabletop to the frame. Or an easy way out with less outlay is to use the washers in your old screws.
Washers serve to keep the screw from loosening and also distribute the load from the nut or bolt head over a larger area.
This will not only save you money but will also give a longer-lasting sturdy grip to your table tops and legs and let you enjoy your Linnmon table top for more years.
- Use Nuts
If you’re using the proper type of screw and the tabletop is still becoming detached, the screws are likely damaged.
You’ll need to replace any damaged screws with new ones to properly attach the tabletop to the frame.
It’s also possible that the holes in the tabletop are too small for the screws. In this case, you’ll need to use a nut.
A nut is a mechanical fastener with a threaded hole. It comes in different sizes considering the various screw types and sizes.
It is attached to a screw or stud to provide extra clamping force and prevent axial movement, making the tabletop’s grip more firm.
Place the nut over the end of the screw and tighten it. This will create a tight clasp and make your table safe and sturdy.
- Use Different Screws
If you still have trouble attaching the tabletop, try using different screws. This can often solve the problem.
If you’re using the screws that came with the table, try switching to a different kind of screw, e.g., a longer or shorter screw depending on the issue you are facing.
- Different Size Screws
If you’re using the wrong size of screws, this can also cause problems when attaching the tabletop. Make sure to use screws that are the right size for the holes in the tabletop.
Otherwise, working with the wrong-sized screws will only cause you to waste your time because how much ever you put in the effort, you cannot attach the wrong-sized screws to your table tops.
If you forcefully attempt to do so, you may damage the tabletop.
- Check the Holes
Finally, ensure that the tabletop holes are properly aligned with the holes in the frame. If the holes are not properly aligned, this can cause the screws to strip or break.
You can also check the holes for obstructing particles that may prevent the screws from tightening. Removing the obstruction, if any, will likely solve your problem.
The Bottom Line
Linnmon table tops are one of the most sturdy, durable, and versatile table tops IKEA manufactures.
It comes with pre-drilled holes and the appropriate screws to be attached to the legs, trestles, storage cabinet, or whatever you have decided for your room.
In this article, we have listed the 9 main points that you should know when you are screwing your tabletop.
If you are unaware of where and how you can effectively screw them, or you are unable to do so, this article will help you through the process.
