IKEA KALLAX screws are popular among many do-it-yourselfers and professionals for their wide applications.
From building furniture to picture frames, these screws can be used in a variety of projects. IKEA KALLAX screws are a type of hardware that is used to connect two pieces of material.
This is done by using the head of the screw to grip onto the material while the sharpened end is driven into the other piece of material.
The screws are available in different lengths and diameters to ensure their usage for various applications.
IKEA KALLAX screws are made from high-quality materials that make them durable and long-lasting. They are designed for easy installation and removal. However, at times the screw doesn’t catch correctly.
IKEA KALLAX Screw Not Catching
One must know the reason for the screw not catching up to address the issue. If you are not aware of why your screw is not catching, you simply cannot fix it.
In this blog post, we will inform you of all the common reasons causing your Ikea Kallax screw not to catch and a detailed explanation of how you can fix the issue.
So without any further delays, let’s look into a few common reasons why the IKEA KALLAX screw doesn’t catch.
- You Aren’t Using A Dry Wall Sleeve Anchor
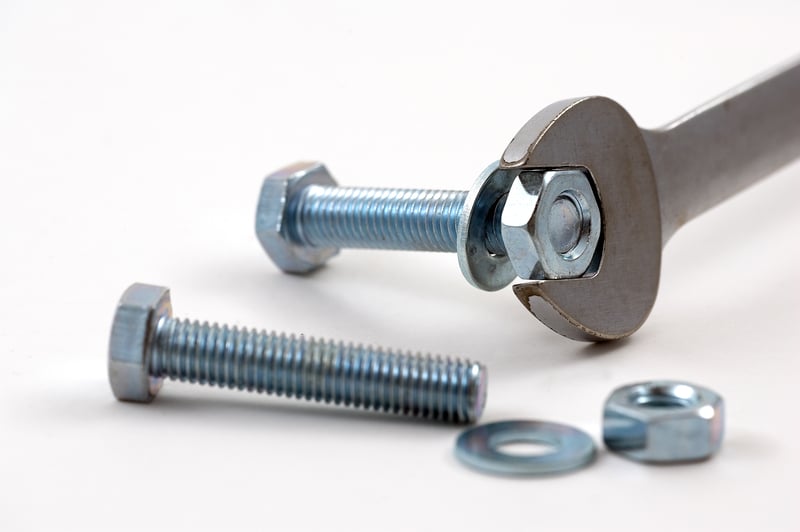
The screws, as we all know, have 4 parts: a tip, thread, shank, and head. Similar to all other screws Ilea Kallax screw also has a tip, a threaded part, a shank, and a head part with a drive.
It is a basic fact that screws are used to position things at their places or hold together objects and are mainly meant for and used on wood.
Ikea Kallax screws can also be used on a brick wall instead of nails if you don’t want to damage your wall. However, screwing a Kallax screw in a brick wall requires a drywall sleeve anchor.
The drywall sleeve anchor comes in plastic, nylon, and zinc-coated material that helps the Ikea Kallax screw to stay in a wall with higher shear strength.
They are typically best if you want to hang a photo frame, wall clock, or anything around 5 to 20 pounds.
However, if you don’t use this anchor, your Ikea Kallax screw will likely not catch. The more you screw it, the wider the cavity becomes, the wall will be damaged, and you won’t be able to hand any of your frames.
Not using a drywall sleeve anchor with an Ikea Kallax screw would cause your screw to not catch in the brick wall.
- The Screw Is Not Properly Aligned.
Another reason your Ikea Kallax screw is not catching is that the screw is not properly aligned.
Poor alignment or malalignment of the screw would either not entirely catch, or even if it does, it isn’t stable and can come out if any pressure is applied over it.
This may occur if you have not smoothly kept the two surfaces you intend to join together.
An Ikea Kallax screw may also not catch when you keep it diagonally or inclined when screwing it in instead of keeping it vertically straight.
- The Screw Is Not Tightened Enough.
If the Kallax screw is not tightened enough until its last thread circle, it won’t fix the wood surface entirely. Maybe you have some success initially, but it will eventually loosen over time and not remain in its place.
This can cause also prove harmful in the long run, as a loosened screw may result in the surfaces falling apart or your frames falling to the floor, shattering to pieces.
- Something Is Blocking The IKEA KALLAX From Catching.
Sometimes, the screw may get a hindrance in its way, so it wouldn’t catch up while you try to screw it into the surface.
Here’s how you can troubleshoot the issue when you have found what’s the real cause behind your Kallax screw not catching?
9 Ways To Fix IKEA KALLAX Screw Not Catching
- Use The Drywall Sleeve Anchor.
Various sizes and types of screw drywall sleeve anchors are readily available in the market that can be used with the Ikea Kallax screws for greater strength and fixing. It allows the screw to stay in the brick wall with greater shear strength.
These anchors are also low-budget and can be easily purchased conveniently from any nearby hardware shop.
So the first thing you should try if your Ikea Kallax screw is not catching is to supplement its usage with the drywall sleeve anchor.
- Properly Align The Screws.
Check that the IKEA KALLAX is properly aligned. The IKEA KALLAX should be flush with the top of the work surface. If it’s not properly aligned, try adjusting the work surface.
Ensure not to diagonally place or incline the screw when you are fixing it using the screwdriver.
A screw to accurately catch up in the surface should be vertically straight throughout the process of screwing until the head of the screw touches the surface of the object.
- Drill Pilot Holes
If the IKEA KALLAX is still not catching, try drilling pilot holes. Drill two pilot holes, one at the top and one at the bottom of where the IKEA KALLAX will be installed.
The pilot holes are narrow drilled holes in the surfaces that allow the insertion of a wider screw into the surface.
Sometimes when the drilled hole is larger than the Ikea Kallax screw, the screw will not catch or fix the surfaces together.
So it’s always better to start with pilot holes, and then you can go bigger according to your Ikea Kallax screw size.
- Use A Different Screw
Try using a different screw. If the IKEA KALLAX screw is not catching, try using another type of screw.
A Phillips head screw or a flat head screw may work better depending on the drive of the Kallax screw you are using.
It is best to use a Phillip screwdriver if your screw head drive is cross-shaped. Similarly, for the flathead screw, use the flathead screwdriver.
- Use A Screwdriver Bit
If you’re having trouble getting the IKEA KALLAX screw to catch, try using a screwdriver. Insert the screwdriver bit into the drill and then use the drill to drive the screw.
The Screwdriver bit helps to grip the screw and can make it easier to get the IKEA KALLAX screw to catch.
- Apply Some Pressure
Consider applying some pressure to the work surface. This will help hold the IKEA KALLAX in place while screwing it in.
Keeping the two surfaces together helps to fix the screw in more easily. Otherwise, it will keep rolling between the distances and not catch properly.
- Try A Different Drill Bit
Try using a different drill bit if you still have trouble getting the IKEA KALLAX screw to catch. A smaller drill bit may work better. Try drilling a few test holes to see if the smaller drill bit helps the IKEA KALLAX screw.
- Use A Drill Guide
Use a drill guide if you’re having trouble getting the IKEA KALLAX screw to catch.
A drill guide helps to keep the drill bit steady, which prevents any extra widening of the drill hole and can make it easier to get the IKEA KALLAX screw to catch when the pit is exactly or a little smaller than the Kallax screw
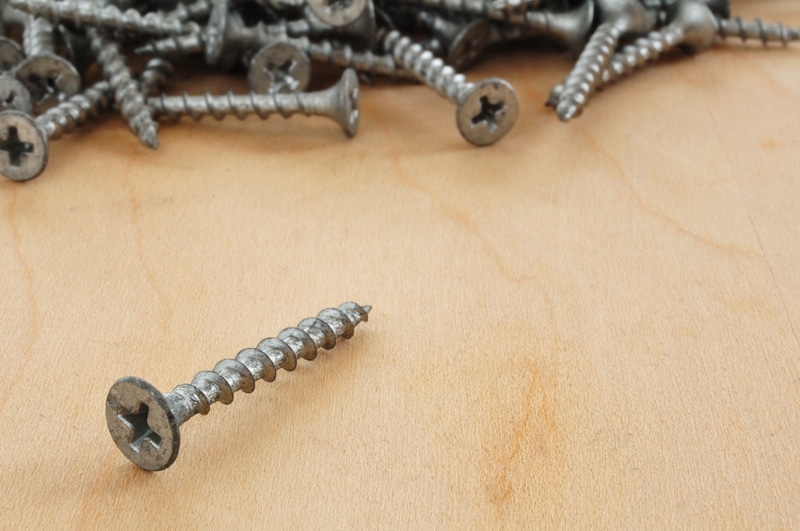
- Check The Screw Size
Make sure that the IKEA KALLAX screw is the correct size. If the screw is too small, it may not catch. If the screw is too big, it may strip the threading, and you certainly don’t want that.
Make sure that the screw catches in the surface snuggly enough to keep the two parts together.
It is of utmost importance as if the appropriate size of screw is not selected, not only will your screws not catch, but your objects will also fall apart and cause accidents.
- Use A Power Drill
If you’re still having trouble, try using a power drill. The added power may be enough to get the IKEA KALLAX screw to catch.
Sometimes the blockage behind the screw that’s causing the screw to not catch requires extra power, so your screw catches in its place, and you can deliver this power through a power drill.
The Bottom Line
Ikea Kallax Screws serve as an essential component when it comes to finalizing your big DIY projects or when you simply have to hang your favorite family picture up on the brick wall.
However, the Ikea Kallax screws may sometimes not catch snuggly enough in the surfaces you are trying to screw them into, and it can be frustrating.
If you are also stuck in a similar problem, and it’s keeping you from finishing your project, try fixing the issue using the above-mentioned quick fixes.
We hope you are able to fix your Ikea Kallax not catching by these methods in no time!
