Window Trim Quantity Calculator
Estimate linear trim, stick count, individual casing pieces, stool and apron lengths, rosette blocks, cutting allowance, waste buffer, nails, and caulk for interior window trim projects.
Pick a starting scenario, then adjust the opening size, trim style, reveal, casing width, stock length, and waste allowance to match your windows.
| Trim style | Main pieces per window | Width formula idea | Height formula idea | Best use |
|---|---|---|---|---|
| Mitered casing | 4 casing pieces | Opening width + reveal + casing width | Opening height + reveal + casing width | Traditional casing with 45-degree corners. |
| Butted flat stock | 4 casing pieces | Head and sill span side casing outside edges | Side legs run full opening height plus reveal | Simple painted flat-stock trim. |
| Sill and apron | 3 casing pieces + stool + apron | Stool uses horns beyond side casing | Side legs stop at the top of stool | Bedrooms, baths, and older window details. |
| Craftsman | Side legs, head board, cap, stool, apron | Head board and cap can overhang legs | Side legs stop below the head assembly | Square, layered trim with no mitered corners. |
| Rosette blocks | 4 casing pieces + 4 blocks | Casing fits between block edges | Side casing fits between top and bottom blocks | Decorative corners or easier DIY fitting. |
| Stock length | Usable inches | Good for | Watch out for | Metric length |
|---|---|---|---|---|
| 7 ft | 84 in | Small bathroom and short bedroom windows | Tall side casings may not fit | 2.13 m |
| 8 ft | 96 in | Most bedroom and office window trim | Wide heads may need 10 ft stock | 2.44 m |
| 10 ft | 120 in | Wide living room heads and stool boards | More offcut management | 3.05 m |
| 12 ft | 144 in | Matching long pieces across several windows | Transport and straightness checks | 3.66 m |
| 16 ft | 192 in | Batch cutting and long continuous head runs | Needs careful handling | 4.88 m |
| Opening size | Style | Approx raw trim | Typical pieces | Starting stock |
|---|---|---|---|---|
| 24 x 36 in | Four-side mitered | 11 to 13 ft | 4 casing pieces | Two 8 ft sticks |
| 30 x 48 in | Sill and apron | 15 to 18 ft | 5 trim pieces | Three 8 ft sticks |
| 36 x 54 in | Butted flat stock | 17 to 20 ft | 4 casing pieces | Three 8 ft sticks |
| 48 x 48 in | Craftsman | 22 to 27 ft | 6 trim pieces | Four 8 ft sticks |
| 60 x 60 in | Picture-frame | 25 to 30 ft | 4 casing pieces | Four 10 ft sticks |
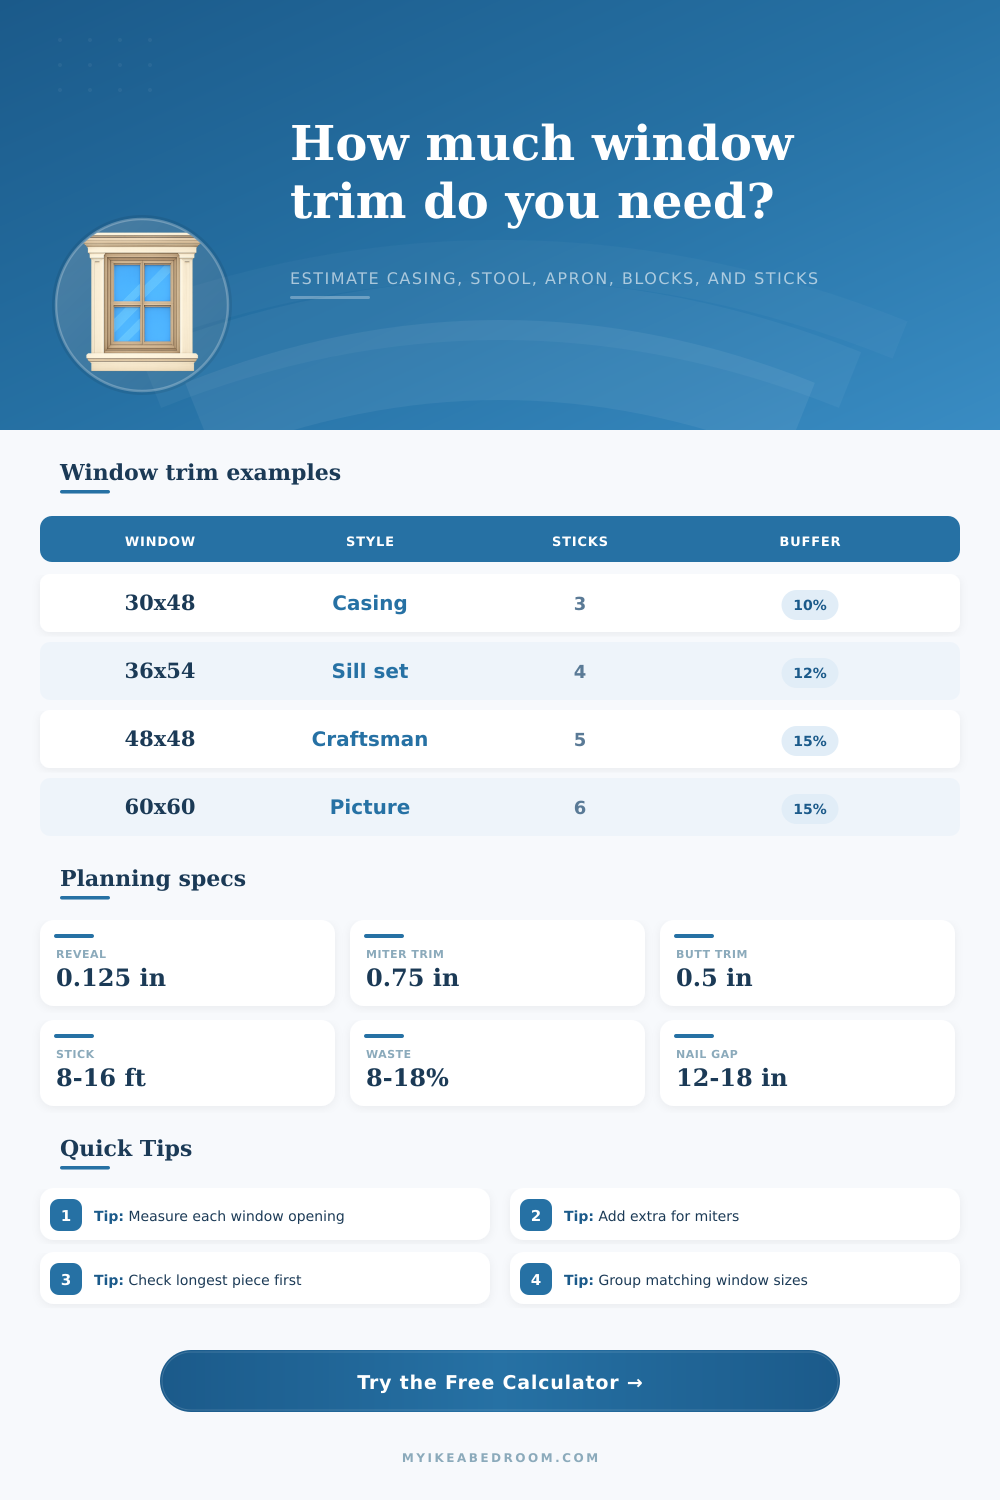
1/8 inch is a common reveal because it hides jamb irregularities while keeping the casing close to the opening.
3/4 inch per piece is a practical starting point when you expect test cuts and small angle adjustments.
2 to 3 inches beyond the side casing often looks balanced for standard interior casing widths.
Matching windows reduce waste because side legs, heads, and aprons can be grouped before final fitting.
Measure the jamb opening. Old casing can hide uneven drywall, reveal changes, or prior repairs. Record the actual opening width and height for each window group.
Sort long pieces first. Use the straightest stock for visible head casings, stool boards, and tall legs, then cut shorter aprons or returns from offcuts.
Keep style math separate. A picture-frame opening, stool-and-apron opening, and Craftsman opening of the same size need different piece counts and long-point lengths.
Round purchase sticks up. The stick count is a planning quantity. Actual cutting depends on defects, grain matching, miter direction, and how pieces nest on each board.
Knowing how much trim material to buy before you begin installing the trim is a necessary step in the process. The trim material must be calculate to prevent running out of trim material while installing it. Many people think about the trim’s appearance, but the dimension of the existing window and the trim style will dictate the amount of trim material necessary for the installation.
The calculator take the dimensions of the window opening and the trim style to calculate the math necessary to calculate the trim material. It also provides information regarding the miter length and the horn projections. To use the calculator proper, it is essential to understand what the inputs represent.
How to Figure Out How Much Trim You Need
The reveal represent the distance between the casing and the jamb. The cut allowance are the additional amount of trim material that you add to your calculations. This extra amount is included to account for the wood moving in the trim and the corners of the window opening not being perfectly square.
The waste percentage will dictate the amount of trim material that you have to purchase. For a single window opening, you require a small percentage of waste in the trim material. If the trim material is stain grade and you are using multiple size of windows, you will require a higher percentage of trim material waste.
The higher percentage of waste for stain grade material is because you will have to account for the grain of the wood. The calculator accounts for the waste percentage that you choose and the additional trim material need according to the different groups of windows that you will use. The stool and apron will change the amount of trim material necessary to complete the job.
The length of the stool has to account for the horn that extend from the side trim material. The horn projection for the trim will dictate the amount of trim material that you use and how the trim will look in the room. Different trim style require different amounts of trim material.
For example, picture frame trim will require a different amount of trim material then Craftsman head trim that includes a cap board and apron. The calculator will adjust the piece count according to the trim style that you choose. You are the one who must decide on the trim style for the different rooms in the house.
The length of the stock trim material will dictate the requirements for your trim installation project. If you use longer boards of trim material, it is more useful because there will be fewer joint. The downside to using longer boards of trim material is the extra weight that the trim will have and the likelihood of the trim having a bow or a twist in the board.
For trim projects in tight space, it is easier to use shorter boards of trim material. However, you will have to make more cuts in the trim material, and the more trim material that you cut, the more likely the error will occur in your project. The trim calculator will give a warning message if the longest trim piece is longer than the length of the trim stock that you have selected for your project.
This will help you avoid buying a head casing that is too long for the trim stock length. The trim calculator can also provide an estimate of how many nail and how much caulk will be needed for your trim installation project. The nails should be spaced evenly around the trim to ensure that it remain tight to the wall.
The caulking will be used at the joints between the trim and the wall, so calculating how much caulking you will need will help to ensure that the trim look intentional when the installation is complete. Using this trim calculator allows people to think through the installation process prior to making any trim material cut. This calculation will help people to ascertain if a wide head trim is too wide for the trim stock length.
Calculating the trim will also show people if the project has multiple size of windows, thus creating a higher waste percentage of trim material. By preparing and calculating the trim material necessary for the job, people can ensure that the installation process proceeds steady once they start installing the trim. Through preparing the trim material that will be used in the project, people can avoid making adjustment to the trim material during installation.