Window grille divider counts, cut planning, and stock stick estimate
Window Grille Bar Quantity Calculator
Plan simulated divided-lite bars from the clear glass opening, lite count or target spacing, bar profile, kerf, waste allowance, and repeated window quantity.
Calculation breakdown
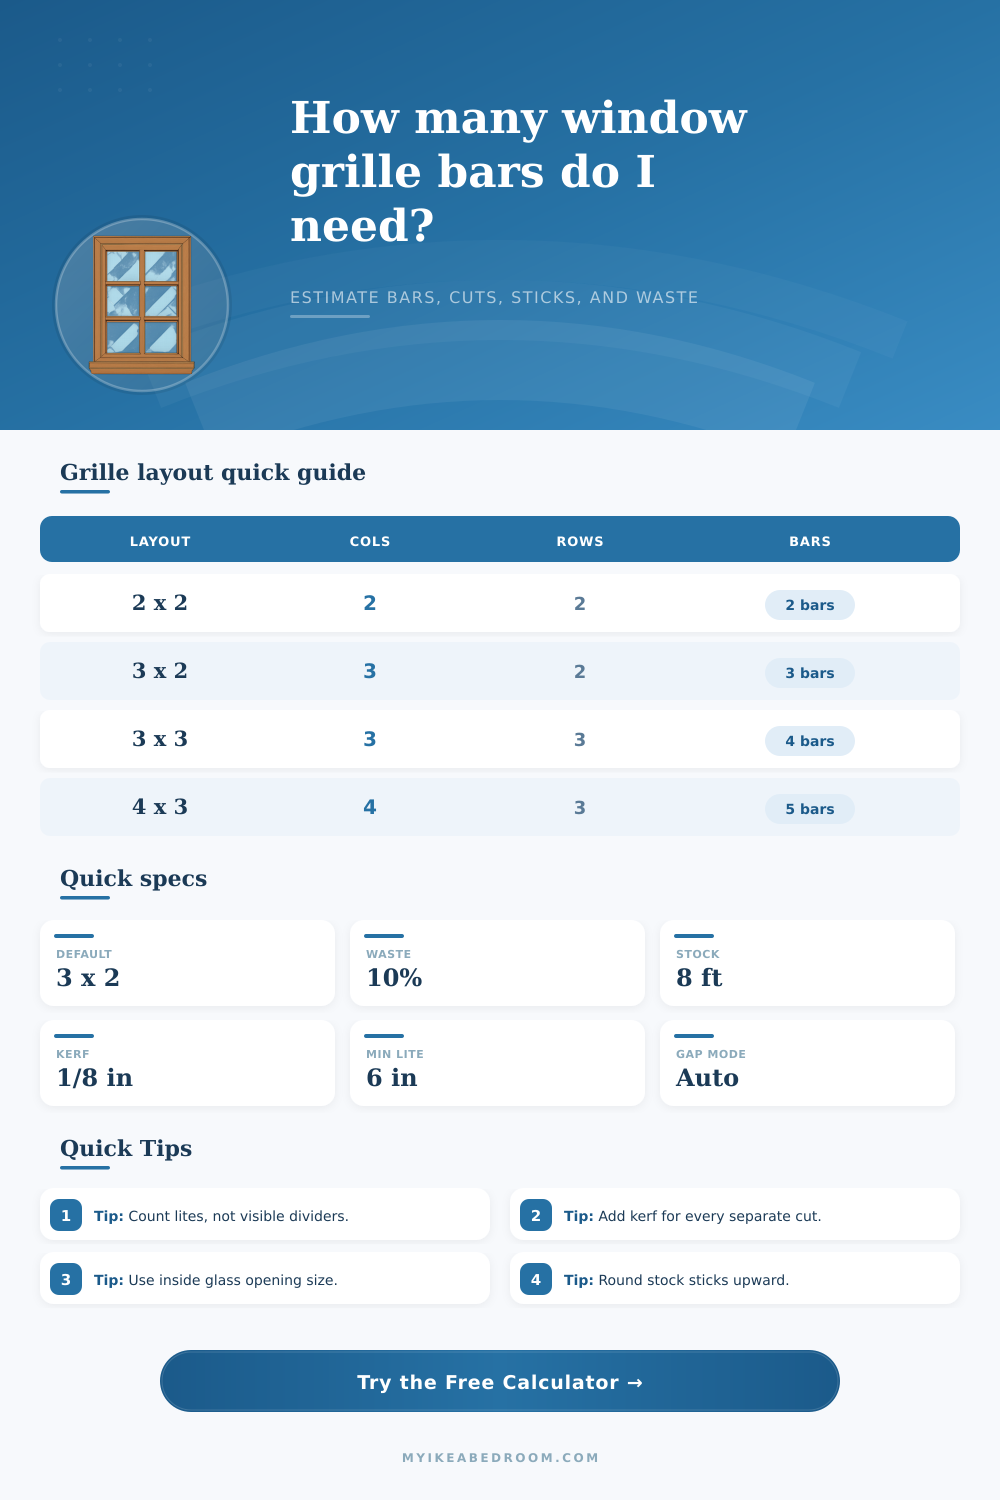
| Lite Pattern | Vertical Bars | Horizontal Bars | Total Bars Per Window |
|---|---|---|---|
| 2 x 2 lites | 1 full-height bar | 1 full-width bar | 2 bars |
| 3 x 2 lites | 2 full-height bars | 1 full-width bar | 3 bars |
| 3 x 3 lites | 2 full-height bars | 2 full-width bars | 4 bars |
| 4 x 3 lites | 3 full-height bars | 2 full-width bars | 5 bars |
| 5 x 4 lites | 4 full-height bars | 3 full-width bars | 7 bars |
| Stock Length | Inches Per Stick | Meters Per Stick | Best Use |
|---|---|---|---|
| 6 ft | 72 in | 1.83 m | Small sash and short bars |
| 8 ft | 96 in | 2.44 m | General window work |
| 10 ft | 120 in | 3.05 m | Tall windows or doors |
| 12 ft | 144 in | 3.66 m | Wide picture windows |
| Common Project | Opening Size | Pattern | Approx Length |
|---|---|---|---|
| Bedroom double-hung | 30 x 54 in | 3 x 2 lites | 11.8 ft plus waste |
| Small bath window | 24 x 36 in | 2 x 2 lites | 5.1 ft plus waste |
| Wide picture window | 60 x 48 in | 4 x 2 lites | 17.5 ft plus waste |
| Door sidelite | 13 x 64 in | 1 x 5 lites | 4.7 ft plus waste |
What lies within the glass pocket? No idea! You take out your stick of profile stock, measure the window frame, and head straight to saw. That’s how good projects turn into frustrating waste bins. It’s rarely our skill with the saw that create the pile of scrap; it’s how we count the bars before making a single cut.
How many times have you looked at a grid of twenty-four panes and thought, “I’ll need twenty-four pieces of material”? You are wrong. You only need nine bar (six horizontally, three vertically) if you keep running them continuously through their intersections.
How to Plan Your Window Bars Correctly
Once you know your opening dimensions, simply input those numbers into the calculator above and let it handle math. This way, you can guess free and buy only as much stock as needed to get job done. Measuring is the very first step to getting it correct. Know what’s important. It isn’t the outside sash size, it’s the size of the clear glass opening.
The weatherstrip, gasket and stops takes up space within the frame. So measuring the outside (the wood/vinyl) makes your bars too long and they won’t fit. That’s where people go wrong. They order material based off box size instead of the usable space for the divider. After you know how much clear area there is for height and width, then you determine the pattern.
For example: a 3 x 2 pattern = three columns of lites x two rows. That means you’ll need one full width horizontal bar and two full height vertical bars per window. Choosing “continuous” in the tool account for those intersections for you. The type of pattern also make a big difference in effort.
A continuous bar runs across the cross point uninterrupted, needing only one cut and no glue. A segmented bar terminates at every crossing, like authentic divided lites, but needs accurate mitering and added adhesive. Every extra joint represents kerf loss, how much wood is lost from the saw’s blade as it removes sawdust. An eighth inch of lost wood adds up when cutting dozens of joints. The calculated final length accounts for this, which saves you three inches of material on your last bar compared to ignoring the saw blade width. That little thing messes up a lot of weekend projects.
You also save big by planning ahead regarding stock length. Lumber yards will typicaly sell their grille stock in lengths of six or eight feet. Depending on what size grilles you’re building, some stick lengths works better than others. For example, if you want 54-inch long bars, then you can get away with using an eight-foot long stock stick and still have more than enough left-over for cutting down to length. However, if you attempt to cut two bars out of a single stick, there’s no wiggle-room for error (or cuts at the ends).
The charts on the above-linked page make this easy to visualize: they show exactly which sizes of opening correspond to which lengths of stock needed. To further protect yourself against defects or mismeasurement, tack on an additional ten percent buffer for overages. This will only cost you a few pennies extra but it’ll keep you from having to run back to the supplier because you snapped a bar while installing.
You don’t want to jump in without seeing what it will look like first. With this tool, you get a quick preview of the spacing in your grid so that you know whether the lites are going to be too wide or too narrow. For example, a nine-inch lite width is a pretty good sweet spot for residential windows. It’s big enough to balance out the structure of the frame yet not so big as to visually overpower the rest of the window. Very narrow lites starts to look cluttered. Very wide ones start to look out-of-balance.
Change the “target” spacing in the tool till the preview looks right to you. It only takes a few seconds to iterate on the digital design compared to trying different widths by hand and marking test pieces (which could of easily take an afternoon). But in conclusion: It’s always better to be accurate then to have scrap.
By planning for how the intersections fit, as well as waste and kerf from the start, you ensure everything is accounted for and contributes to the end result. The calculator eliminates all the guess work so you can concentrate on doing the install. After the cut out, there shouldn’t be any expensive offcuts left in your bins, just a lot of sawdust. If that isn’t the case, then you know you had a plan that worked.
Plan the clear opening first, honor the kerf and believe the numbers. You’ll be rewarded with a window that looks like what you envisioned, and your wallet will be happy to.