Water Pressure Loss Calculator
Estimate approximate pipe friction with the Hazen-Williams formula, then add fittings and elevation head to see the residual pressure at the fixture or hose end.
Enter the run details and calculate to review pressure loss.
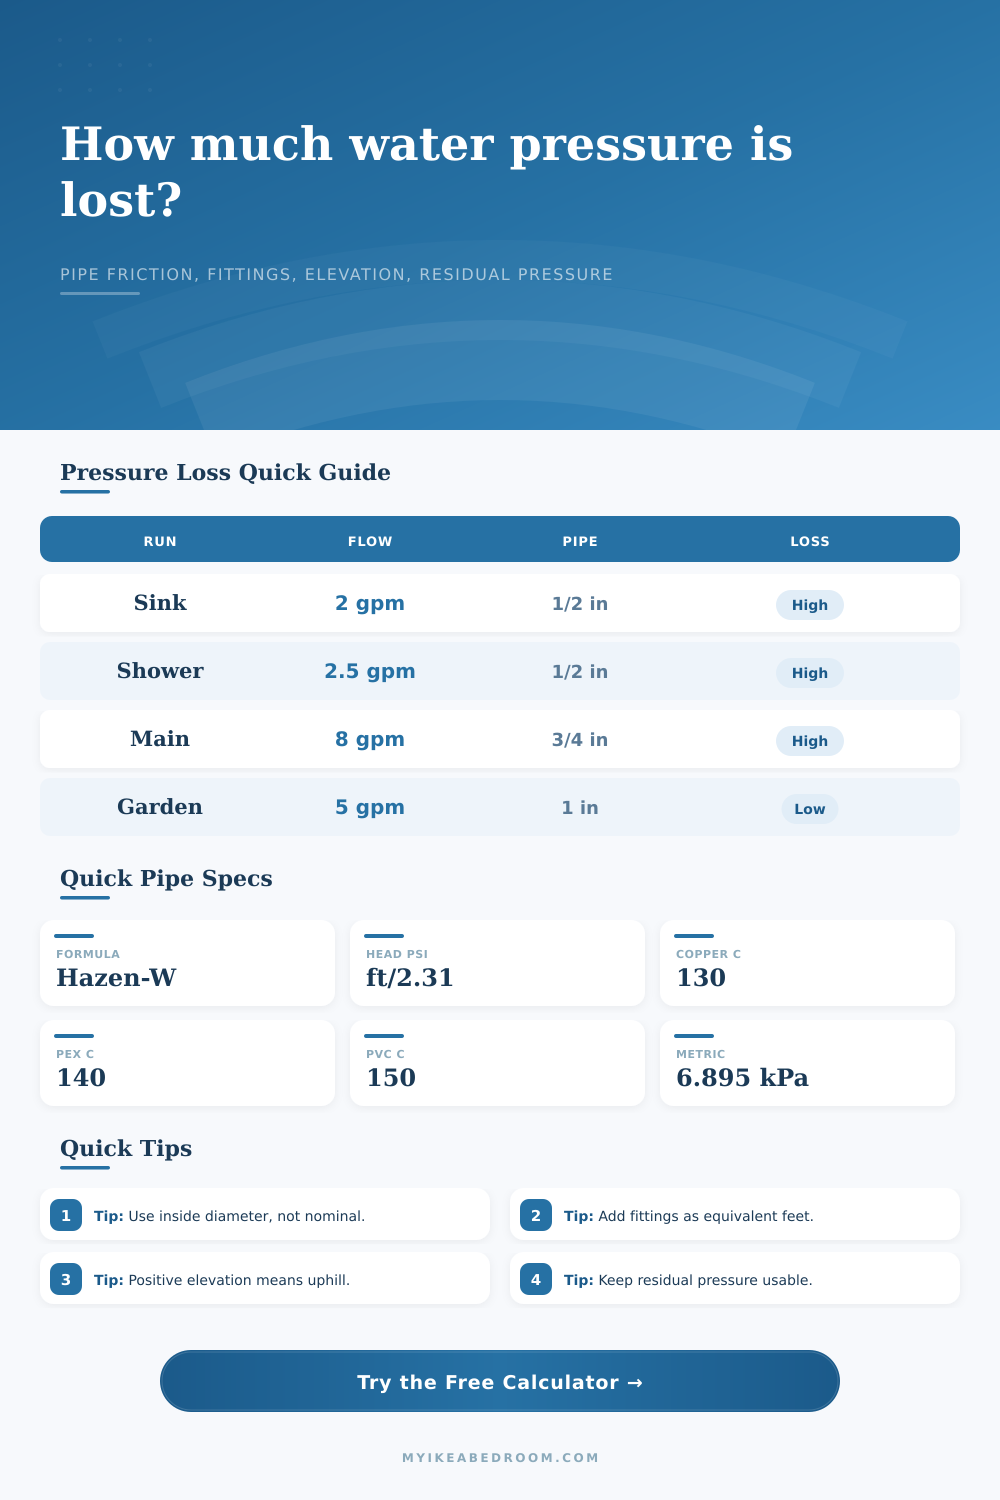
Approximate friction head in feet: 4.52 × equivalent length × GPM^1.85 / (C^1.85 × inside diameter^4.87). Pressure loss in psi equals head feet divided by 2.31.
| Pipe condition | Typical C | Friction effect | Use when |
|---|---|---|---|
| PVC, CPVC, very smooth plastic | 150 | Lowest common loss | Clean newer plastic pipe |
| New copper, HDPE, smooth tubing | 145 | Low loss | Newer smooth supply lines |
| PEX or typical smooth plastic | 140 | Low to moderate loss | Modern branch plumbing |
| Copper in normal service | 130 | Moderate loss | Older but clean copper runs |
| Galvanized or aging pipe | 100-120 | Higher loss | Rougher pipe or mineral buildup |
| Inside diameter | Flow example | Velocity | Pressure note |
|---|---|---|---|
| 0.475 in / 12.1 mm | 2.0 GPM | 3.6 ft/s | Short fixture branches only |
| 0.681 in / 17.3 mm | 4.0 GPM | 3.5 ft/s | Common branch starting point |
| 0.875 in / 22.2 mm | 8.0 GPM | 4.8 ft/s | Watch long-run friction |
| 1.049 in / 26.6 mm | 10.0 GPM | 3.7 ft/s | Often better for longer runs |
| 1.380 in / 35.1 mm | 18.0 GPM | 3.9 ft/s | Lower loss supply routing |
| Scenario | Run inputs | Likely loss driver | First adjustment to test |
|---|---|---|---|
| Upstairs shower | 2.5 GPM, 1/2 in, 70 ft, +10 ft | Elevation and small diameter | Compare 3/4 in trunk line |
| Kitchen branch | 2.2 GPM, 1/2 in, 45 ft, +2 ft | Fittings and local valves | Reduce equivalent length |
| Garden spigot | 5 GPM, 3/4 in, 90 ft, -3 ft | Friction over length | Check 1 in outdoor feed |
| House main | 8 GPM, 1 in, 80 ft, +4 ft | Total service length | Use smoother C or larger ID |
| Calculated condition | Typical band | What it means | Review cue |
|---|---|---|---|
| Total loss | Under 5 psi | Usually modest for a branch | Confirm final fixture demand |
| Total loss | 5-12 psi | Noticeable on marginal pressure | Check diameter and fittings |
| Total loss | Over 12 psi | Often feels restrictive | Test lower flow or larger pipe |
| Residual pressure | Under 20 psi | May be weak for many fixtures | Verify actual pressure with a gauge |
Most of the water you lose in your shower doesn’t have anything to do with citys water supply, it’s due to gravity, friction and tight pipes. To understand where that lost water is going we need to use some basic physics… In particular, we use something called the Hazen-Williams equation, which describe how water flows within closed pipe. You can use a calculator to give you a rough estimate of pressure, but without knowing what each input represents, all you’re doing is guessing; not making a plan.
So you begin with the C factor, or the roughness. The smoother the inside of your pipe, the higher the C value; a clean new piece of PVC has a C of roughly 150. Corrosion and mineral build-up on old galvanized may brings the C down to 100 or below. That’s how much that pipe is physically resisting the water as it travels through. The more C, the less friction. The lower the C, the harder it’s going to fight you. And most homeowners thinks the inside of their pipes is as smooth as new plastic. Chances are, they’re not.
Why Your Shower Pressure Is Low
Another key variable that trips people up is the inside diameter. What I mean is if you purchase a 1/2 inch pipe, more than likely it’s not going to be 1/2 inch inside. Depending on the material it can be as small as three-quarter inch inside. The problem is when people calculate based off the nominal size instead of the true inside diameter. Pressure loss increase exponentially with diameter. So what happens is that a slightly smaller diameter mean much greater resistance. Running water through a long narrow branch line will quickly build up friction. You know you’ve got plenty of pressure at the meter but by the time it gets out to the fixture, the friction plus the velocity will eat away most of your head.
But there’s also the tricky part that elevation plays, where each foot of vertical rise cost you about two tenths of a psi. Sounds like nothing till you realize that your bathroom is on the second floor and has ten feet of elevation change… Now you’re down two psi just from elevation, and we haven’t even gotten to friction yet. On the other hand, if you have water running downhill, then you have static pressure. And that’s why, if you’ve got a faucet in the basement, sometimes you’ll turn it off real quick and it will hammer: the gravity head push hard even after you shut it off.
The trick with all of this is that the tool on this page take all those changes into account automatically… And it tells you how much residual pressure you have, which is what really matters. Showers want a little more than that (say around 20 psi at the shower head), though most codes allows as low as 20 psi at the fixture and still be “good enough.” If your calculations show you are dropping from sixty psi to eighteen psi once you account for elevation and pipe length, you have a problem.
And the answer is almost never to increase the pressure by increasing your pump. Almost always it’s to decrease the loss, either by going to a different material (smooth), a bigger diameter pipe on the main trunk, or fewer elbows. It is all about giving up space to gain performance. A bigger diameter pipe take up more space in the wall, but allows water to flow with much less resistance.
Don’t neglect the fittings! A normal elbow has roughly the same amount of friction as several feet of straight pipe. That means if you have a bunch of elbows and relatively few straight runs, it is like having a long straight run. However, you won’t get much pressure out of it even though you only have a short run. The table on that page shows how to take the physical items and convert them to an equivalent linear distance. Then the formula use them. It’s a game of translations. Translate what’s physical into what’s linear, and make the friction equal to linear resistance.
In the end, though, there’s only so much water pressure in your walls. What comes in the inlet, and what goes out the faucet is finite. Turbulence, elevation and friction wear down the total. There’s no way to prevent gravity or friction completely, but you can minimize them. The mistake is waiting until the walls are closed and then realizing you have weak pressure. You should of looked at the raw numbers before you purchase the pipe. Measure twice, calculate once, and maintain the flow.