Wall Beadboard Quantity Calculator
Estimate wall beadboard panels or planks, adjusted coverage, trim footage, fasteners, adhesive tubes, primer, and topcoat coverage from real wall dimensions, openings, waste, and layout direction.
Pick a starting wall project, then refine the wall size, beadboard height, sheet or plank profile, openings, trim package, and waste allowance.
| Product profile | Coverage basis | Best use | Calculator behavior |
|---|---|---|---|
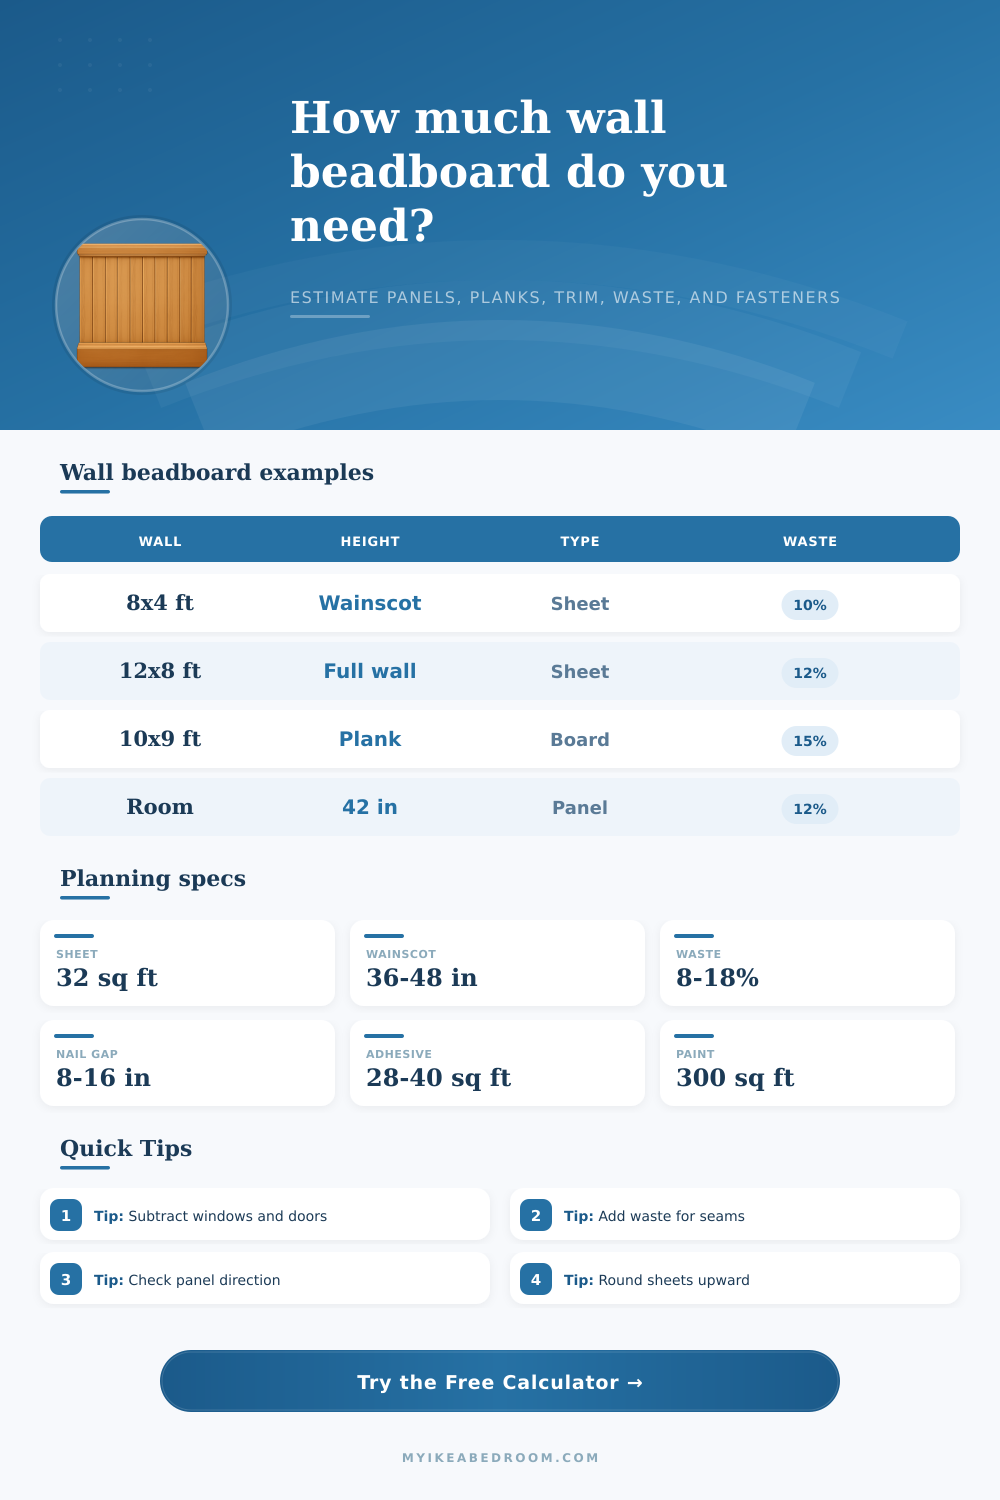
| 4 x 8 ft beadboard sheet | 32 sq ft per sheet | Accent walls, full walls, simple wainscot | Rounds by adjusted wall area and adds seam notes |
| 4 x 9 ft tall sheet | 36 sq ft per sheet | Nine-foot rooms or taller feature walls | Reduces horizontal seam pressure when height is near 9 ft |
| 32 x 48 in wainscot panel | 10.67 sq ft per panel | Short walls and small powder rooms | Roughly matches common chair-rail-height panel sizing |
| Tongue and groove plank | Face width times length | Detailed walls, headboards, cottage profiles | Estimates boards from area and checks row count |
| Install height | Area per 10 ft run | 4 x 8 sheets before waste | Common trim plan |
|---|---|---|---|
| 32 in low wainscot | 26.7 sq ft | 0.84 sheet | Cap plus shoe or base |
| 36 in classic wainscot | 30.0 sq ft | 0.94 sheet | Cap, base, and end returns |
| 42 in taller wainscot | 35.0 sq ft | 1.10 sheets | Cap rail plus exposed ends |
| 48 in high utility band | 40.0 sq ft | 1.25 sheets | Cap, base, and corner trims |
| 96 in full wall | 80.0 sq ft | 2.50 sheets | Side returns as needed |
| Project condition | Suggested waste | Fastener spacing | Extra planning note |
|---|---|---|---|
| Single square wall, sheet goods | 5% to 8% | 12 to 16 in | Check if one sheet direction covers the height cleanly |
| Room wainscot with doors | 10% to 12% | 12 in | Count cap rail around each active wall run |
| Plank layout with many cut ends | 12% to 15% | 8 to 12 in | Protect tongues and allow for row staggering |
| Stair, landing, or angled return | 15% to 18% | 8 to 12 in | Mock the top cap line before cutting panels |
| Project | Wall takeoff | Material estimate | Trim estimate |
|---|---|---|---|
| 8 ft powder room wall, 42 in high | 28 sq ft before openings | 1 sheet or 3 short panels with waste | 8 ft cap plus side returns |
| 12 ft bedroom headboard wall, full height | 96 sq ft before waste | 4 standard sheets or plank equivalent | Optional side trim and top stop |
| 10 x 12 ft room, 36 in wainscot | 132 sq ft before openings | 5 sheets before waste | 44 ft cap and base before extras |
| 18 ft hallway run, 48 in high | 72 sq ft before openings | 3 sheets after normal waste | 18 ft cap, 18 ft shoe, end returns |
Panel seam note: For sheet beadboard, compare the finished beadboard height with the sheet height before cutting. A 48 in wainscot can often use a sheet crosscut efficiently, while a 52 in band may need more offcut planning.
Opening note: Subtract only the wall area where beadboard truly disappears. For a window with casing, measure the casing outline if the beadboard will tuck against the trim rather than run behind it.
Calculating an correct quantity of beadboard is a task that you should begin prior to beginning to cut your beadboard. In order to determine how much beadboard will be required to cover an area that you wish to cover with beadboard, you must first calculate the total surface area of the wall that you will be covering with beadboard. The area of any windows, doors, or built-in structure on that wall should be subtracted from that total area.
Additionally, you will also need to account for any extra material that will be required to account for seams in the beadboard, pattern matching requirement, and any offcuts of the beadboard that may occur during installation. A beadboard calculator will assist in formulating a plan for the installation of your beadboard. Furthermore, while the beadboard calculator will provide you with an accurate estimation of the amount of beadboard that will be required for your project, that accuracy will depend upon the accuracy of the measurements that you provides.
How to Calculate How Much Beadboard You Need
The height of the beadboard will play a critical role in determining the amount of beadboard that is required to install. For example, many individuals select install wainscot which will typically be installed to a height of between 36 and 42 inches. Other individuals, however, may select installing full height beadboard, which will extend from the floor to the ceiling.
The height of the beadboard that is to be installed must be accounted for in your calculations, the mathematical calculations for wainscot will differ from full-height beadboard. For instance, a 4’ x 8’ sheet of beadboard may be sufficient for installing wainscot onto a wall, but may not have enough area to avoid installing horizontal seams on a full height wall. Additionally, a waste allowance must be accounted for in your calculations.
Depending upon the complexity of the wall that is to be covered with beadboard, a small waste allowance of 5% may be all that is required. However, if the wall has any doors, windows, or stair returns, a larger waste allowance will be required. Each row of beadboard may end with a piece of beadboard that is too small to be utilized in another row on that wall.
The allowance for this waste will be included in the total amount of beadboard that the calculator determine will be required for your project. Furthermore, many beadboard calculators also keep track of the difference between sheet beadboard and plank beadboard since each type of beadboard has different installation methods. Another component of the installation of beadboard that must be accounted for is the amount of trim that will be required.
Trim of two different types are typically utilized for installing beadboard. Cap rail will be used to cover the top of the beadboard, while base molding will be used to cover the bottom of the beadboard that buts against the floor. Additionally, vertical trim pieces will be required for the outside corners of the beadboard wall, as well as along the edges of any doorways in that installation.
The calculator will calculate the trim for the project, as will the amount of trim stock of each length that will be required (8’ or 12’ stock). In addition to the amount of beadboard and trim that will be required, calculations must also be performed regarding the amount of fasteners and adhesive that will be required for installation of the beadboard. The amount of fasteners that are required will depend upon the desired “hold” of the beadboard.
For instance, if the beadboard is relatively thin, more fasteners may be required to ensure that the beadboard does not become dislodged from the wall. Additionally, an adhesive will be required to ensure that the beadboard adheres well to the wall. Each tube of adhesive will cover a certain amount of area with the adhesive.
By entering the area coverage rate into the calculator, the calculator will be able to determine for how many tubes of adhesive you will need to purchase. Finally, the calculator will also calculate the amount of paint that will be required for the project. The beadboard will typically require more paint than a flat surface of the same size.
Additionally, if the beadboard features grooves, more paint will be required to cover those grooves. Furthermore, more coats of paint will increase the amount of paint that will be required for the project. The main benefit of employing a beadboard calculator is that it can display to you the adjusted area that needs to be covered by the beadboard panels, the number of panels of beadboard that will be required to cover that area, as well as the amount of trim that will be required for installation.
Each of these component will allow you to determine if the beadboard installation can be completed in one trip to the store to purchase the necessary materials, or if additional trips will be required. Additionally, the calculator allows you to view any potential risks for the project (like if the calculated height of the beadboard exceeds the length of a sheet of beadboard), and to eliminate the need for manually performed calculations for the project. Each of these components will require you to provide accurate measurement to the calculator, as well as to account for the waste that you will need when installing the beadboard.