Vinyl Sheet Quantity for Cutting Machine Calculator
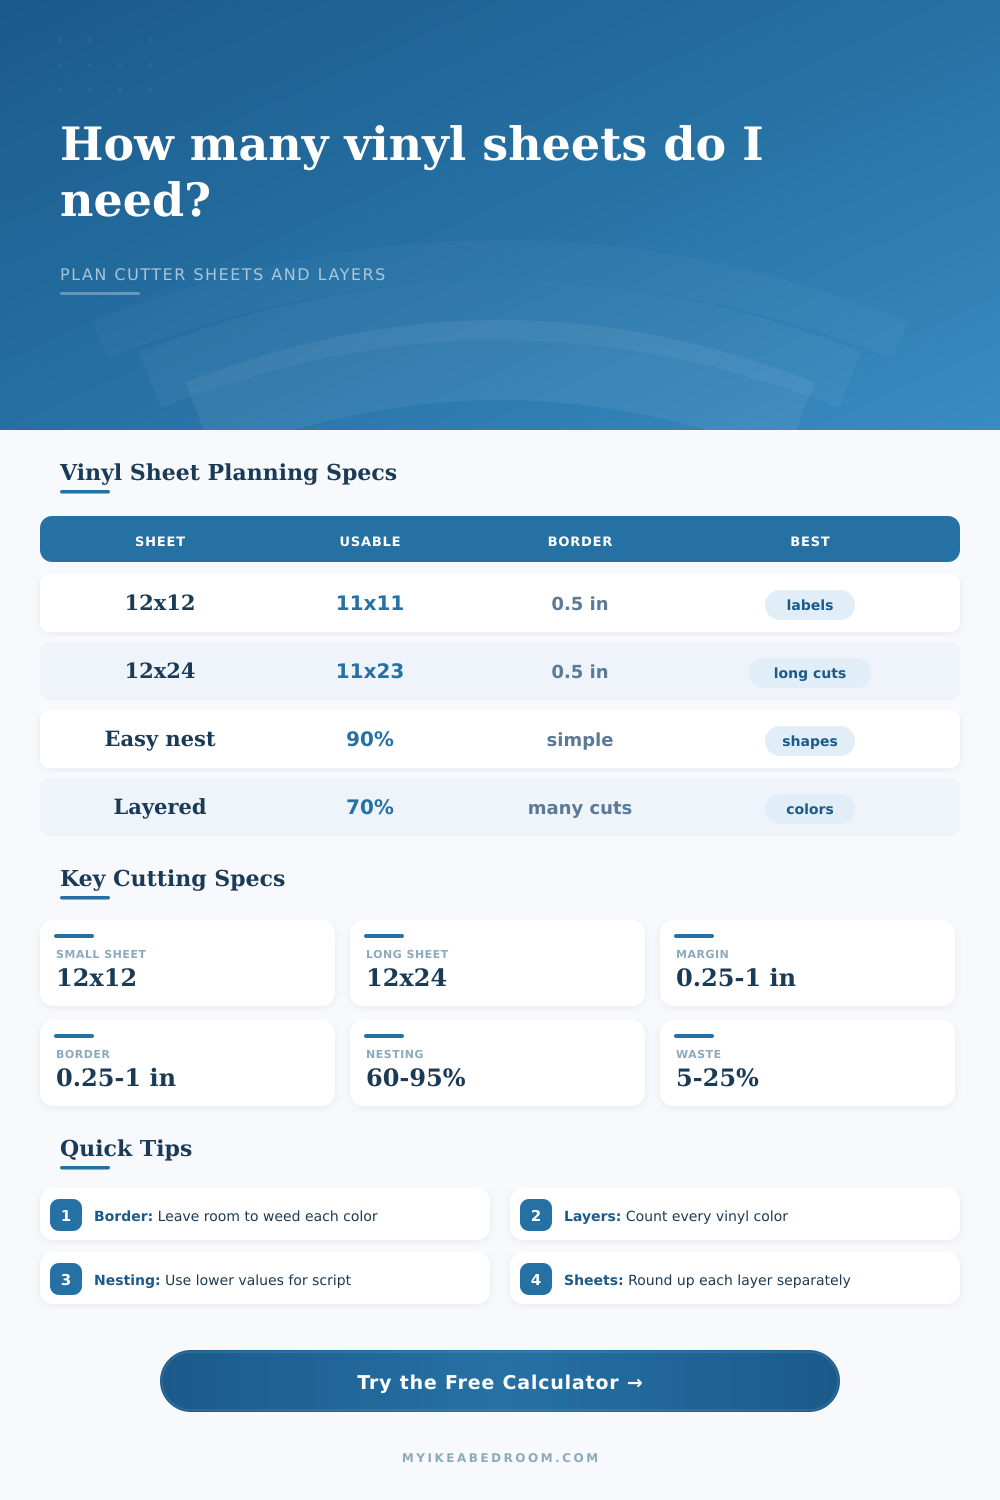
Estimate sheet quantity for cutter projects using design size, repeat count, 12x12 or 12x24 sheets, margins, weeding border, nesting efficiency, color layers, and waste.
Vinyl sheet estimate
| Sheet size | Margin each side | Usable width x height | Usable area |
|---|---|---|---|
| 12x12 in sheet | 0.25 in margin | 11.5 x 11.5 in | 132.25 sq in / 853 sq cm |
| 12x12 in sheet | 0.50 in margin | 11 x 11 in | 121 sq in / 781 sq cm |
| 12x24 in sheet | 0.25 in margin | 11.5 x 23.5 in | 270.25 sq in / 1744 sq cm |
| 12x24 in sheet | 0.50 in margin | 11 x 23 in | 253 sq in / 1632 sq cm |
| 12x24 in sheet | 1.00 in margin | 10 x 22 in | 220 sq in / 1419 sq cm |
| Design type | Suggested nesting | Layer count note | Planning use |
|---|---|---|---|
| Rectangular pantry or drawer labels | 90% to 95% | Usually 1 color layer | High nesting works because labels align into rows and columns with little dead space. |
| Script names and monograms | 65% to 80% | 1 to 2 color layers | Curves, tails, and transfer tape spacing reduce the practical yield per sheet. |
| Layered nursery or wall decals | 60% to 75% | 2 to 5 color layers | Each color needs its own sheet count, and registration gaps leave more offcut. |
| T-shirt heat transfer vinyl | 70% to 85% | Mirror by color layer | Keep enough carrier space for weeding and pressing, especially on larger chest graphics. |
| Planner stickers or small icons | 80% to 90% | Often 1 to 3 layers | Tiny designs fit densely, but test cuts and mis-weeds deserve a waste allowance. |
| Project | Design size | Typical count | Planning note |
|---|---|---|---|
| Pantry jar labels | 3.5 x 2 in | 24 labels | Use a 12x24 sheet when matching label sets need consistent color and finish. |
| Bedroom drawer labels | 4 x 1.25 in | 12 labels | Long narrow labels usually nest well with a small weeding border. |
| T-shirt chest graphic | 10 x 8 in | 2 graphics | Use conservative nesting for heat transfer vinyl because carrier clearance matters. |
| Tumbler wrap names | 8.5 x 3 in | 6 wraps | Rotation can improve yield when the design grain or pattern direction allows it. |
| Layered nursery decals | 5 x 5 in | 10 decals | Multiply sheet demand by every vinyl color and leave more waste for registration. |
Sheet estimates assume the entered design width and height include the final cut size. They do not replace a cutting machine preview or material-specific blade test.
There’s something about being halfway into a project and suddenly realizing that you only need one more label to finish up. But then, there’s just a lot of blank space on your vinyl sheet. This is a classic craft room tragedy. Why didn’t I plan this out better? Why did I buy the extra roll “just in case”?
Sheet planning is what often separates chaos from streamlined production. Sounds boring, right? But it’s also where everything come together to create an efficient work flow.
Why Planning Your Vinyl Sheets Helps You Save Money
The calculator above handles the heavy lifting for you by automatically accounting for margins, nesting, and color layers. Plan based off the physical space of the cutter bed and you’ll never find yourself out a decal again. So after you input how much of what you want and the size of your design, that’s where the magic happens (above). It calculates the nest, allows for weeders, adds in margins, then spits out an answer.
What are those? A border is something most people don’t consider. They see if their design will fit on page, and just pile on the vinyl. But there must be some wiggle room to pull up the excess vinyl without ripping the fragile letters off. That half inch margin isn’t wasted space. It’s insurance. Useless or no good at all unless you do have that buffer, your beautiful transfer becomes a shredded nightmare of sticky goo and disappointment. The calculator takes that into consideration and give you an estimate based on that assumption instead of the theoretical max.
The other large variable is nesting. This describes how tightly you can pack designs together on a given sheet. With simple shapes, such as a rectangular label, you can pretty much fill a sheet like a brick wall without spaces between them. That’s going to be an efficiency level up to maybe ninety-five percent. But cut some circles or tricky silhouettes or script names into your design and those gaps open quickly. A name doesn’t rotate upside-down so that it fits in a corner. A circle won’t get sliced in half. This is the number you set in your calculator to match how complex the shapes in your design are. If you’re doing some fancy stuff, set it too high and your math will be off; your sheets will be over before you know it. It’s a little detail but it counts.
Then there’s the added complexity of color layers. If it’s a solid colored design, easy peasy. With a layered decal like this in 5 colors, that means two sheets per color, meaning ten sheets total. Many people will figure one sheet and not account for multiplying by all the colors. This breaks those numbers out for you so you can visualize the real demand. What may have been two sheets total for you, turns into two sheets per color which equals ten sheets total. That makes the difference between running to the store for more stuff halfway through the project and breathing a sigh of relief because you have enough.
Experience Meets Optimism: Waste Allowance
The novice cutter sets their waste allowance to zero. The first time, it’ll be perfect. Nope. Blades dull. Vinyl slips. There’s a mistake somewhere in all that weeding. But adding an extra 10-20% when cutting is not being wasteful. It’s being a professional. It’s covering your test cut before committing to the final batch. It’s covering the label you ruined because the transfer tape was too sticky. That offcut vinyl is the cost of a smooth job.
Another factor to consider is that sheet sizes alter dynamics. You can test and make smaller batches with 12 x 12 sheets. Longer runs fit on 12 x 24s. To help visualize the usable surface once you account for margin, there’s a reference table on page. For example, a single inch margin is quite substantial when it comes to 12 x 12s. That same margin isn’t as big of a deal on a larger sheet. Scale of your projects will influence your choice in format, as well as your perceived balance between material efficiency vs. Storage space.
In the end, vinyl cutting is a combination of math and art. The better you plan, the less waste there will be. That’s what keeps your workflow smooth and your costs low. No, you don’t have to be an engineer to get it right. But you do have to respect both the machine and the material. Plan out your sheet well and you’ll spend less time worrying about supplies and more time enjoying the finished product. That extra decal in the drawer isn’t just inventory. It’s peace of mind.