Tile and Grout Calculator
Estimate tile count, box count, coverage after waste, grout volume, grout weight, and edge sealant length for floors, walls, showers, fireplaces, backsplashes, and mosaic layouts.
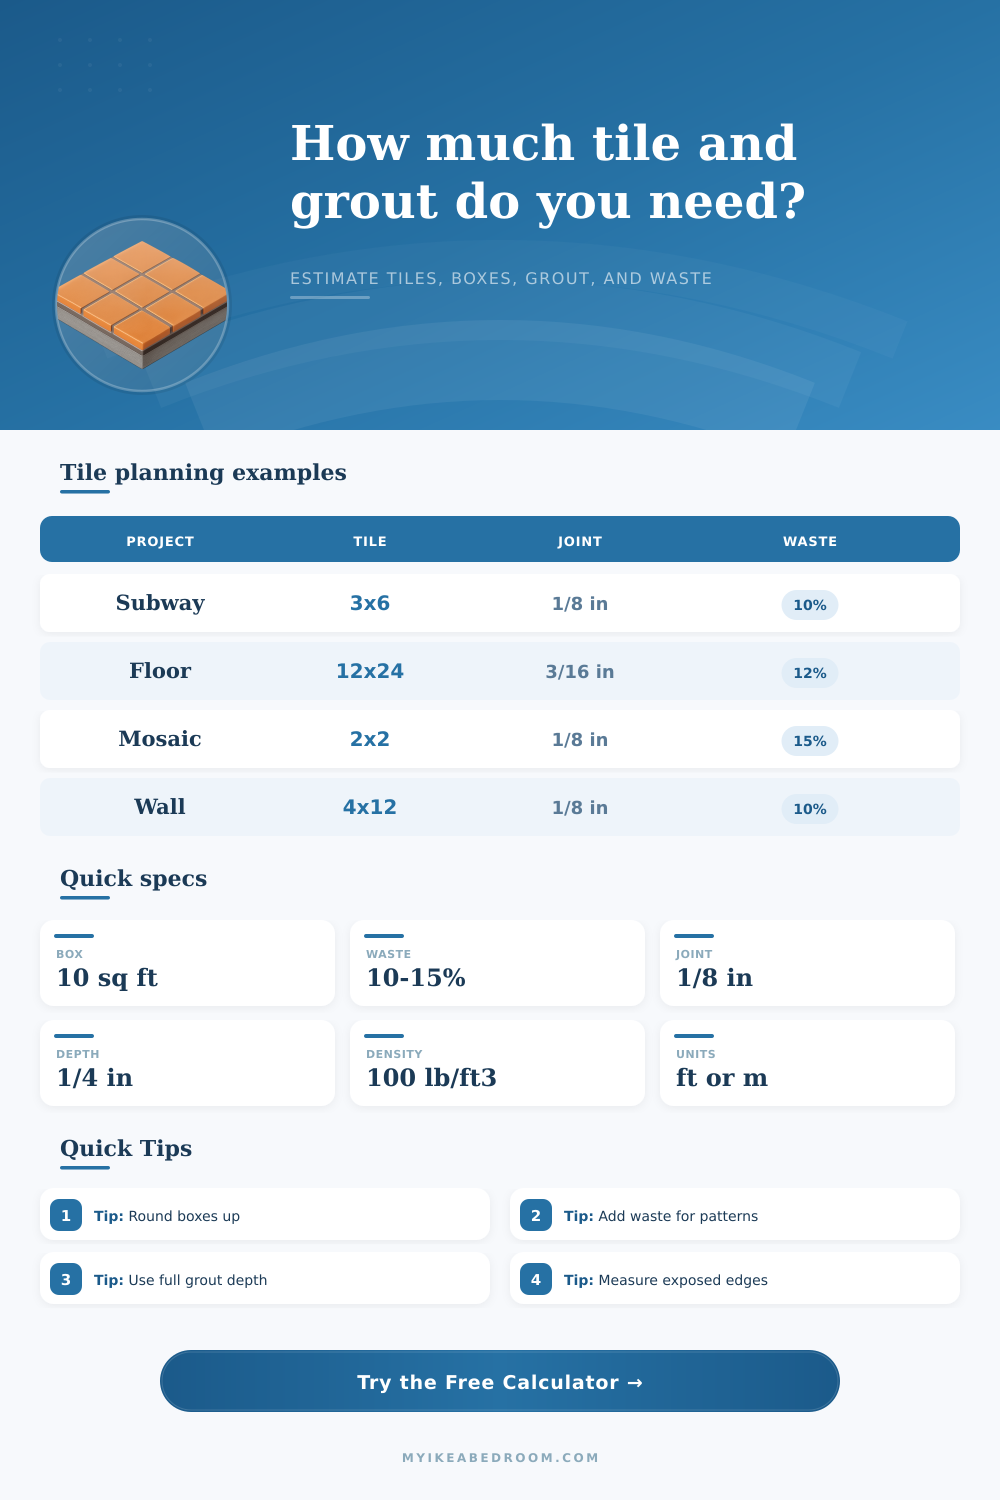
Load a common tile setup, then adjust the dimensions, tile size, joint, grout depth, waste, box coverage, density, surface type, and edge length.
10% waste
Straight rows keep edge cuts predictable.
11% waste
Offset rows add half-tile starts and ends.
14% waste
Angled borders increase unusable offcuts.
16% waste
Small pieces create more joints and cuts.
| Tile size | Area each | Tiles per 10 sq ft | Typical surface |
|---|---|---|---|
| 3 in × 6 in | 0.125 sq ft | 80 tiles | Subway walls and backsplashes |
| 4 in × 12 in | 0.333 sq ft | 30 tiles | Bathroom walls and fireplace tile |
| 12 in × 12 in | 1.000 sq ft | 10 tiles | Small floors, walls, and utility rooms |
| 12 in × 24 in | 2.000 sq ft | 5 tiles | Floors and large bathroom walls |
| 24 in × 48 in | 8.000 sq ft | 2 tiles | Large-format porcelain fields |
| Joint size | Decimal input | Depth example | Common tile match |
|---|---|---|---|
| 1/16 in | 0.0625 | 1/8 to 3/16 in | Rectified wall tile and tight mosaics |
| 1/8 in | 0.125 | 3/16 to 1/4 in | Subway tile, backsplash tile, mosaics |
| 3/16 in | 0.1875 | 1/4 to 3/8 in | Porcelain floor tile and handmade tile |
| 1/4 in | 0.25 | 1/4 to 3/8 in | Rustic tile and irregular edges |
| Layout or surface | Added factor | Why it changes | Good waste input |
|---|---|---|---|
| Stacked straight grid | 1.00x | Lowest number of irregular cuts | 5% to 10% |
| Running bond / offset | 1.06x | Half-tile starts and alternating ends | 10% to 12% |
| Diagonal layout | 1.14x | Angled perimeter cuts create more offcuts | 12% to 18% |
| Shower floor mosaic | 1.16x | Slope, drain cuts, and many joints | 15% to 20% |
| Large-format wall | 1.10x | Breakage risk and fewer reusable offcuts | 10% to 15% |
| Planning item | Typical value | Metric equivalent | Calculator input |
|---|---|---|---|
| Small wall tile box | 5 to 10 sq ft | 0.46 to 0.93 m2 | Box coverage |
| Floor tile box | 12 to 18 sq ft | 1.11 to 1.67 m2 | Box coverage |
| Dry grout density | 90 to 110 lb/ft3 | 1440 to 1760 kg/m3 | Grout density |
| Sealant edge | Perimeter run | Linear m | Edge length |
Separate field and openings: Measure the full rectangle first, then subtract windows, niches, appliance gaps, or untiled areas so tile count and box count stay realistic.
Match grout depth to the joint: Grout weight changes with both joint width and filled depth, especially on mosaic shower floors and wide handmade tile joints.
A tile calculator is an tool that helps a person to plan their tile project, and it will help the person to avoid any mistakes that may be made during their tile project. Many people finds that tiling projects can be more difficult than they seem at first due to the possibility of incorrect measurements of the project area, as well as the shifts in the layout of the tiles that are to be laid. If a person dont take into account each individual variable for the project, they may find that they do not have enough tile for there project to be completed.
A tile calculator can help to avoid this problem by calculating an amount of tile and the amount of grout that will be needed for the project. The first step in utilizing a tile calculator is to calculate the gross area of the project relative to the net area. The gross area is the total area of the project if it were to be tiled entirely.
How to Use a Tile Calculator
Within this area, there may be features like windows or niches that will not be tiled; the net area is the gross area minus the area for features that are not to be tiled. The reason for calculating the net area instead of the gross area is that tile is sold by the box, each box of tile will cover a certain amount of square footage, and if the gross area is calculated, there will be unnecessary purchases of boxes of tile. Additionally, the grout volume will be calculated based off the net area of the project for the same reasons.
The size of the tiles that will be used for the project will factor into the calculation of the amount of grout that will be needed. For example, a project that uses three-by-six inch subway tiles will require more grout than a project that uses large-format porcelain tiles due to the number of edges that the small subway tiles will have. Many individuals are unaware of the fact that small tiles will have more edges than large tiles, and that those edges require the addition of the joint of the grout.
For instance, a two-by-two inch mosaic tile will have many more edges than a single subway tile, therefore requiring a much higher amount of grout for those mosaics compared to the subway tiles alone. The calculator will determine the area that will be covered by the joint per module of tile, and multiply that area by the depth of the joint to calculate the volume of the joint. Another factor of the calculation is the amount of waste that will occur when cutting the tiles for the project.
A tile calculator will allow a person to choose a percentage of waste, with the percentage ranging from 5% to 20%. The percentage of waste will change according to the pattern of the tile project. For example, the percentage of waste may be lower for a grid pattern than it is for a diagonal pattern; the diagonal pattern will require the cutting of more tiles at angles than the rectangular grid pattern, which will create more waste.
The coefficient in the calculation will multiply the chosen percentage of waste to ensure that the total amount of tiles to be bought will include any waste. The weight of the grout that will be used can be calculated by multiplying the calculated volume of the joints by the density of the dry grout. Standard dry grout has a density of 100 pounds per cubic foot.
The weight of the dry grout will allow the individual to calculate how many bags of dry grout will be needed to complete the project. Additionally, another calculation that can be made with the tile calculator is the amount of sealant that will be needed to cover the edges of the project. The length of the edges of the project will be multiplied by the width of the bead of sealant that will be used to seal those edges to determine how much sealant will be needed.
The different choices in patterns that can be used will impact not only the appearance of the project, but also the amount of tile that will be required to complete it. For example, a running bond pattern will require the purchase of half-tiles for the starting and ending of each row of tiles, which will increase the waste of the project relative to a pattern like a stacked grid. Additionally, projects that use large-format porcelain tiles will have less grout volume to be calculated for the project due to the large size of each individual tile.
However, such large-format porcelain tiles may introduce the potential risk of breakage of those tiles during the tiling project. Reference tables for the area of waste for each of these different tile formats will allow a person to verify the calculations for the tiling project. Real rooms have many irregular features that will make them different than the rectangular shapes that are used in calculating the area that will be tiled.
Each of the measurements of a room should be taken, and the larger measurement will ensure that there will be enough material for any tiling project. Additionally, features like door swings and electrical boxes in a room may impact the decisions of those that wish to complete the tiling project; the calculator, however, is unaware of these physical constraints of the room. Additionally, if a diagonal pattern is to be used, each of the border tiles will have to be cut at angles to allow the borders to even the features of the project; these angles will increase the amount of waste that will be created by the tiling project.
The coverage of each box of tile may be based upon calculations made by the manufacturer that use a specific width of joint for the removal of tiles from the box. If the width of the joint of the tiles is to be wider than the recommendation of the manufacturer, each box of tile will cover less of the project area. When using the tile calculator, the user can override the coverage that is displayed for each box of tile so as to ensure that the number of boxes of tile that are calculated for the project will be accurate for the specific width that will be used for the project.
The calculator will provide numbers to the individual that use the tool for planning their tiling project; however, the individual will have to make further calculations to determine how many boxes of tile to purchase in excess for future repairs, and if any additional bags of dry grout will be purchased in addition to the amount that is calculated by the calculator. Thus, the tile calculator will remove any errors that may be made in the measurement and calculation of the materials that will be used for the tiling project, and ensure that the planning phase of the project is as accurate as possible. Beyond these calculations, however, there are other uncertainties of the project.
Youll find that the process is alot more simple once you use teh tool properly. It’s important to note that the tiles size and the grout depth can change results, so dont be afraid to double check. A tile calculator should of been used from the very start to ensure the project goes smoothy.