Subfloor Sheet Quantity Calculator
Estimate subfloor panels from real room dimensions, sheet formats, layout direction, stagger waste, perimeter gaps, seam length, fastener count, and panel handling weight.
Start with a common repair or room layout, then adjust the dimensions and panel choice to match the actual framing plan.
Subfloor sheet estimate
OSB tongue-and-groove
Best fit: whole-room subfloors with supported seams and regular joist spacing.
Quantity note: the tongue edge improves alignment, but the calculator still uses nominal panel area because sheets are bought by full panel.
Plywood tongue-and-groove
Best fit: bedrooms, hall repairs, and areas where edge stiffness and screw holding matter.
Quantity note: similar coverage to OSB, with slightly different handling weight per square foot.
Square-edge panels
Best fit: blocking-supported patches, underlayment layers, and small replacement zones.
Quantity note: add waste when edges must land on framing or added blocking.
Thick structural panels
Best fit: extra-stiff deck assemblies, attic storage zones, and heavy-load floors.
Quantity note: sheet count may match thinner panels, but total carry weight changes sharply.
| Sheet format | Nominal area | Metric area | Panels per 100 sq ft |
|---|---|---|---|
| 4 ft × 8 ft | 32 sq ft | 2.97 sq m | 3.13 before waste |
| 4 ft × 9 ft | 36 sq ft | 3.34 sq m | 2.78 before waste |
| 4 ft × 10 ft | 40 sq ft | 3.72 sq m | 2.50 before waste |
| 4 ft × 12 ft | 48 sq ft | 4.46 sq m | 2.08 before waste |
| 5 ft × 8 ft | 40 sq ft | 3.72 sq m | 2.50 before waste |
| 1220 mm × 2440 mm | 32.05 sq ft | 2.98 sq m | 3.12 before waste |
| Layout condition | Typical allowance | Why it changes sheet count | Calculator match |
|---|---|---|---|
| Clean rectangle | 5% to 8% | Starter rips and one-direction trimming | 5% or 8% waste |
| Staggered full room | 10% | Butt seams offset by a joist bay or half sheet | 10% waste |
| Closets, vents, pipes | 12% | Small cutouts reduce reusable offcut area | 12% waste |
| Hallway strips | 15% | Narrow panels leave long offcuts and more butt ends | Hallway layout |
| Irregular repairs | 15% to 20% | Edges must land on joists, blocking, or existing seams | Patchwork layout |
| Panel type | Approx. 4 x 8 weight | Common use | Quantity planning note |
|---|---|---|---|
| 1/4 in plywood underlayment | 22 lb | Smooth secondary layer | Usually follows finished-floor area with low waste |
| 19/32 in plywood or OSB | 61 to 65 lb | Standard structural subfloor where span rating permits | Keep long strength axis across joists |
| 23/32 in T&G plywood or OSB | 70 to 75 lb | Stiffer subfloor and wider joist layouts | Use full rows where possible to reduce butt seams |
| 1-1/8 in structural plywood | 110 lb | Heavy deck or extra-stiff assemblies | Sheet count stays similar, handling load rises |
| Project zone | Measured area | Base sheets | Typical ordered sheets |
|---|---|---|---|
| 6 ft × 8 ft closet | 48 sq ft | 2 sheets | 2 to 3 sheets |
| 8 ft × 8 ft bathroom | 64 sq ft | 2 sheets | 3 sheets with cutouts |
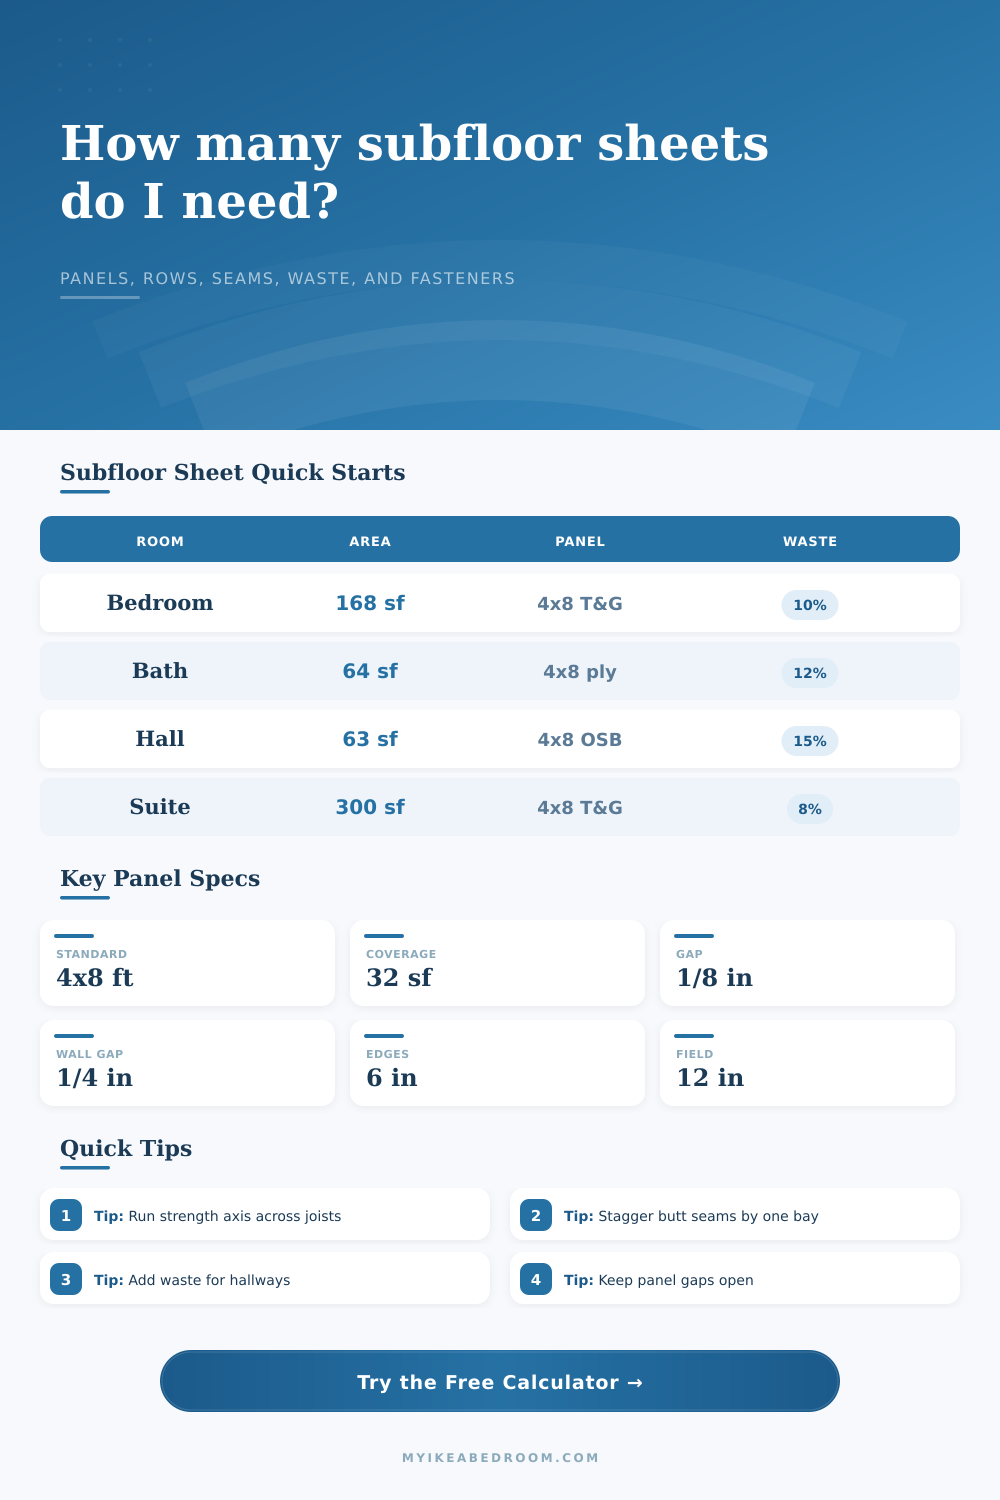
| 10 ft × 12 ft bedroom | 120 sq ft | 4 sheets | 5 sheets with stagger |
| 12 ft × 14 ft bedroom | 168 sq ft | 6 sheets | 6 to 7 sheets |
| 15 ft × 20 ft suite | 300 sq ft | 10 sheets | 11 sheets with waste |
Leave panel edge gaps open while planning quantities. The calculator uses a 1/8 in panel gap and 1/4 in wall perimeter gap for layout context, then rounds up to whole sheets.
For patch repairs, a square-foot estimate can be too lean because every edge needs framing support. Use the patchwork or hallway layout when offcuts are unlikely to fit the next opening.
The initial problem is this: you always begin a subfloor project by making basic arithmetic mistake. You measure size of your room in square feet, divide it by thirty-two and order exactly that many sheets. The assumption here is that no waste will occur, that each sheet of plywood will be perfect for your application. But you’re not laying down sheets of paper here. You’re trying to fight geometry, joist alignment, saw kerf and most importantly, gravity. Very few rectangle fit neatly into other rectangles without leaving behind some scraps. Always, if you only use raw area as your basis, you’ll find yourself going back to the hardware store midway through the process.
To do so, it factors in more than just square footage. For instance, layout direction is critical, you want your panels running perpendicular to the joists for maximum stiffness. Lay them out parallel and no matter how many screws you drive, your floor still bounce beneath your feet. This calculator accounts for this, adjusting sheet count accordingly depending on whether you’re filling up a clean rectangle or winding through a hallway with narrow offcuts. And then it adds some waste percentage, accounting for the real world of cutting losses. Five percent seems like plenty if it’s just a straightforward bedroom, but add in some irregular corners, closet, maybe a vent … and that percentage shoots up fast to 15 or 20 percent. That’s the kind of estimate difference that could of mean making it home on Saturday versus having to wait until next delivery on Tuesday.
Why You Need More Sheets Than You Think
The kind of material used matters more then most realize. Under foot, plywood and OSB feel different, though they occupy exact same square footage. Depending on thickness, it’s going to be considerably lighter or heavier too. A typical 4×8 sheet of tongue-and-groove, 23/32-inch OSB weighs about seventy-five pounds. That’s no small amount if you’re lugging them up a couple flights of stairs with no elevator. The calculator provide estimated weights based off how much you need to carry. This gives you an idea of how hard the work will be before you pick up that first corner. Thicker materials like one-eighth inch structurally rated plywood will hold screws better and be stiffer. This means they should works great for heavy furnitures or high-traffic areas, but they also add much more weight to lug around.
Good floors is made from good seam placement. Running seams end-to-end creates long uninterrupted weak spots throughout the length of the floor. To avoid this, stagger the butt joints, meaning no more than one joist bay has a seam running straight across it. That seam will be a flexible hinge point if all your seams runs in a single straight line. Because these additional cuts produce scraps that seldom find their way into any other project, the calculator defaults to offsetting the seams and accounts for resulting waste factor. It also takes into account the spaces required between panels and perimeter. These are the quarter-inch gaps you leave between the wall and the floor (to make room for seasonal expansion). Buckling the floor during periods of higher humidity won’t happen this way. Skipping this space to save an inch now will cost you later during installation.
Another variable is number of fasteners. By local code and joist spacing, you might go up to 24-inches in field area and six-inches at edges; but you need a screw every six inches at an edge. When it’s time for the last row, don’t get caught short. The tool will calculate how many you’ll need in total. This way, you won’t have to make a special trip to the fastener aisle, which is far from everything else when you run out of six-inch deck screws.
But ultimately, sub-flooring is as much about good planning as it is exact cuts. Plan for fewer seams in high stress spots. Use full sheets wherever possible. Have leftover materials so you can patch a mistake without panicking. If you’re trying to plan out using non-standard (aka whatever the lumber yard had left) sheet sizes, the sheet size reference tables on this page explain how various sheet sizes covers area.
The takeaway though, is that waste isn’t failure. It’s the price we pay for getting inflexible panels to work around a flexible world. Plan to measure twice, account for the buffer, and appreciate just how heavy you’ll be carrying. Your floor will thank you by standing up better for it.