Sticker Sheet Layout Calculator
Plan printable sticker sheets from sheet size, sticker width and height, spacing, margins, fixed rows or columns, target quantity, bleed, and cut offset.
Pick a common sheet layout, then fine tune the dimensions, spacing, margins, bleed, and row or column limits.
| Sheet size | Inches | Millimeters | Typical layout use |
|---|---|---|---|
| Letter | 8.5 x 11 in | 216 x 279 mm | Round labels, planner sheets, and small product stickers. |
| A4 | 8.27 x 11.69 in | 210 x 297 mm | Tall sheets with slightly more height than letter media. |
| 4 x 6 | 4 x 6 in | 102 x 152 mm | Small sampler sheets, inserts, and compact sticker packs. |
| 5 x 7 | 5 x 7 in | 127 x 178 mm | Medium sticker cards with room for a few larger cuts. |
| 6 x 8 | 6 x 8 in | 152 x 203 mm | Shop sheets, themed packs, and tidy kiss-cut layouts. |
| 12 x 12 | 12 x 12 in | 305 x 305 mm | Craft media, large decals, and feature sticker sets. |
| Layout style | Edge spacing | Bleed per side | Cut offset tolerance |
|---|---|---|---|
| Dense planner icons | 0.06 to 0.1 in / 1.5 to 2.5 mm | 0 to 0.04 in / 0 to 1 mm | 0.01 to 0.02 in / 0.25 to 0.5 mm |
| General kiss-cut sheet | 0.1 to 0.15 in / 2.5 to 4 mm | 0.04 to 0.08 in / 1 to 2 mm | 0.02 to 0.03 in / 0.5 to 0.75 mm |
| Large die-cut stickers | 0.15 to 0.25 in / 4 to 6 mm | 0.08 to 0.125 in / 2 to 3 mm | 0.03 to 0.05 in / 0.75 to 1.25 mm |
| Hand-cut margin layout | 0.25 in or more / 6 mm or more | 0.05 to 0.125 in / 1.25 to 3 mm | 0.04 in or more / 1 mm or more |
| Preset | Sheet | Sticker size | Spacing | Expected fit |
|---|---|---|---|---|
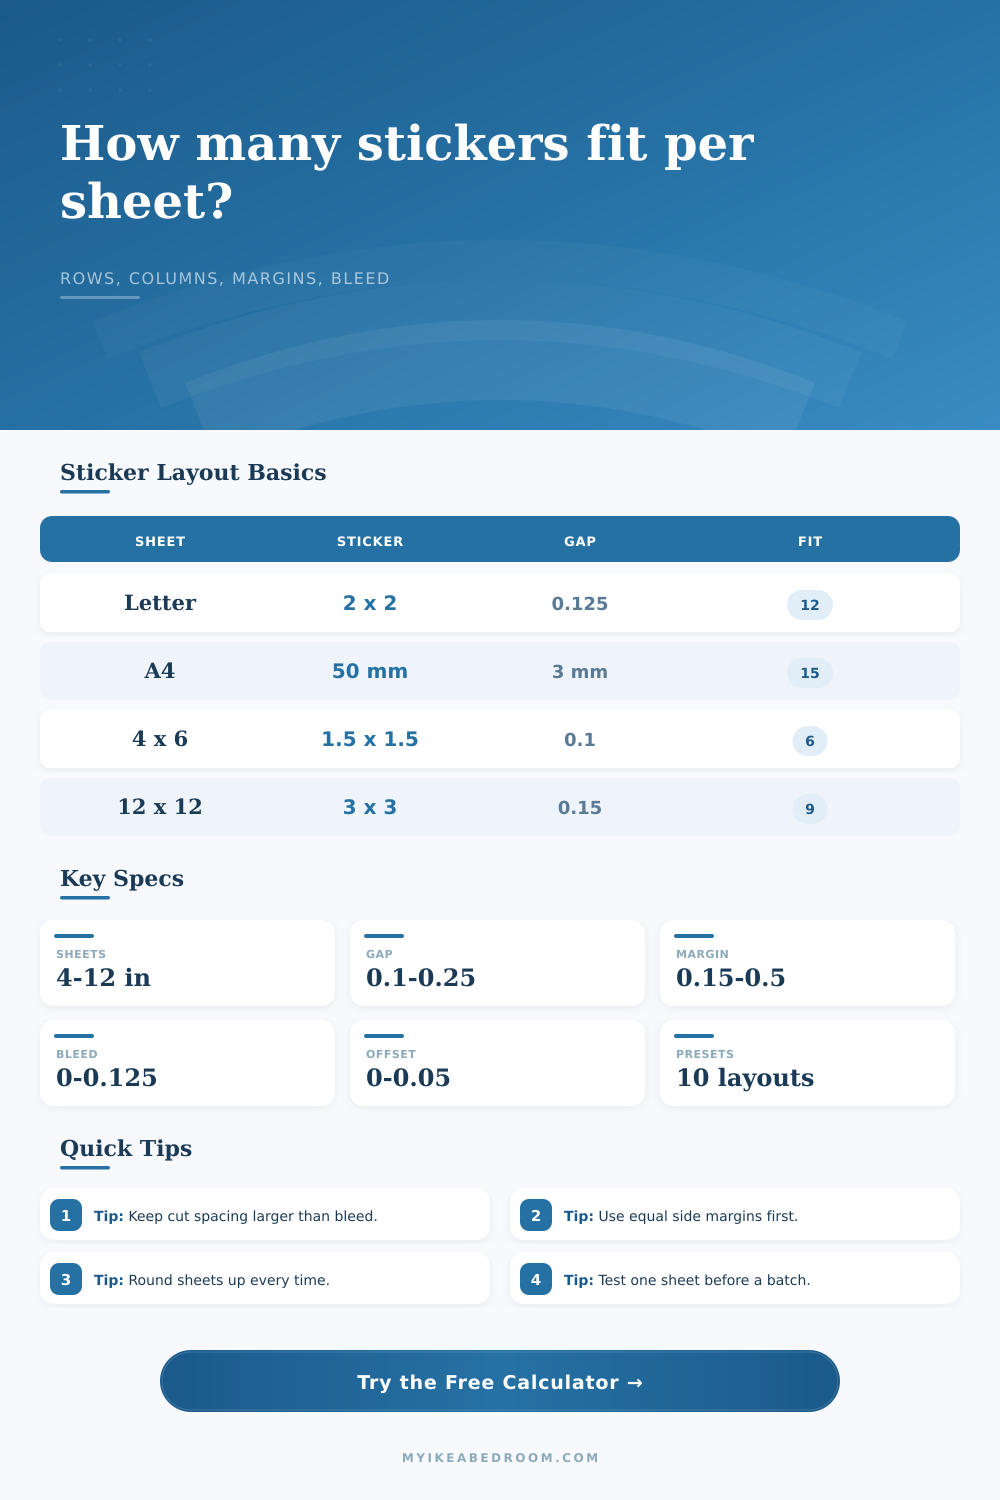
| Letter round labels | 8.5 x 11 in | 2 x 2 in | 0.125 in | 3 columns x 5 rows, 15 stickers |
| A4 planner icons | 210 x 297 mm | 28 x 22 mm | 3 mm | 6 columns x 11 rows, 66 stickers |
| 4 x 6 sampler card | 4 x 6 in | 1.5 x 1.5 in | 0.1 in | 2 columns x 3 rows, 6 stickers |
| 12 x 12 craft sheet | 12 x 12 in | 3 x 3 in | 0.15 in | 3 columns x 3 rows, 9 stickers |
| Business-card labels | 8.5 x 11 in | 3.5 x 2 in | 0.125 in | 2 columns x 5 rows, 10 stickers |
| Calculation item | Formula | Why it matters | Result handling |
|---|---|---|---|
| Usable width | Sheet width minus left and right margins | Margins keep stickers inside printable or cuttable area. | Must be larger than one finished sticker width. |
| Columns | Floor((usable width + spacing) / (sticker width + spacing)) | Spacing occurs between stickers, not outside every edge. | Fixed columns are reduced if they do not fit. |
| Rows | Floor((usable height + spacing) / (sticker height + spacing)) | Rows follow the same fit logic as columns. | Fixed rows are reduced if they do not fit. |
| Sheets needed | Ceiling(target stickers / stickers per sheet) | A partial last sheet still needs a full sheet slot. | Shows zero only when no sticker can fit. |
| Bleed size | Finished sticker plus bleed on all sides | Artwork must extend beyond the cut line. | Warning appears if bleed and offset exceed spacing. |
Check spacing against bleed: the visible gap should leave room for the artwork bleed plus the cut offset tolerance, especially when stickers have saturated backgrounds.
Use fixed rows or columns deliberately: a fixed grid helps when every sheet needs the same visual rhythm, while auto fit finds the highest sticker count.
Keep margins realistic: many printers and cutting mats cannot use the full sheet edge, so enter the practical printable or cuttable area instead of the paper edge alone.
Round up the sheet count: the calculator uses whole sheets for the target sticker count, then reports how many extra sticker positions remain on the final sheet.
I feel this kind of frustration when I send something to printer, cut it out, and discover the pieces don’t align. I drew all these lovely icons, but the sheet was a smidge too small. The margins were too narrow. Now my art’s crowded onto the page.
With this sticker sheet layout calculator, we handles the geometry so you can focus on the art. We reduce the chaos that is bleed zones, inches, and millimeters into a tidy set of columns and rows, and that’s what most people mess up. They think in terms of sticker sizes first, and then think about sheets after, but it’s the sheet that tells the story.
How to Use the Sticker Layout Calculator
First up: What are you sticking? Do you want to print on standard paper sizes like A4 or Letter? Those presets is provided by the tool, eliminating the need to type in dimensions yourself. Have a custom cut sheet you want printed? Just input its dimensions there.
Once you’ve got your sheet size, sticker dimensions and spacing preference plugged into the calculator above, it’ll do the rest of the math. It factors in the gap between each sticker and whatever margin (white space) your printer require around the edges.
Without those gaps, the die cutter has nowhere to breathe so unless you’re printing stickers super tight, the machine would of tear or slip on film to get through cleanly. So, don’t underestimate how important those spacing inputs are.
Speaking of terms to be confused about, there’s also bleed. Bleed is the additional art that bleeds outside final cut line. To calculate it, they adds the bleed onto your sticker size so you know exactly what space will be printed. If you have a solid color background in your design, you’ll want more bleed. Just enough to ensure no white slivers happen once it gets cut off. On the page, the reference table explain this and shows how much tolerance you need depending on layout style.
A big fancy decorative decal isn’t the same as a little label. The bigger the sticker, the more room you should have. After entering your desired number of stickers, the tool inform you of the number of sheets required. Because you obviously can’t purchase a half sheet, it automatically rounds up for you.
That’s when game moves from designing to logistics. Let’s say you want one-hundred stickers and they fit on a sheet with twenty stickers. Well now you’re going to need exactly five sheets of stickers. But what if they only fit on a sheet with nineteen stickers? Again, you’ll need five sheets. Though the final sheet will be missing a couple spot.
That wasted sticker space adds up, particularly when purchasing high-quality vinyl. The sticker calculator enables you to see this waste prior to placing an order. By reducing your margins (or increasing the spacing), you may be able to add another line… and save yourself a whole sheet at scale.
One little toggle makes a big difference: the orientation setting. If your aspect ratio works well, try switching between portrait/landscape; sometimes it will accommodate more stickers. The fixed rows/columns inputs is useful too if you need to lock down a particular layout (maybe you’re doing a planner insert and having everything line up from one page to the next matter). But if you don’t mind being flexible, just leave these set to zero and it’ll pack as many in as it possibly can given whatever constraints you’ve specified.
It’s kind of a puzzle figuring out these layout plans. Every millimeter you put in for margin or spacing is a trade-off: Efficiency vs. It is about safety. Too little, and you run the risk of cutting errors. Too much, and you waste paper. That’s where this tool help take the guess work out of the equation. It provides you with the hard numbers to allow you to confidently make your choice.
Visual inspection is always required as part of checking final proof, but at least you’ll have the math on your side. Great layouts don’t happen by accident. They’re calculated, and now you’ve got the moddern numbers to prove it.