Fringe Trim Length for Sofa Calculator
Estimate sofa fringe yardage from the stitched trim path, returns, corner turns, cushion segments, pattern repeat, roll length, joins, and overage buffer.
Pick a starting layout, then adjust the measured stitch path and fringe details for the actual sofa or slipcover.
| Sofa type | Typical front length | Return length each | Planning note |
|---|---|---|---|
| Apartment loveseat | 56-66 in / 142-168 cm | 28-34 in / 71-86 cm | Often works from one 5 yd roll for front-only trim. |
| Standard three-seat sofa | 78-90 in / 198-229 cm | 34-40 in / 86-102 cm | Returns and corners usually push it past front-only yardage. |
| Deep slipcovered sofa | 84-96 in / 213-244 cm | 38-44 in / 97-112 cm | Skirt panels need join overlap and extra repeat matching. |
| Sectional with chaise | 110-150 in / 279-381 cm | 55-80 in / 140-203 cm | Measure each visible module instead of using overall width. |
| Daybed sofa | 72-86 in / 183-218 cm | 36-42 in / 91-107 cm | Three visible sides are common when floated in a room. |
| Trim type | Typical drop | Allowance behavior | Best sofa use |
|---|---|---|---|
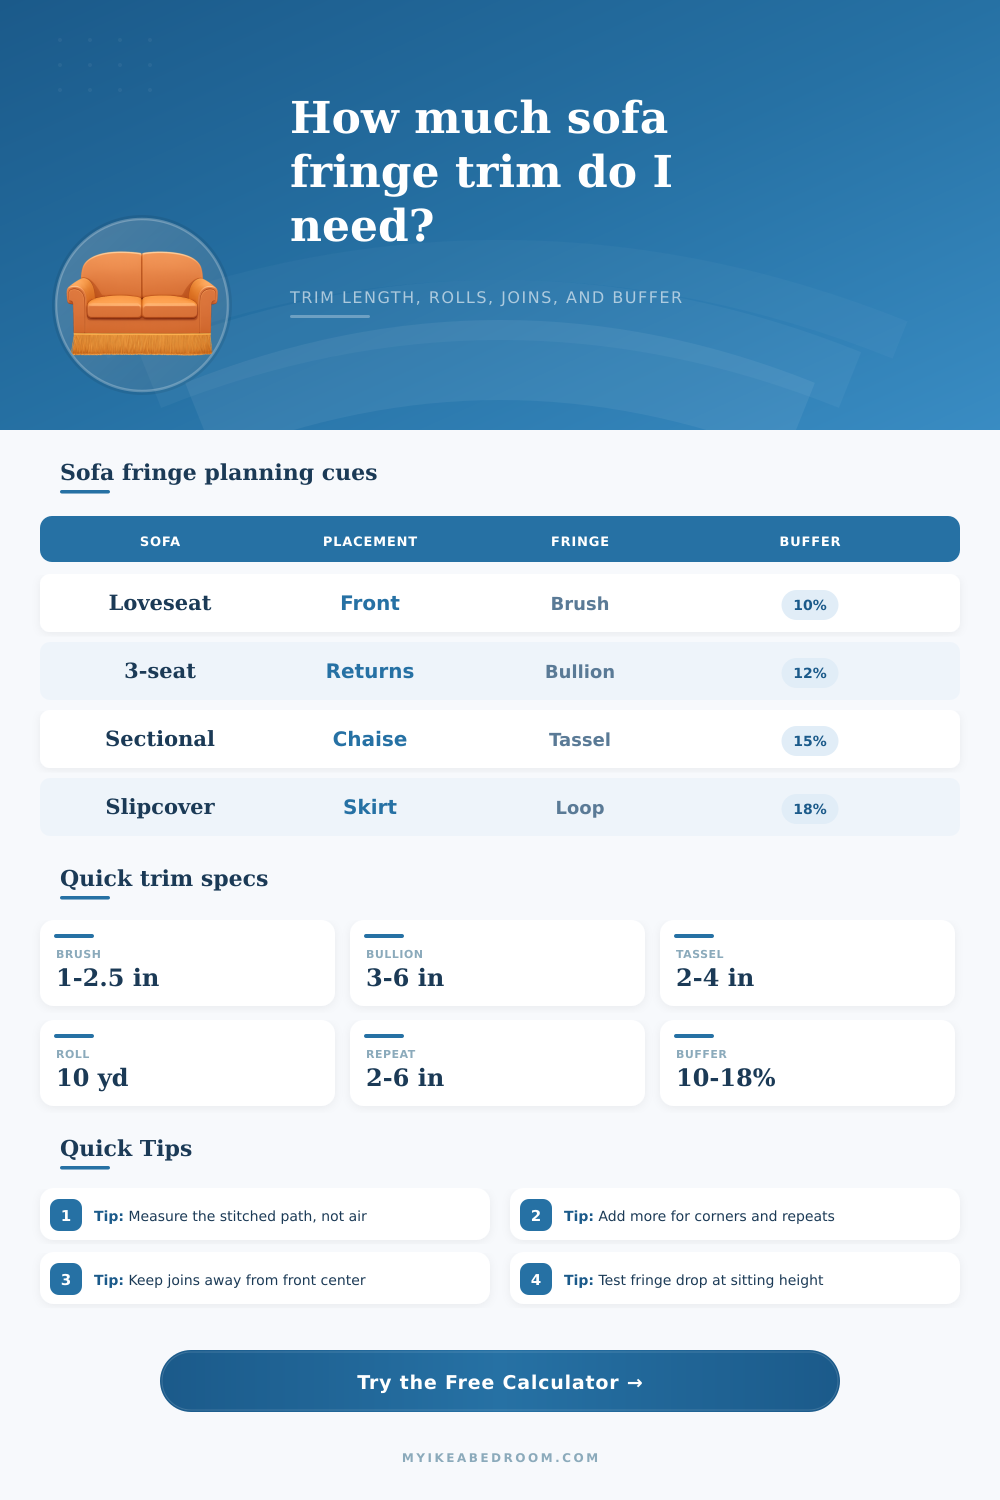
| Brush fringe | 1-2.5 in / 3-6 cm | Low bulk; standard 10% buffer is often enough. | Modern sofa apron, cushion fronts, subtle slipcovers. |
| Bullion fringe | 3-6 in / 8-15 cm | Bulky cords need more corner and seam allowance. | Traditional, camelback, or formal upholstered sofas. |
| Tassel fringe | 2-4 in / 5-10 cm | Visible spacing makes repeat rounding important. | Skirts, arms, and front panels with centered motifs. |
| Loop fringe | 1.5-4 in / 4-10 cm | Turns gently but stretches if pulled while sewing. | Slipcovered sofa skirts and casual linen covers. |
| Macrame fringe | 3-9 in / 8-23 cm | Heavy knots need higher buffer and fewer visible joins. | Daybeds, statement sofas, and boho-style covers. |
| Roll size | Inches per roll | Good for | Watch point |
|---|---|---|---|
| 5 yd / 4.6 m | 180 in / 457 cm | Loveseat front or cushion-front detail | Little room for mistakes on returns. |
| 10 yd / 9.1 m | 360 in / 914 cm | Most three-seat sofa front and returns | Repeat matching can reduce usable length. |
| 20 yd / 18.3 m | 720 in / 1829 cm | Sectional, skirt panels, or sofa plus ottoman | Plan joins before cutting long panels. |
| 25 yd / 22.9 m | 900 in / 2286 cm | Full perimeter trim or multiple pieces | Check dye lot if adding a second roll. |
| Placement | Measured pieces | Typical buffer | Join preference |
|---|---|---|---|
| Front apron only | One long front run | 5-10% | Hide a single join under one arm if needed. |
| Front plus returns | Front, left return, right return | 10-12% | Put joins near back corners or arm shadows. |
| Slipcover skirt | Panel fronts and side panels | 15-18% | Align joins with skirt panel seams. |
| Full perimeter | Front, returns, and back | 15-20% | Place joins on the least visible back side. |
| Cushion fronts | One piece per cushion front | 10-15% | Repeat each cushion so the pattern reads evenly. |
Front Only
Shortest plan for a sofa apron, visible cushion rail, or single decorative front edge.
Front + Returns
Adds side returns so fringe wraps around arms and looks finished from an angle.
Three Sides
Useful for daybeds, chaise sofas, and floated pieces with both ends visible.
Full Perimeter
Longest plan for slipcovers or sofas where the back will be visible in the room.
Mark the stitched line with painter's tape before measuring. Fringe tape follows the sofa curve, skirt seam, or apron edge, so a straight outside-width measurement can miss corner turns and soft upholstery bulges.
Center visible repeats before cutting side pieces. Tassels, pom balls, macrame knots, and bullion groups look cleaner when the front center and front corners land on matching repeat points.
When you make your initial attempt to trim out a sofa with bullion fringe, you purchase sufficient material for only front apron. It makes sense on paper until you remember… corners eat up fabric! A turn uses fabric that isn’t accounted for in straight line measurements. Your fringe can pile up. You might end up breaking the pattern at the arm. You will also have short ends that don’t match. Most folks measure the space between pieces rather then what is actualy being stitched along.
After entering your seam line into the calculator above, it will do the rest of math for you. It eliminates the guesswork about the number of yards required for right angle turns. It also accounts for the length your needle goes across (not the width of your sofa). You need to follow exactly the path that tape follows.
How to Measure Sofa Fringe Correctly
Do you return along the arms? If so, measure that in. Are you stopping at side seams when the material is flat on the front? A loveseat with detail only up front are going to use less trim than a three-seat sofa returning along the sides. The amount of trim depends on which approach you take to placing the material.
Straight runs get no respect, corners do. Fringe doesn’t cut clean angles; it bends with a bit of bulk (think: heavy bullion, or even heavier macrame). To accommodate its weight and allow for bending without tearing the weave or squishing the cords, you must adds a corner allowance. Add more inches than normal per corner and the trim will lay flat, without kinking. This is important on curved surfaces like tufted or camelback sofas where the fabric move away from the wall.
While a simple brushed fringe could slip into a corner with little wastage, a tassel trim calls for visual alignment space that matches your actual tassel spacing. Meaning, if your tassel spacing is three inches apart, you want one tassel to drop at every corner to keep things symmetrical. So the repeat length are accounted for in the calculator so you don’t find yourself with half a tassel next to the arm rest.
Because the trim path is longer than one roll, there will be some number of joins. Decorative trims arrive on spools that are 10-yards long. That might seem like plenty. However, keep in mind that six yards of material can go into nothing more than the front and return of a sectional chaise! The estimator tells you how many rolls will be required and what the location of the joins ought to be.
Ideally, the joins will be located at back corners where they can get lost inside upholstery folds or at least behind an arm shadow. Don’t put a join in the middle of the front apron, for example. That’s right where your eye wants to go, which isn’t anywhere near where it belongs. By planning for hidden join locations, the calculator adds a small overlap allowance for each splice. So there will be sufficient material to sew them together cleanly with no pulling short.
Buffer percentage is another variable that seems optional but realy isn’t. The bigger the wrap, the tighter the fit; the simpler the shape, the looser you can go. A slipcovered skirt with pattern matching and multiple panels calls for an eighteen-ish percent overage, while a simple front apron may get away with five. That’s insurance for any missteps (repeats don’t always match up perfectly), for hand sewing bulky trims, for tugging on a piece as you get it in place. It’s for when you suddenly see your seam line wasn’t quite straight, or you think back to when you stretched your tape measure.
How does that break down? The page has some handy reference tables that compares different kinds of sofas to their usual trim requirements. Generally speaking, a bench seat with one corded edge will use less yardage than a three-sided-wrapped daybed. Get to know the norms and you can sanity check what the calculator spits out. When I get back a number that says a full-perimeter sectional needs only one roll of 5 yards, something ain’t right. Trust the numbers, but check the assumptions.
Control is what it’s all about. Control frames the piece. The stitched line is where you measure, not the air. You add some for the turn. You want to hide the seam. And then you let the trim do its job without distracting. The careful measurement upfront is what prevents the fringe from being the most noticeable fault in an otherwise beautiful sofa. It’s all about getting the length right. You would of wanted a tailoring finish instead of frantic scrambling around at the end trying to cover up a gap.