Shingle Nail Calculator
Estimate shingle rows, tabs, starter fastening, ridge or hip cap nails, high-wind additions, and nail density per roofing square.
📌Project presets
📏Roof plane and shingle layout
🔧Fastening pattern
📊Fastening output checkpoints
🗂Reference tables
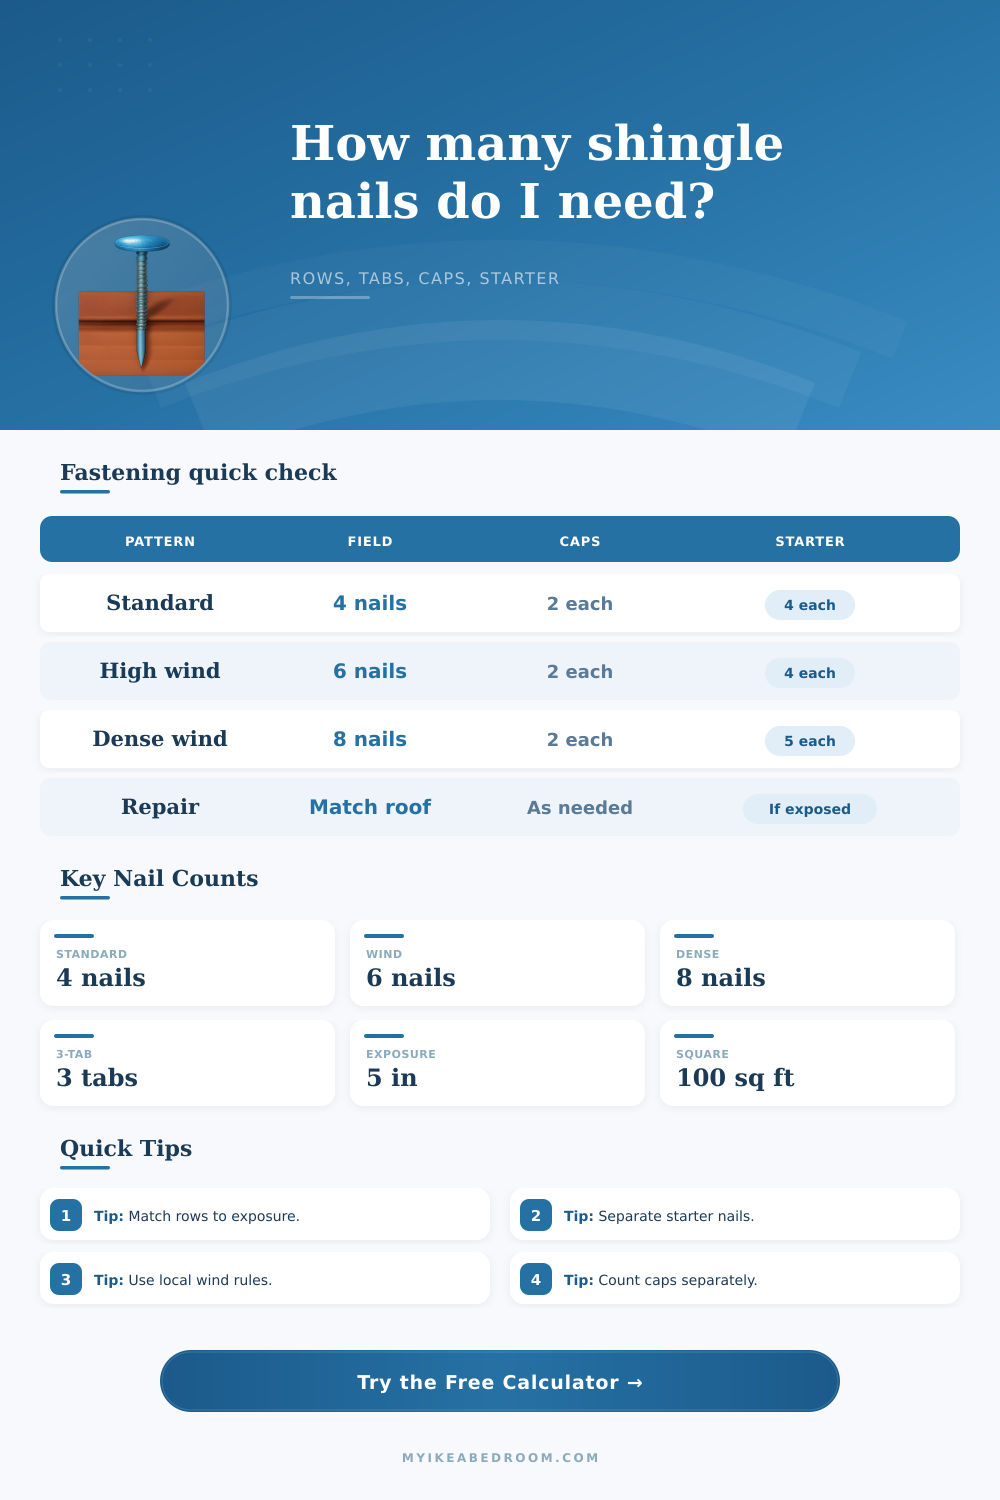
| Fastening pattern | Field nails | Best use | What changes in this calculator |
|---|---|---|---|
| Standard shingle fastening | 4 nails per shingle | Typical field courses where local code allows | Uses the base nail input as the field count |
| High-wind fastening | 6 nails per shingle | Wind-rated roof zones and manufacturer high-wind layouts | Adds 2 field nails per shingle when base is 4 |
| Dense fastening check | 8 nails per shingle | Special fastening comparison or strict project spec | Adds the difference above the base nail pattern |
| Ridge and hip caps | 2 nails per cap | Separate cap shingles along ridges and hips | Counts cap pieces by cap exposure, not field rows |
| Exposure | Rows over 8 ft run | Rows over 12 ft run | Rows over 16 ft run |
|---|---|---|---|
| 4 in exposure | 24 rows | 36 rows | 48 rows |
| 5 in exposure | 20 rows | 29 rows | 39 rows |
| 5.625 in exposure | 18 rows | 26 rows | 35 rows |
| 6 in exposure | 16 rows | 24 rows | 32 rows |
| Piece type | Count formula | Default nails | Why it is separate |
|---|---|---|---|
| Field shingle | Rows x shingles per row | 4 to 8 each | Fastening changes with the wind pattern |
| Starter strip | Starter length / shingle length | 4 each | Starter pieces sit below the first exposed row |
| Ridge cap | Ridge length / cap exposure | 2 each | Caps advance by exposure along ridges and hips |
| Repair patch | Known rows x row pieces | Match roof | Manual rows can match an existing course layout |
| Preset | Row focus | Pattern focus | Good check value |
|---|---|---|---|
| 3-tab shed | Short run, 3-tab layout | Standard field nails | Tabs and rows stay visible |
| Architectural garage | Longer shingle length | High-wind field pattern | Six-nail delta is shown |
| Hip cap run | Small plane with long cap length | Cap nails dominate | Caps are not treated as rows |
| Starter course | One-row starter-heavy setup | Starter nails dominate | Starter count is isolated |
💡Fastening notes
Don’t skimp on nails when it comes to roofing projects. I realize most homeowners purchase their shingles by the square footage, plus ten percent for waste, and figure that the rest will work itself out. That’s bad thinking; when wind blows, all of that pricey stuff stays on roof if nails does their jobs. Not having enough means voiding warranties and leaving behind loose tabs. And then there’s the fact that any part of the roof not nailed down can blow off during a storm.
When you enter your measurements into the calculator on this page, it tell you how many nails you’ll need, but understanding those numbers is what helps protect the roof. This brings us back to the central variable: exposure. How much of your roof’s vertical run will each row of shingles be exposed to? Most architectural shingles has a 5-inch exposure, but that changes if you switch to a four-inch exposure. Immediately, you’ve added one-quarter more rows to the calculation. And each additional row require more shingles, which means a heckuva lot more nails. Because the calculator directly ties the underlying physical layout to the amount of nails used, the number of nails will update automaticly as the user inputs change.
Why You Need Enough Nails For Your Roof
Securing every point of overlap is about more than just surface coverage. The standard is four nails for each field shingle. That’s great if your climate is calm. But if you’re in tornado alley or along the coast where winds can gets high, your building code may call for more then that. You might need six nails per shingle to help resist uplift failure.
The calculator breaks this down into the patterns, where you can easily observe what it costs to comply with local codes. When we go from four nails per shingle to eight, you’re getting the added metal, yes, but also, insurance against wind shear. The page has a nice reference table that makes clear how many additional tabs the switch will add. Remember, one little change per tab adds up quickly across big plane of a roof.
Most estimates overlook starters and caps. The ridge caps seal off the hardest hit area, the top of the roof where weather hits the most. Below that is a starter strip that keeps leading edge from being flipped by the wind. They install different than the rest of the field. And the calculator accounts for that difference. They use a different pattern and number of nails, so a different number is counted. Mix ‘em up and there will be short falls at job site. Before climbing the ladder, make sure you know exactly how many field vs. Check the cap nails you have in the bucket.
Another abstraction turned into reality is waste. Some misses are wide off the mark, hammers slip, nails bend. Missed strikes send nails bouncing off the wood deck. Allow for a five to ten percent buffer (for human error) without having to make an extra run to supply yard. Better to have twenty left over nails than to have to pause in mid-row because you’re all out of fasteners.
If you’ve got a typical house shape, it’s possible to get away with using one of those presets, which saves some time. For instance, a single-valley roof isn’t as complicated than a multi-valley hip roof. The calculator is set up so that the caps are sized to match the geometry; likewise, the starter lengths matches what you should expect. There’s no need to redo all the math from scratch. Simply enter the width and length of your run, then pick the wind pattern specified by your jurisdiction and the tool will add it all up for you.
To do the job right isn’t enough, you want to do it right the first time. Not nailing down a roof properly is like having a ticking time bomb. Each wind blast proves that bond. Knowing how many nails go into each field/cap/starter shingle eliminates any guess work. The numbers adds up to secure each tab solidly. Nothing is left to chance.
The difference between a 10 year roof vs a 30 year roof. Count before you bend or bury those nails. If they are crooked or stuck, there is no fixing it short of tearing it all apart again. You should of accounted for extra nails more carefuly.