Security Camera Coverage Calculator
Estimate camera count from field-of-view angle, mounting height, target distance, coverage width, overlap percentage, site area, obstructions, and a practical blind spot allowance.
▶Camera And Site Presets
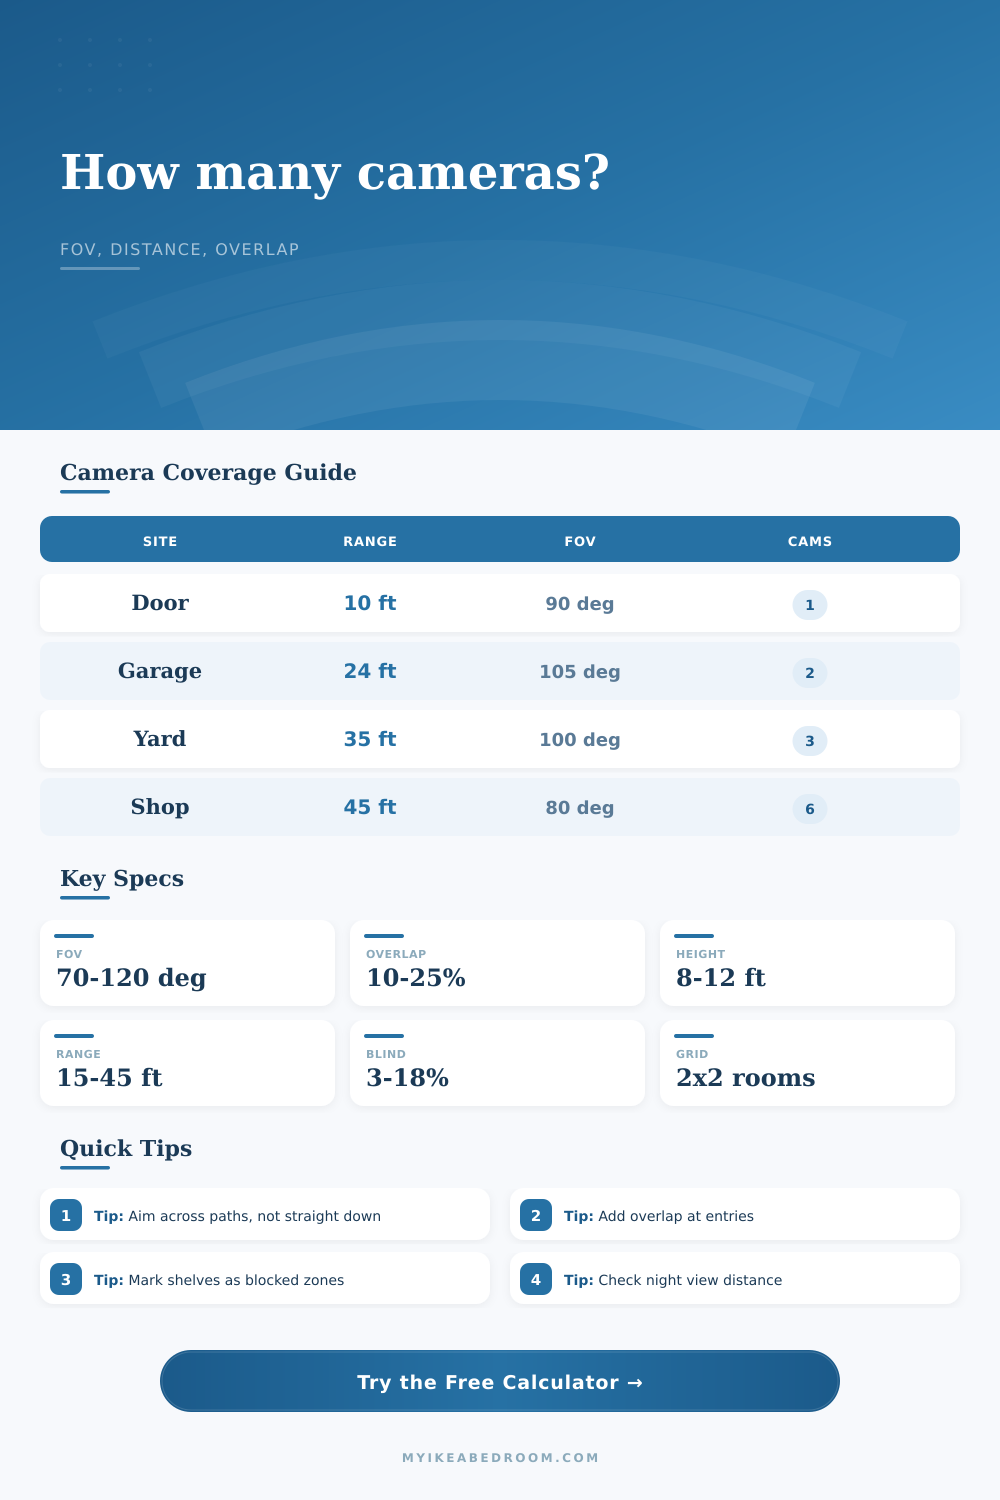
Start with a common room, entry, yard, garage, or small business layout, then adjust the FOV, distance, overlap, and obstruction profile for the actual view.
⚙Coverage Inputs
📹Coverage Sketch
Camera cones are a planning sketch. Verify final aiming on site, especially near doors, corners, shelves, vehicles, and bright windows.
coverage width = 2*d*tan(FOV/2)
Coverage Estimate
Calculation Breakdown
📊Camera View Reference
📋Reference Tables
| FOV | Width at 25 ft | Width at 7.6 m | Best use |
|---|---|---|---|
| 60° | 28.9 ft | 8.8 m | Door and gate detail |
| 80° | 41.9 ft | 12.8 m | Hallway or garage bay |
| 100° | 59.6 ft | 18.2 m | Room and patio coverage |
| 120° | 86.6 ft | 26.4 m | Wide overview zones |
| Height | Typical site | Close blind zone | Planning note |
|---|---|---|---|
| 6-8 ft | Indoor rooms | Low | Good detail, easier tamper reach |
| 8-10 ft | Entry doors | Moderate | Common balance for face view |
| 10-14 ft | Garage, patio | Higher | Aim across motion paths |
| 14-20 ft | Shop, warehouse | High | Use extra zones below racks |
| Overlap | Unique area | Use case | Count impact |
|---|---|---|---|
| 0-5% | Very high | Open overview only | Fewest cameras, more gaps |
| 10-15% | Balanced | Home doors and rooms | Good default planning range |
| 20-25% | Reduced | Entries and blind corners | Adds protection between views |
| 30%+ | Lower | Dense shelves or aisles | More cameras, fewer missed zones |
| Site | Typical area | Distance | Starting count |
|---|---|---|---|
| Entry approach | 80-180 sq ft | 8-15 ft | 1 camera |
| Garage interior | 400-650 sq ft | 18-28 ft | 1-2 cameras |
| Back patio | 300-700 sq ft | 20-35 ft | 2 cameras |
| Shop floor | 1,200-3,000 sq ft | 25-45 ft | 4-8 cameras |
💡Planning Tips
Everyone buys a security camera for its looks/appearance/resolution, then realizes they can’t see the front door in the video. It’s typically less about the lens (it wasn’t cheap) than about geometry. Learn which variables play into field of view: distance, mounting height, etc., to avoid leaving yourself with a blind spot. This calculator will do the math for you… you just have to know what those variables mean for your environment.
The first big variable is field of view, which appears to help if it’s wide enough to cover more of what’s in front of you. But the wider you make it, the thinner your pixels stretch at the edges; meaning something 20 feet away could become unrecognizable as a face. The calculator lets you weigh that tradeoff: do you need to read a license plate? If yes, sacrifice width for clarity. Do you just want an alert when someone moves into view? In that case, you can spare the width and get a bigger FOV.
How to Place Your Security Cameras Correctly
The remaining configuration depends on mounting height: the taller, the better (easier to see down the path from and harder to reach and tinker with). However, the higher you go, the bigger the blind spot immediately below camera… Where thing under the eaves is hidden from view. And the higher you mount the camera, the larger that blind spot becomes. You can’t simply put the camera up as far as it will go and expect total coverage. As the reference tables indicates, a blind zone is growing at a lower height.
So instead of pointing camera down at the ground, you want to point it across the motion path. You might find overlap annoying, but it is actualy an insurance policy. Ideally, you want 10 to 15 percent overlap on each side of your adjacent views. This prevents gaps if someone steps out of frame for one camera and into the next. No overlap, and you’re left with snapshots rather than a continuous record. It is better to have extra coverage then to miss a corner with just one wide-angle camera; the calculator consider this when it provides a realistic count of units needed.
And then there’s the final reality check: No site is a perfect empty rectangle with unobstructed sight lines. There’s shelving, trees, pillars, whatever blocks a portion of the view, so you need to figure out how much of your space that means is effectively covered. To account for that, the tool requests an obstruction profile. This reduces coverage efficiency because the math will penalize width of the coverage where the camera can’t get a good look through densely packed shelving. Small detail, big difference when it’s time to decide whether to add another unit.
So, why plan? It’s easier to run cables during construction than to try to add them later (and adding them later could of been an expensive mistake). Get a rough idea using the presets and adjust based off actual constraints at your site.
You want to build a net, not just dots. Create a mesh with tight enough spacing to catch what you are trying to see. Work toward providing coverage when needed.