Room Divider Panel Quantity Calculator
Estimate room divider panel count, effective coverage, overlap or gap allowance, track length, privacy gap percent, weight load, and overall fit score.
Start with a common studio, shelving, sliding wall, office, kids room, closet, patio, craft nook, or rental divider setup, then adjust the exact opening.
| Line item | Quantity | Measurement | Planning note |
|---|---|---|---|
| Panel count | -- | -- | Calculate to fill the schedule. |
| Privacy level | Target max gap | Typical overlap | Best use |
|---|---|---|---|
| Light screening | 35% | 0 to 0.5 in | Visual zoning, plants, patio screens, open shelves. |
| Medium privacy | 20% | 0.5 to 1.5 in | Home office, shared room, closet screen, flexible divider. |
| High privacy | 10% | 1.5 to 3 in | Studio sleeping zone, kids room split, guest area. |
| Near-full privacy | 4% | 3 in or more | Sliding panel wall, wardrobe screen, temporary bedroom wall. |
| Connector style | Buffer added | Load factor | Check before mounting |
|---|---|---|---|
| Ceiling sliding track | 4 in | 1.00x | Track rating, ceiling backing, and carrier count. |
| Wall-mounted track | 3 in | 1.05x | Wall anchors, end stops, and bracket spacing. |
| Hinged folding screen | 1 in | 1.18x | Hinge swing, zigzag footprint, and tipping resistance. |
| Clip or pin connectors | 2 in | 1.12x | Connector spacing, panel stiffness, and edge tear-out. |
| Freestanding feet | 0 in | 0.92x | Base depth, floor level, and panel height ratio. |
| Tension rail | 2 in | 1.08x | Compression range, ceiling finish, and rubber pad grip. |
| Preset | Opening | Panel plan | Privacy note |
|---|---|---|---|
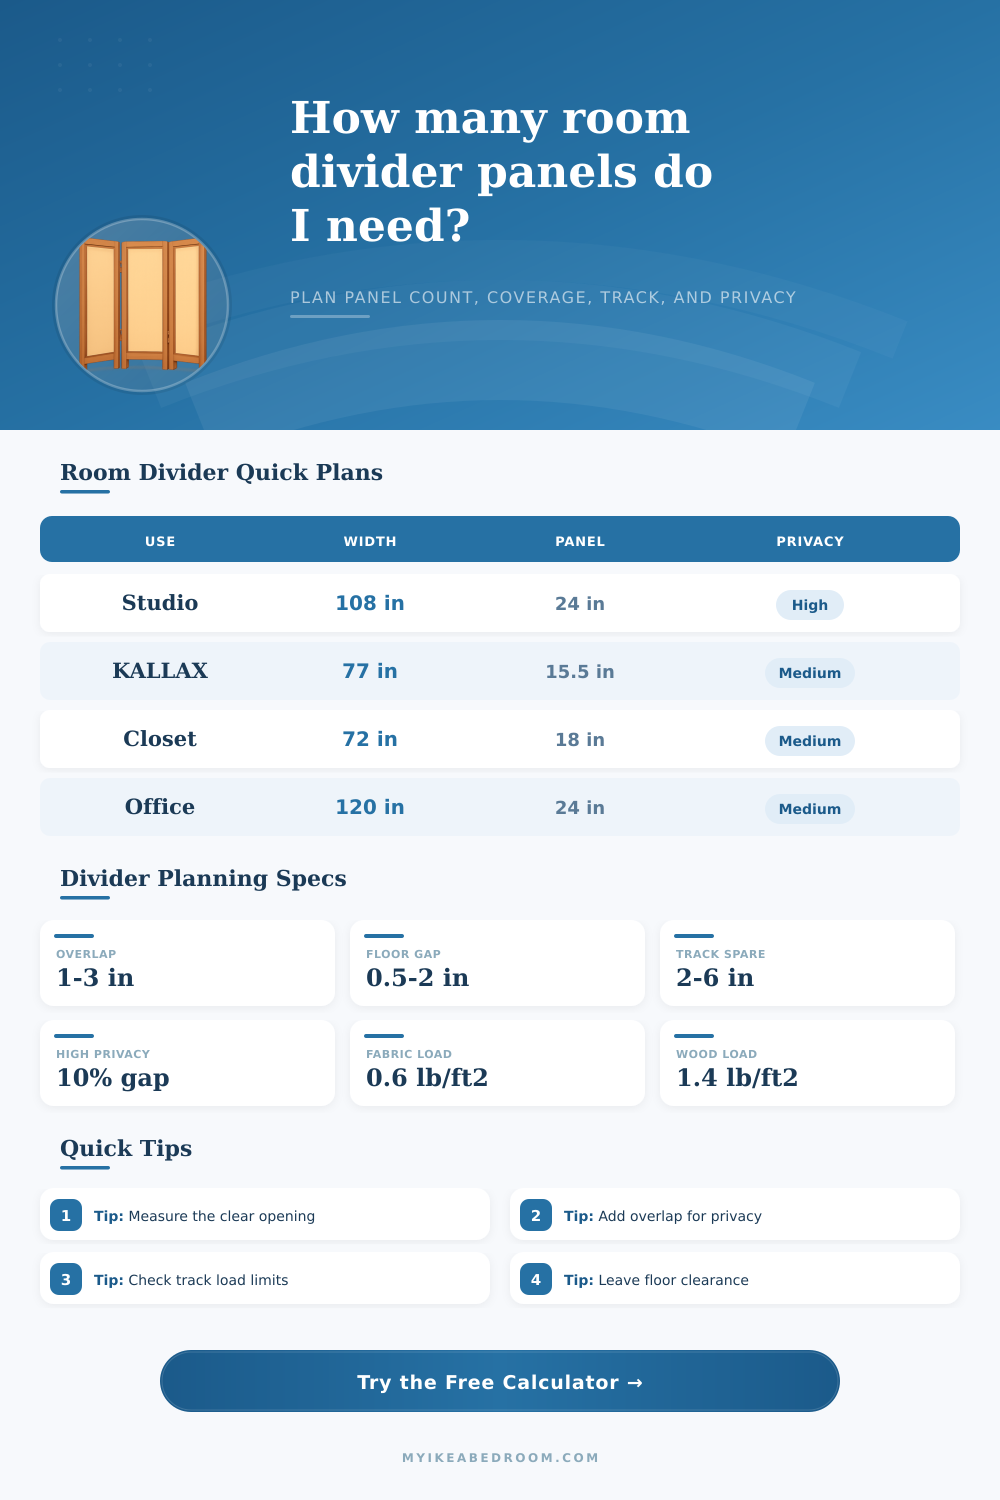
| Studio sleeping zone | 108 in | 24 in panels with 2 in overlap | Good high-privacy starter layout. |
| KALLAX divider | 77 in | 15.5 in panels with 0.75 in gaps | Open storage feel with moderate screening. |
| Sliding panel wall | 144 in | 30 in panels with 3 in overlap | Wide track layout with strong coverage. |
| Closet screen | 72 in | 18 in panels with 0.75 in overlap | Flexible front screen with modest floor gap. |
Fabric panels
Load: about 0.6 lb per sq ft.
Best fit: ceiling track, tension rail, studio sleeping zones, and rental-friendly screens.
Rattan or paper
Load: about 0.7 to 0.9 lb per sq ft.
Best fit: folding screens, closet screens, and light visual separation.
Wood or MDF
Load: about 1.4 to 2.2 lb per sq ft.
Best fit: rigid office dividers and furniture-backed panel runs.
Acrylic or glass
Load: about 2.8 to 4.8 lb per sq ft.
Best fit: stable tracks where weight rating and impact safety are confirmed.
Mock the overlap: Tape paper strips at the planned panel step before buying hardware. A small overlap can feel private from straight on but reveal more from an angle.
Check the real load path: A track rating only helps if the ceiling, wall, bracket spacing, carriers, hinges, and panel edges can share the estimated weight safely.
Before selecting any room divider based off looks, think about how it is built. Sure a cute folding screen is all well and good, but more times than not, that kind of thing doesn’t really separate you from anybody else, because panels don’t keep out light and air, since they’re bowed or have gaps. And why? Because materials react according to their nature (physics), your specific product might not perform exact how your aesthetic vision intended. If there is gaps, you’ll be able to peek through them, especially since they form by accident (a.k.a. Archways). So, when thinking about dividing space, one must know a little bit about weight and geometry; not just find something pretty on the shelf.
When calculating panel requirements, most folks does simple math: divide width of openings by width of panels. But that’s not how it works. To get proper separation, you have to add some margin for the fact that panels will comes into contact with one another. If the panels merely touch, any imperfection in your track or floor mean the panels won’t line up properly. For spaces where people is sleeping (or working) overlap is key. Because that prevents those gaps.
How to Choose the Right Room Divider
Once you enter your space dimensions, the calculator does all the math for you (including figuring out how much overlap you need), eliminating the guesswork around conversions and coefficients. It handles everything from general spacing to the exact number of panel.
What about material? Not just how far something is going to cover visually, but what will it weigh? A light fabric curtain will move freely with little stress on tension rails or ceiling tracks. Heavy MDF panels or wood slats provides a solid barrier but require strong mounting hardware (they are heavy). The tool considers the weight of whatever material you choose and makes sure that the track can absorbs it without sagging over time.
For many folks, all they think about is how nice the divider looks and don’t consider the stress being put on the ceiling mount. A nice looking panel suspended off a weak bracket becomes a hazard, since it can’t hold itself up.
Privacy is not a binary condition; it’s a spectrum: Do you wish to fully eliminate sight lines and light into your workspace? Or do you just want to reduce the visual clutter of your storage space? The calculator takes that privacy goal into account, adjusting its recommendations to match. Tighter tolerances and greater overlap are necessary with higher levels of privacy. For light screening where you desire some definition of zones in an open plan, but wish to maintain airflow, gaps can be accommodated. This way, you don’t should of buy costly hardware where a simple tension rail will do the job.
Another detail that’s easy to forget when purchasing is track length. How do you cram a 16″ piece of panel into a 15″ piece of track? With a bit of added buffer space for end stops, connectors, etc., it helps them glide smooth as butter rather than getting hung up on either end. You should also take floor clearance into account, which can become a big issue later on. If you leave about half an inch between the bottom of the panel and the floor, it will provide enough room for uneven flooring and keep your panel from dragging on the rug. It is a small change to the input fields, but it saves a lot of headaches at install time.
This is also where presets such as closet screen and studio sleeping zone comes into play. They’re based on common sense (and actual use scenarios of people wanting privacy but not necessarily isolation). Think of them more as educated starting points then hard rules. That said, the interactive controls let you customize the numbers.
You want to buy what you need without making a costly mistake. That’s why planning a divider is as much about structural logic as it is decoration. Make sure to get the math correct, account for weight limitations, and design for motion. Overloading brackets, or letting panels drag along the floor, will undermine stability. But when you get the numbers right, installing them is simple.
What you’re left with isn’t a patch job but something that seems thoughtful. Your neighbor won’t see what’s cooking; the track slides true; and the screen stands firm.