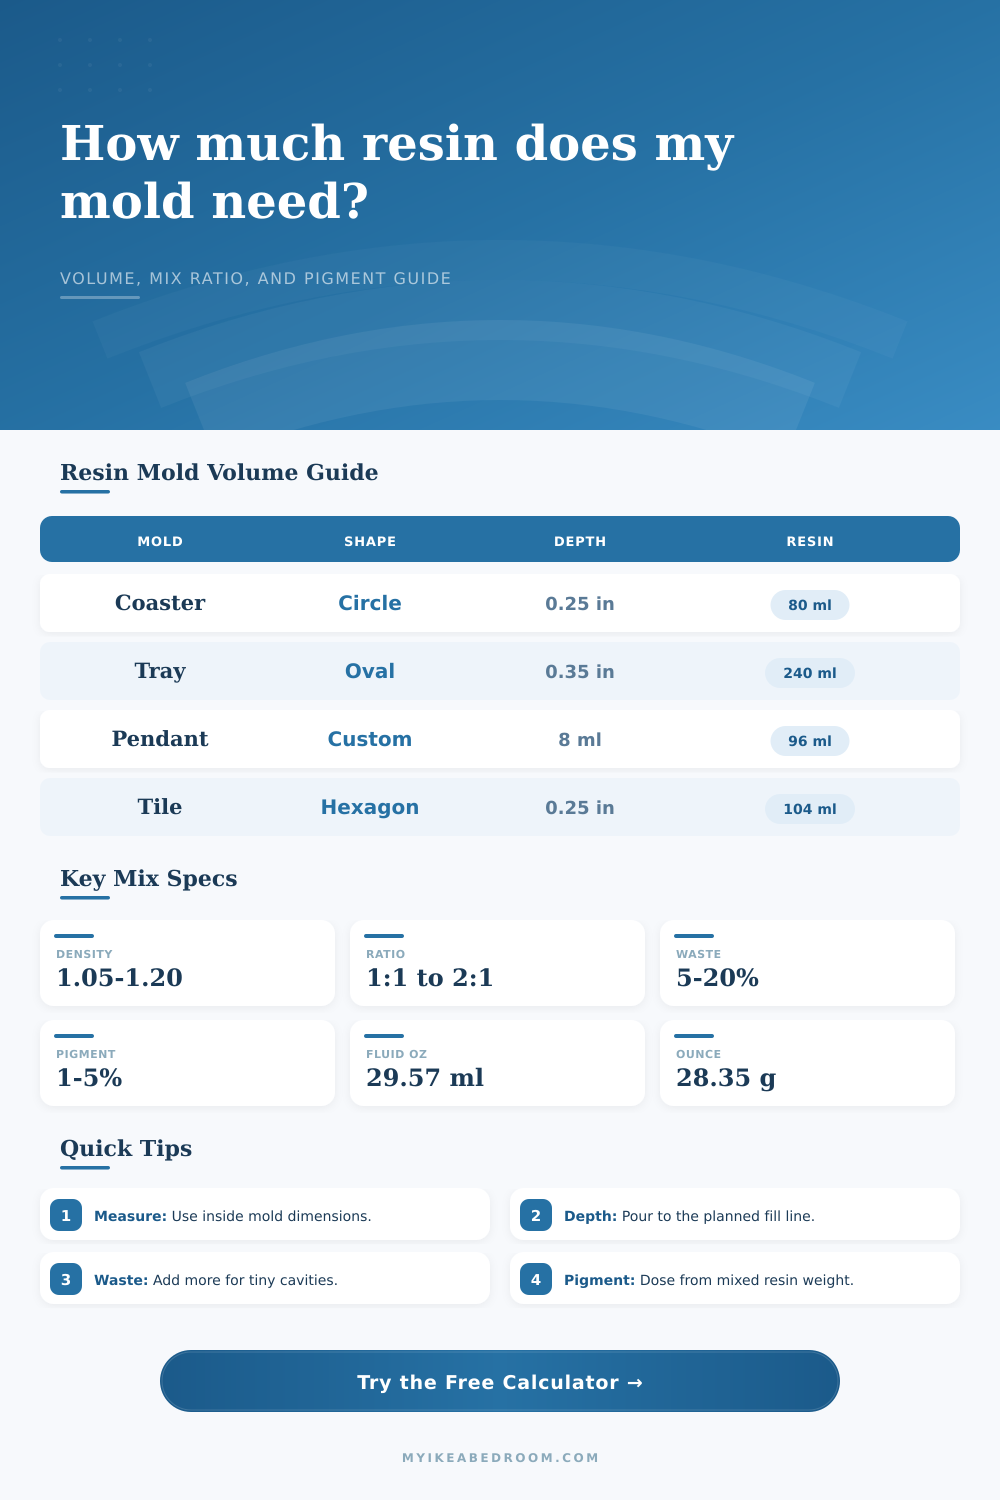
Resin Volume for Mold Calculator
Estimate mixed resin volume, resin weight, Part A, Part B, pigment inclusion, fill depth, waste allowance, and ml or fluid-ounce conversions for silicone mold projects.
✨Resin mold presets
📏Mold and resin inputs
Resin pour estimate
⚖Resin density and mix reference
📋Reference tables
| Mold shape | Volume formula | Dimension inputs | Best planning use |
|---|---|---|---|
| Rectangle or square | Length × width × depth | Inside length, width, fill depth | Coasters, bookmarks, trays, tiles, nameplates, and slab-style molds. |
| Circle or disk | Pi × radius² × depth | Inside diameter and fill depth | Round coasters, knob caps, cabochons, disks, and shallow circular inserts. |
| Oval or ellipse | Pi × half length × half width × depth | Long diameter, short diameter, fill depth | Trinket dishes, oval trays, plaques, and decorative bedroom catchalls. |
| Triangle | 0.5 × base × height × depth | Base, height, fill depth | Terrazzo pieces, accent chips, corner inlays, and geometric mold sets. |
| Regular hexagon | 2.598 × side² × depth | One side length and fill depth | Hex tiles, drawer-front accents, small organizers, and modular decor pieces. |
| Custom volume | Measured ml per cavity | Water-filled cavity volume | Letters, shells, flowers, faceted molds, or shapes with deep detailed relief. |
| Fill depth | Volume per 10 sq in | Metric equivalent | Typical mold result |
|---|---|---|---|
| 1/8 in | 20.5 ml | 0.318 cm deep | Thin skins, label inlays, shallow top coats, or color test strips. |
| 1/4 in | 41.0 ml | 0.635 cm deep | Coasters, thin tiles, bookmarks, and small flat decorative pieces. |
| 3/8 in | 61.5 ml | 0.953 cm deep | Trays, thicker plaques, inset pulls, and pieces needing extra stiffness. |
| 1/2 in | 81.9 ml | 1.27 cm deep | Deep coasters, small blocks, thicker cabochons, and casting blanks. |
| 1 in | 163.9 ml | 2.54 cm deep | Deep castings, knobs, block molds, and heavier embedded objects. |
| Mix ratio | Part A share | Part B share | Example from 300 g resin |
|---|---|---|---|
| 1:1 | 50.0% | 50.0% | 150 g A and 150 g B |
| 2:1 | 66.7% | 33.3% | 200 g A and 100 g B |
| 3:1 | 75.0% | 25.0% | 225 g A and 75 g B |
| 100:45 | 69.0% | 31.0% | 207 g A and 93 g B |
| 100:30 | 76.9% | 23.1% | 231 g A and 69 g B |
| Conversion | Metric value | Imperial value | Calculator use |
|---|---|---|---|
| Cubic centimeter | 1 ml | 0.0610 cu in | Shape volume after cm conversion |
| Cubic inch | 16.387 ml | 1 cu in | Imperial mold dimensions |
| Fluid ounce | 29.5735 ml | 1 fl oz | Liquid resin volume |
| Ounce weight | 28.3495 g | 1 oz | Part A, Part B, pigment |
| Resin density | g per ml | specific gravity | Volume to weight conversion |
| Mold preset | Shape basis | Waste range | Pigment planning note |
|---|---|---|---|
| Coaster set | Circle or rectangle at 1/4 in | 5% to 12% | Use 1% to 3% mica for clear color without heavy settling. |
| Small jewelry cavities | Measured ml each | 12% to 20% | Higher pigment percentages can overwhelm tiny clear details. |
| Tray or dish mold | Oval or rectangle at 3/8 in | 8% to 15% | Mix pigment into the main cup before dividing accent colors. |
| Knob or drawer pull caps | Circle area with deeper fill | 10% to 18% | Weigh pigment from resin mass for repeatable hardware batches. |
| Custom letter mold | Measured water volume | 15% to 25% | Many corners trap residue, so add a stronger waste allowance. |
Calculator estimates are for quantity planning. Follow the resin maker's mixing instructions, pot life, layer depth, pigment limit, and cure guidance for the exact product used.
💡Resin mold tips
So you open your mold and find that all the resin has hardened perfectly shaped, except there’s not enough in the bottom part of the piece. What happened? Most of us guess (or eyeball) how much resin we put into our molds based off how big they appear on the outside. However, silicone is a flexible material and the interior volume will be less than what you think due to thicker-than-you-realize walls. There must be some way to know exactly how many milliliters of mixed resin are needed prior to pouring it out of bottle. Otherwise, you waste precious product and spoil cure.
How deep do you want it? To start with, measure the interior volume of the mold, NOT the exterior (which includes the walls). That’s the part that really makes all the difference. Even if your mold looks like a four inch square on the outside, after subtracting the thickness of the wall and rim, there may only be about three and a half inches of pourable material. Measure both the length and width, and the desired depth that you’ll fill it up to. This last measurement are the critical one. If you’re pouring right up to the maximum point of the form, you risk bubbles and overflows from excess resin. Plan for a little less, and build in some wiggle room as a buffer.
How to Measure the Right Amount of Resin
The formula above will take care of the math for you, regardless if you have basic shapes such as a circle, rectangle, etc., or something a bit more complicated, like an oval shape. It will translate your linear measurements into volume in milliliters, which is what resins is mixed by.
Now that we know how much volume we need, we also need to factor in waste. Some resin will inevitably be lost to the stirring stick, the mixing cup, and the pouring spout, it’s sticky stuff! The more complex letter or pendant with lots of small nooks and crannies has a bigger percentage of waste: the surface area to volume ratio are greater. A big tray may only lose five percent in waste when you pour, whereas ten tiny charms could easily require twenty percent extra to get each corner full. Including a waste percentage in your math helps avoid that heart-stopping realization as you’re stirring the final dregs in a batch… There isn’t enough to fill this one. Best to err on the side of having a bit too much rather than watching a pour die midway through.
And then there’s mixing ratios. Most clear casting resins has a weight ratio like 2:1 or sometimes as high as 3:1. That means Part A is most of the total weight. So it’s not as simple as dividing the total weight in half if you’re using an epoxy that mixes at equal parts. And you can’t just divide the volume equally either. You have to understand the density or specific gravity of your resin and adjust the milliliters to get grams. For instance, typical density for a standard art epoxy is about one point one grams per milliliter. If your resin contain powder or mica, that density increases so you’ll have to add more weight to achieve the same volume. Even if the volume remains constant, changing density change the amount of weight you’d require. The chart on the page shows all of that.
The last part is pigment and additives. To keep the pigment from throwing off the chemistry and making your resin either soft or tacky most manufacturers suggests no more than five percent pigment by total resin weight. Going beyond that will impede the chemical cure. It may also lead to over settling. In this case, all the pigment falls to the bottom of the container before the resin gels, resulting in a loss of desired color depth.
To know exactly how much pigment you want to use, first figure out how much resin (Parts A + B) you’ll be mixing. Then you know exactly how many grams of pigment you should of mix in for vibrant colors while maintaining stable chemistry.
Take the guess work out of pouring by planning your pour. Know exactly how much resin you will use instead of hoping you purchased enough. Measure inside, add extra for waste, and figure in the mix ratio. Get your pigment dosage correct, and you will have a smooth, confident pour. Your completed piece will look exactly like you pictured it. Trust the math, avoid the heart break, avoid the waste.