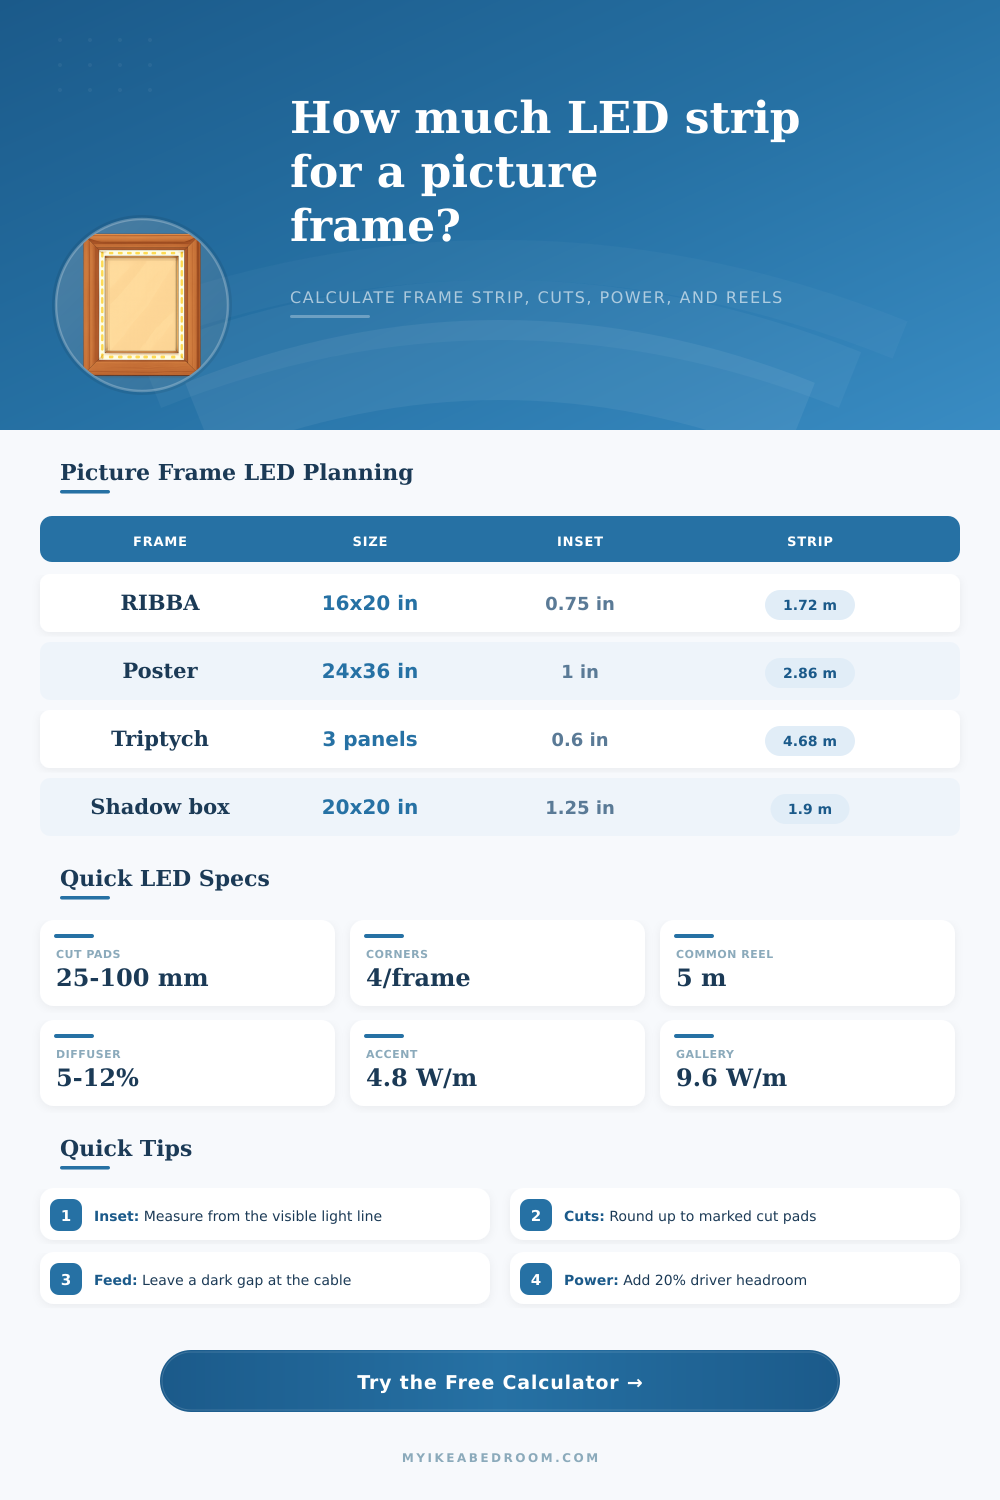
Frame halo, shadow-box, and gallery light planner
Picture Frame LED Strip Length Calculator
Calculate inner picture-frame perimeter, feed gap, corner connector allowance, cut-pad rounding, strip reel count, channel diffuser coverage, connector count, and LED power load for one frame or a repeated frame set.
| Frame scenario | Typical outside size | Inset range | Planning note |
|---|---|---|---|
| RIBBA-style small frame | 16 x 20 in | 0.5 to 1 in | Shallow channel gives enough room for a neat cable exit. |
| Poster frame | 24 x 36 in | 0.75 to 1.25 in | Use 24 V strip if the long side approaches feed limits. |
| Shadow box display | 20 x 20 in | 1 to 2 in | Deep diffuser hides dots and makes corner slack easier. |
| Triptych frame set | Three 12 x 24 in panels | 0.5 to 0.75 in | Repeat the same cut plan so each panel has matching brightness. |
| Large gallery piece | 30 x 40 in | 1 to 1.5 in | Plan a hidden feed near the lowest corner or rear spacer. |
| Cut interval | Common voltage | Best frame use | Rounding effect |
|---|---|---|---|
| 25 mm / 1 in | 5 V or COB | Small frames and tight miters | Very little extra strip after rounding. |
| 50 mm / 2 in | 12 V | Most picture frames and poster frames | Good balance of convenience and precision. |
| 100 mm / 4 in | 24 V | Large frames with simple rectangular routes | May add several inches across multiple frames. |
| 166 mm / 6.5 in | High-density variants | Long straight rails | Needs careful feed-gap placement before cutting. |
| Brightness target | Typical load | Visual result | Driver planning |
|---|---|---|---|
| Soft accent | 4.8 W/m | Gentle back glow around small art | Small plug-in drivers usually have enough headroom. |
| Balanced glow | 7.2 W/m | Useful bedroom mood light and shelf accent | Check total watts for frame sets and gallery grids. |
| Gallery wash | 9.6 W/m | Stronger halo behind large frames | Use 20% driver headroom and a tidy cable exit. |
| Bright edge or COB | 14.4 to 16 W/m | Smoother, brighter visible light line | Watch current draw and channel heat path. |
| Channel type | Typical stick length | Diffuser allowance | Corner treatment |
|---|---|---|---|
| Bare adhesive strip | 5 m reel | 0 to 5% | Use soldered jumpers or flexible corner leads. |
| Shallow aluminum channel | 1 m stick | 6 to 10% | Miter the channel and bridge strip at each corner. |
| Deep frosted diffuser | 1 m stick | 10 to 15% | Leave more room behind the frame for connectors. |
| Flexible silicone sleeve | 2 m sleeve | 8 to 12% | Useful when the frame has rounded or uneven backs. |
Now, if you’re measuring for hanging hardware (like me), you’d normaly take your measurements from the outside edge of the wood. This leads to trouble when installing LEDs since they is mounted inside a channel and not directly on the painted surface. By pushing them back into the frame we can obscure the individual diode and achieve the nice, even, indirect halo effect we want; it’s a very slight amount of space, but the one that trips up most project right from the start.
If you are half an inch off-center in either direction, your total length calculation will shift. This change can create a black hole in the corners or leave you with leftover bits from cutting segments to long. Once you enter exact inset measurements into the calculator above, it’ll crunch all the numbers for you… No more winging it based off conversions.
How to Measure and Buy LED Light Strips
It’s all pretty basic math: Subtract the inset distance (twice) from the height and width to find the interior perimeter; add in corner allowance and feed gap allowances, respectively. That makes it sound easy, except that this gets tricked out by the form factor of LED strip themselves. Most digital strips comes scored at regular intervals along their length (typically once per 50mm/2″). You can’t safely cut a strip anywhere other than at one of these scoring lines, which means that if your perimeter calculation lands right in the middle of a section, you need to round up to the next safe cut point.
And with multiple frames wired together as part of a gallery wall setup, rounding errors accumulate. A few extra inches of slack on just one frame could of mean needing an entire new reel for ten frame. The length is one thing, but so is brightness load.
A good rule of thumb: a soft accent strip used for lighting a small piece of art in the nursery or bedroom (about 5 watts per meter) is a soft light that isn’t intrusive. But use it for a big gallery piece in a lit living room, and that low level becomes muddy and under-illuminating. Try bumping up to a denser strip; maybe 10 watts per meter. To get a nice clean wash of light. That’s how much you can draw in current, and that’s what determines the size of your power supply. It calculates that load for you.
It’s best to tack on some breathing room: Drivers don’t last as long or get as hot when they’re at the absolute max of their capacity. Twenty percent headroom is normal, not paranoia. There’s no getting around it, channel housings makes a huge difference aesthetically as well as in waste factor. Bare adhesive strips are inexpensive and easy to install. However, they leave the naked face of each LED chip exposed. This looks like a dot matrix and looks cheap up close.
Frosted aluminum channels cover all the dots completely, and conduct heat more effectively, lengthening life of the LEDs. On the debit side, they’re typically sold in fixed one-meter sticks, so you’ll be left with scraps at the ends of runs. Plan on wasting about eight to 10 percent of your diffuser coverage for miter cuts and other mistakes. This extra amount prevents you from running out of lens halfway through the job.
Many DIYers get tripped up over voltage selection, most use a 12 volt system while the twenty-four volt strips provides greater run length with less voltage drop. That means that the LEDs will be brighter closer to the power source and dimmer than they reach further down the strip. For larger frames where you have lots of perimeter route, using a twenty-four volt set-up will maintain equal light level throughout the whole loop without needing multiple injection points or complicated wiring diagrams. The voltage selected here affects what the calculator assumes for current, so it will give you an accurate match for your driver’s amp rating.
After all, that’s what lighting a frame is. Perception, not just illumination. You don’t want the eye on the light; you want it on the art. The ideal install dissapears into the depth of the frame or shadows within the mat line. There should be no darkness, but it depends on how it’s done as much as by the math.
Cut respectfully with the intervals, consider your waste, and do your math, carefully. And when you’re done, the glow won’t seem like an afterthought, only something intended.