Pelmet Board Size Calculator
Size a straight pelmet board or cornice box from track span, side returns, projection, drop, board thickness, wrap allowance, and bracket spacing.
| Projection | Best For | Typical Drop | Clearance Note |
|---|---|---|---|
| 4 to 5 in | Blind headrails | 8 to 10 in | Low profile rooms |
| 6 to 7 in | Single curtain track | 10 to 14 in | Covers most brackets |
| 8 to 9 in | Double curtain track | 12 to 16 in | Allows front fabric stack |
| 10 to 12 in | Layered treatments | 14 to 18 in | Check side wall room |
| Wrap Allowance | Use Case | Batting | Handling Note |
|---|---|---|---|
| 1.5 in | Thin lining | None | Staple close to edge |
| 2 in | Standard fabric | Light | Good for neat corners |
| 2.5 in | Medium padding | Medium | Best default allowance |
| 3 in | Heavy texture | Thick | Useful for deep returns |
| Front Width | Light Board | Medium Board | Heavy Board |
|---|---|---|---|
| Up to 48 in | 2 to 3 brackets | 3 brackets | 3 brackets |
| 49 to 72 in | 3 brackets | 3 to 4 brackets | 4 brackets |
| 73 to 96 in | 4 brackets | 4 to 5 brackets | 5 brackets |
| Over 96 in | Every 24 in | Every 20 in | Every 18 in |
| Scenario | Span | Return | Suggested Drop |
|---|---|---|---|
| Single bedroom window | 36 to 48 in | 4 to 5 in | 9 to 12 in |
| Twin curtains | 60 to 72 in | 5 to 6 in | 12 to 14 in |
| Sliding door | 84 to 96 in | 6 to 7 in | 14 to 16 in |
| Wall-to-wall track | 108 in plus | 7 to 8 in | 16 to 18 in |
People always say “but I measured the glass” as though that’s the end of the discussion and that means the project is complete. But curtains rarely sits flush against the cold surface of the glass. No! The curtain hangs on a rod or track that juts out into the room, and it can absorbs a lot of light if you aren’t careful with how you stack it.
A pelmet board tucks all that mechanical mess away and adds a nice clean architectural line where your functional hardware used to be. The size isn’t so much a matter of math as knowing how big an object need to go in the box before you shut the lid. After measuring the actual span of the blind headrail (or in this case: the track), the math gets handled by the calculator. Measure from end to end, not including any windows; just measure the run of finished hardware.
How to Measure for a Pelmet Board
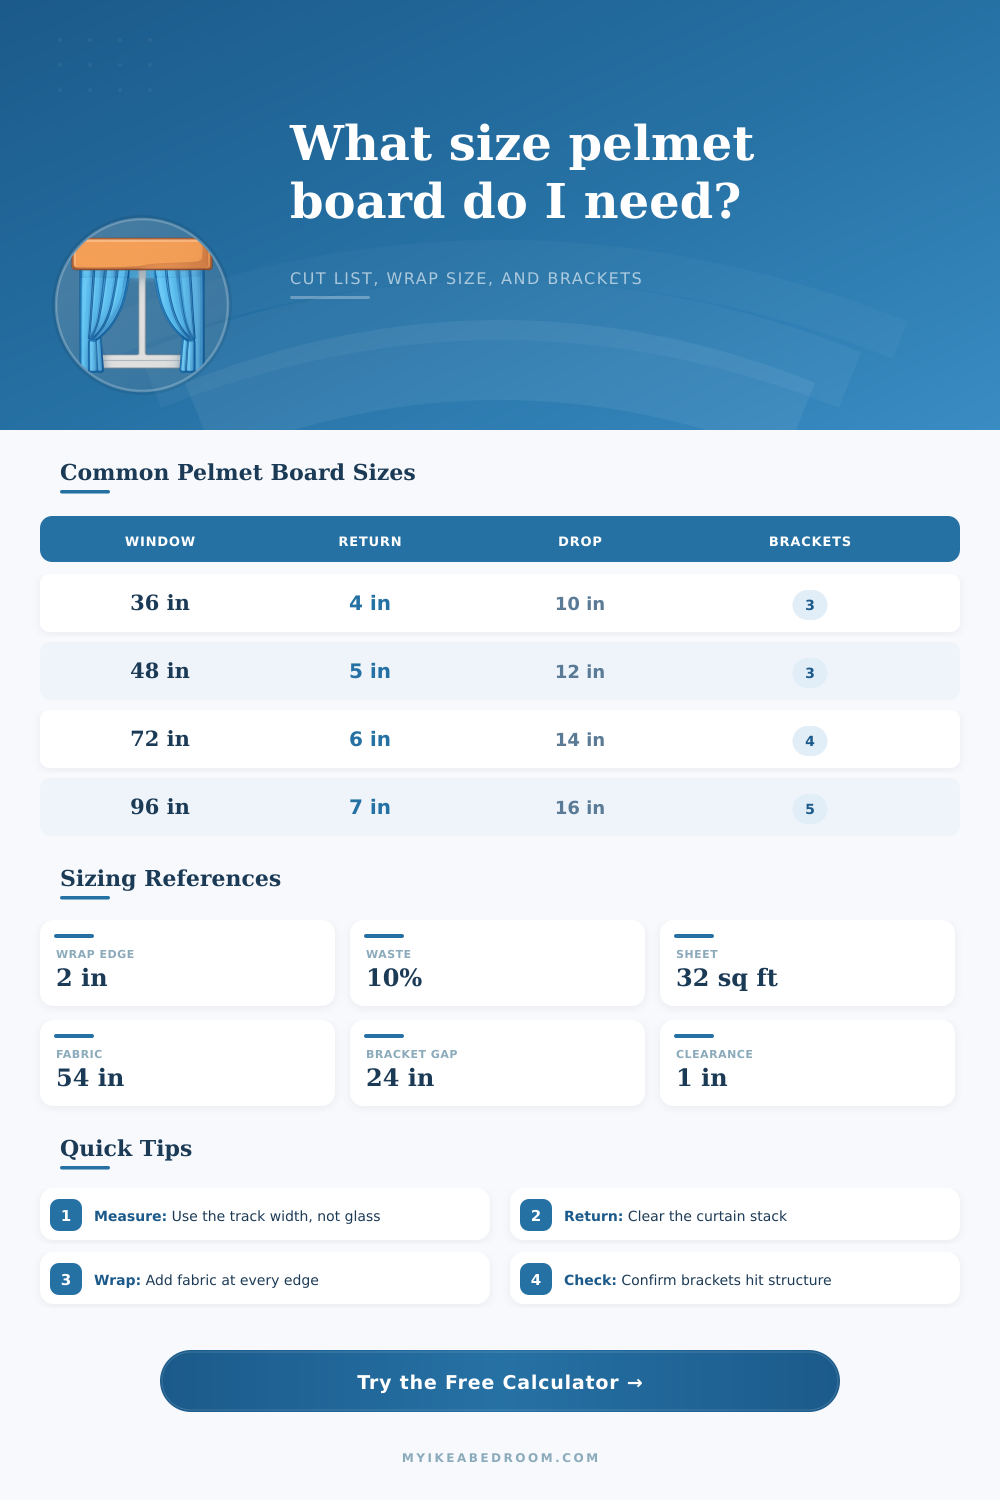
So, for example, if you’re installing a single curtain track that’s going to span forty-eight inches, you’ll want your front board to be long enough to cover that exact distance. Most projects fall short on side returns, which is an area that people realy underestimate as far as how much fabric can pile up there. Even a so-called “tight” four inch return sounds like it would work, until you factor in double layers of sheers, or heavy velvet drapes, that stack grows fast! With a little math, the tool lets you know if you need a five- or even a six-inch depth in order to tuck all of those folds out of sight and off the street below.
Stiffness depends much more on thickness than many do-it-yourselfers understand. That half-inch board may appear adequate in the lumber yard, but used as a wall across a large expanse, it’s going to droop with your bodyweight alone, let alone the batting and fabric you’re planning to put on it. For widths beyond average bedroom window, the link’s reference guide recommends using five-eighths or three-quarter inch stock. This isn’t a huge price difference but it gives you a major increase in strength.
Don’t forget about the top board, either. While adding another layer adds some weight, it keeps the bracket hardware hidden entirely. It also makes it look finished from overhead. If you omit this piece, whoever is viewing it from an upstairs room or balcony see just a line of metal mounting points, breaking the visual flow of the design.
Another unseen variable is amount of fabric that goes into these projects. To determine the yardage, you don’t just take the width times the length to calculate fabric consumption. That doesn’t account for the extra fabric needed to wrap the edges neatly. Also, all decorator fabrics comes in standard widths of fifty-four inches, so if your pelmet is larger than that, you’re going to have to use more than one piece or create seams, which wastes fabric when they are cut out. Add ten percent for pattern matching and other mistakes and this isn’t pessimism, it’s realism. Better to have an additional foot of fabric on the floor then realize that when you were gluing down that last bit, you actually was two inches shy.
The last safety check is bracket spacing. Depending on the weight of the material, long pelmets requires support at intervals of about twenty four inches. The tool calculates how many brackets you need based off the gap you select. It’s always better to know in advance where each bracket should be positioned before drilling for holes as it makes it much easier to find a stud behind them all! Having planned ahead with the fixing line also means the board will remain secure and level over time.
So in conclusion, pelmet is a shell. A good one blends into the wall, rather then being an add-on. Taking measurements well at this point would of saved many hours of trimming later. Begin with the width of the hardware span plus the depth of the fabric stack and let the tool take care of the rest. Step away, view the window and recall your intention. That clean line does more than just cover up the track.