Outdoor Speaker Quantity for Patio Calculator
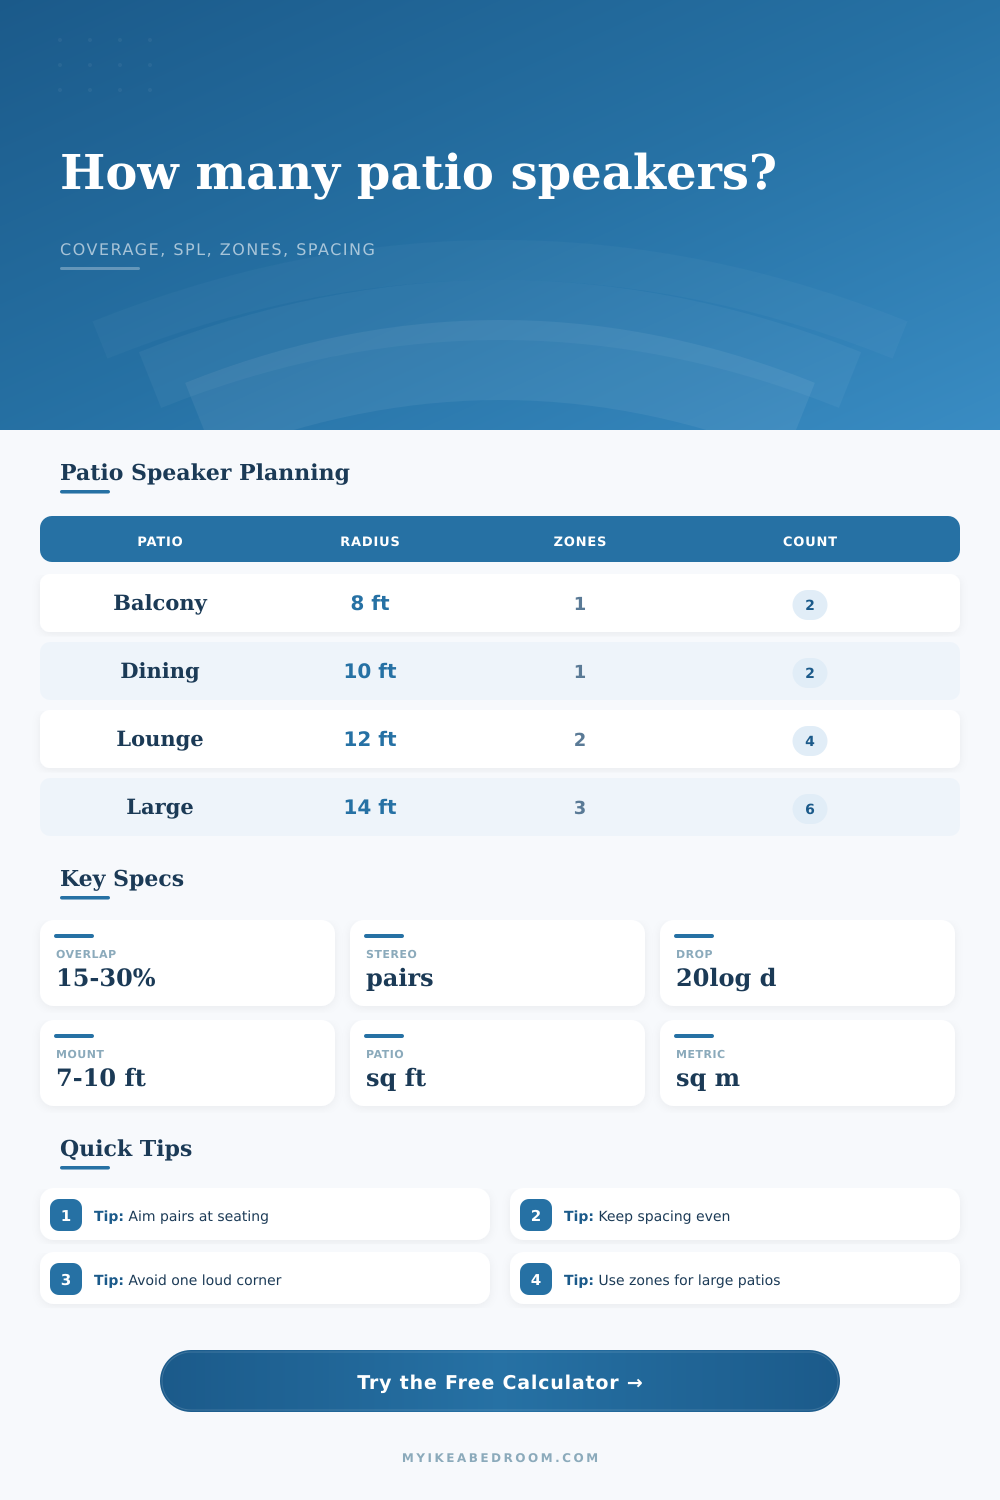
Estimate outdoor speaker count from patio area, coverage radius, SPL distance drop, stereo zones, overlap, spacing, and mounting height for dining, lounge, deck, and poolside listening areas.
▶Patio Speaker Presets
Choose a patio layout, then adjust dimensions, coverage radius, sound level target, zone count, overlap, spacing, and mounting height for the real listening area.
⚙Patio And Speaker Inputs
📍Coverage Snapshot
Speaker dots show a balanced patio-pair layout. Use the spacing and mounting checks below to tune the actual placement.
Speaker Quantity Results
Calculation Breakdown
📊Outdoor Speaker Planning Specs
🧮Coverage And SPL Formulas
Effective coverage = pi x radius x radius x speakers x (1 - overlap)
Farthest SPL = sensitivity + 10 log10(power) - 20 log10(distance meters)
📋Reference Tables
| Radius | One-speaker circle | With 20% overlap | Use case |
|---|---|---|---|
| 6 ft / 1.8 m | 113 sq ft / 10.5 sq m | 90 sq ft / 8.4 sq m | Balcony or small table |
| 8 ft / 2.4 m | 201 sq ft / 18.7 sq m | 161 sq ft / 14.9 sq m | Compact patio pair |
| 10 ft / 3.0 m | 314 sq ft / 29.2 sq m | 251 sq ft / 23.3 sq m | Dining patio coverage |
| 12 ft / 3.7 m | 452 sq ft / 42.0 sq m | 362 sq ft / 33.6 sq m | Lounge or deck zone |
| 15 ft / 4.6 m | 707 sq ft / 65.7 sq m | 565 sq ft / 52.5 sq m | Large open patio |
| Distance | Drop from 1 m | Planning meaning | Placement note |
|---|---|---|---|
| 3 ft / 0.9 m | About 0 dB | Near reference distance | Can sound loud if aimed at seats |
| 6 ft / 1.8 m | About 5 dB | Small table or balcony | Good for low-level stereo |
| 10 ft / 3.0 m | About 10 dB | Common patio listening | Balanced pair spacing matters |
| 15 ft / 4.6 m | About 13 dB | Wide lounge coverage | Add zones before turning up one pair |
| 25 ft / 7.6 m | About 18 dB | Large terrace edge | Distributed speakers work better |
| Patio area | Background | Stereo priority | Large gathering |
|---|---|---|---|
| Under 150 sq ft / 14 sq m | 1 pair | 1 pair | 1 pair |
| 150 to 350 sq ft / 14 to 33 sq m | 1 pair | 1 pair | 2 pairs |
| 350 to 650 sq ft / 33 to 60 sq m | 1 to 2 pairs | 2 pairs | 3 pairs |
| 650 to 1,000 sq ft / 60 to 93 sq m | 2 pairs | 3 pairs | 4 pairs |
| Over 1,000 sq ft / 93 sq m | 3 pairs or more | 4 pairs or more | Use several zones |
| Mount height | Spacing target | Aim angle | Best use |
|---|---|---|---|
| 5 to 6 ft / 1.5 to 1.8 m | 0.7 x radius | Nearly level | Low wall beside seating |
| 7 to 8 ft / 2.1 to 2.4 m | 0.8 to 1.0 x radius | 10 to 25 degrees | Common patio wall mount |
| 9 to 10 ft / 2.7 to 3.0 m | 0.9 to 1.1 x radius | 20 to 35 degrees | Pergola beam or eave |
| 11 to 12 ft / 3.4 to 3.7 m | 1.0 x radius | 30 to 45 degrees | High covered deck |
| Over 12 ft / 3.7 m | Add closer zones | Check directivity | Large open structures |
✅Patio Speaker Quantity Tips
It’s a beautiful summer night so you invite some buddies over. You crack open a cold one, fire up the grill, then hit “play” on your go-to playlist. As tunes begin, everything sounds crisp and clear around dinner table. Then you take a stroll towards the pool and lounge chairs, and now there’s no bass left at all.
This inconsistent sound quality is the most common complaint with outdoor audio setups. Almost always, it’s not due to faulty gear; instead, it’s a matter of poor planning (both in terms of placement and number of speakers). People tend to purchase what they feel they can “afford,” as opposed to what their space realy requires. The math can be sorted out with a calculator, and knowing the physics behind the math will keep you from making an expensive mistake.
How to Plan Your Outdoor Sound System
First, understand: Sound is not Light. To illuminate an entire room, you just has to turn on one bright overhead bulb. But to hear sound, you have to distribute it. When sound comes from a speaker, it naturaly decays quickly as it spreads out (inverse-square law). And outside, it gets hit doubly-hard, since there aren’t any walls to bounce back and keep the wave alive. For example, if the nearest listener sits five feet out, while the farthest is fifteen feet away, there’s a huge difference in how loud it will be.
That’s why the calculator above allows you to enter the wattage of the amplifier powering the speakers as well as their built-in sensitivity. It factors in this decay to estimate what the true decibel number would be at the very last seat. Making sure nobody’s experience is drowned out by background conversations or traffic sounds.
The other variable that trips folks up is coverage radius. You’ll see on a spec sheet that a speaker covers a specific area, but that’s under ideal circumstances. In real life, there are barriers such as planters, pieces of furnitures, and yes, even the roof over your head that interrupt the sound path. That’s why the calculator has an overlap allowance setting. You do want some bleeding between the sound fields of adjacent speakers. It makes it a steady area of sound instead of separate areas where one speaker is too loud and then the next speaker isn’t loud enough. Set the overlap to zero and what you’re going to have is dead zones and hot spots. You also want a moderate overlap to smooth things out.
A different challenge comes from stereo imaging. Inside, you put two speakers separated by distance to produce a phantom center image. Outside, you tend to have several different seating areas. You want to provide sound to a dining table, a grill, and a lounge area. All from a single stereo pair. That means everyone is out of alignment.
Outdoor audio can be set into stereo zones using the calculator. Each zone sets aside a left/right pair, keeping the musical quality of that particular group. If you’re doing this for a big entertaining space, you may need three or four zones. That’s a total of eight or twelve speakers. Sounds like a lot? But it’s always more pleasant to do distributed sound at a low level than to have one loud corner blasting everyone else.
Finally, how high you mount speakers makes a big difference (subtle, but significant) in how clear they sound. If they are too high, you’ll be projecting sound over the edge of the patio. You’ll also be projecting it beyond where your guests is sitting. Too low, and you’re going to have trouble keeping them up, especially if chairs gets moved around. Seven to ten feet seems to be the sweet spot. They are high enough that tweeters point towards people’s ears when they sit down, yet far out of their reach.
The calculator takes that into account for the distance math… It’s an additional distance the sound has to cover. Adding even a couple more feet vertically reduces the sound pressure level in your listeners’ ears.
Outside, other factors like wind and temperature gradients will impact sound. As the air density varies, so does how sound waves bend. That’s where the coolness of a night’s breeze helps sound follow the ground. A hot afternoon where the patio surface is warmed by sunlight causes sound to bend upwards; placing your partygoers in a sort of shadow zone. While there’s no way to calculate for the weather, here again, keep those speakers nearer the listener to help overcome this factor.
The tables above will guide you on spacing in relation to radius. For a long and narrow patio, even distribution of speakers from end-to-end is more effective different than grouping them all together. The point isn’t maximum volume, but even coverage. Fifty decibels in a dense array feels more natural than a sparse setup cranked to eighty.
By forcing you to consider the geometry of your party, the calculator can help you balance your stereo requirements with area coverage, so that you don’t end up drilling holes willy-nilly. Take some time to measure your space and draw your zones. Let the numbers tell you how to lay it out.
And finally, when that last chord rings out clearly… Wherever your guests happen to be standing, they’ll all thank you.