Needlepoint Canvas Size Calculator
Convert mesh count, stitch count or finished design size, border allowance, stretcher-bar margin, finishing allowance, and canvas type into a practical canvas cut size in inches or centimeters.
| Mesh count | Formula | 100-stitch width | Best use note |
|---|---|---|---|
| 10 mesh | stitches / 10 | 10 in / 25.4 cm | Good for large wool canvas and bold household pieces. |
| 12 mesh | stitches / 12 | 8.33 in / 21.2 cm | Common for stockings, pillows, and medium thread coverage. |
| 13 mesh | stitches / 13 | 7.69 in / 19.5 cm | Often used for painted mono canvas and decorative panels. |
| 14 mesh | stitches / 14 | 7.14 in / 18.1 cm | Balanced detail level for ornaments, inserts, and small decor. |
| 16 mesh | stitches / 16 | 6.25 in / 15.9 cm | Fine detail with more stitches per inch. |
| 18 mesh | stitches / 18 | 5.56 in / 14.1 cm | Fine belts, small ornaments, and delicate charted areas. |
| Project type | Working border per side | Stretcher allowance | Finishing note |
|---|---|---|---|
| Small ornament | 1.5 to 2 in | 0 to 0.5 in | Interlock can help small shaped canvas stay stable. |
| Pillow panel | 2 to 3 in | 0.5 to 1 in | Add finishing allowance if fabric is turned or joined. |
| Belt or strap | 1.5 to 2 in | 0.5 in | Long narrow canvas benefits from a steady stretcher setup. |
| Chair seat | 3 in or more | 1 in | Large mono canvas can distort if it is pulled unevenly. |
| Tray or framed insert | 2 in | 0 to 0.5 in | Check the visible opening separately from the cut canvas. |
| Canvas type | Structure | Typical strength | Calculator handling |
|---|---|---|---|
| Mono | Single warp and weft intersections | Flexible and adjustable | Use normal cut math, then keep enough border for blocking. |
| Interlock | Twisted locked intersections | Stable and less likely to ravel | Good for small shapes, though cut size is still geometric. |
| Penelope | Paired threads that can be split | Flexible detail options | Confirm the active mesh count before entering stitch counts. |
| Rug canvas | Larger, heavier mesh | Firm support for thick yarn | Use larger borders for gripping and finishing. |
| Canvas project | Typical mesh | Design size example | Canvas cut reminder |
|---|---|---|---|
| Round ornament | 18 mesh | 4 x 4 in / 10.2 x 10.2 cm | Add enough border to finish the shape cleanly. |
| Decor pillow front | 12 to 14 mesh | 16 x 16 in / 40.6 x 40.6 cm | Finishing allowance sits outside the stitched area. |
| Bookmark strip | 18 mesh | 2.5 x 12 in / 6.4 x 30.5 cm | Long strips need straight edges and consistent tension. |
| Eyeglass case panel | 13 mesh | 7 x 10 in / 17.8 x 25.4 cm | Folded projects often need a little extra finish margin. |
| Chair seat canvas | 10 to 12 mesh | 18 x 16 in / 45.7 x 40.6 cm | Large projects deserve a larger working border. |
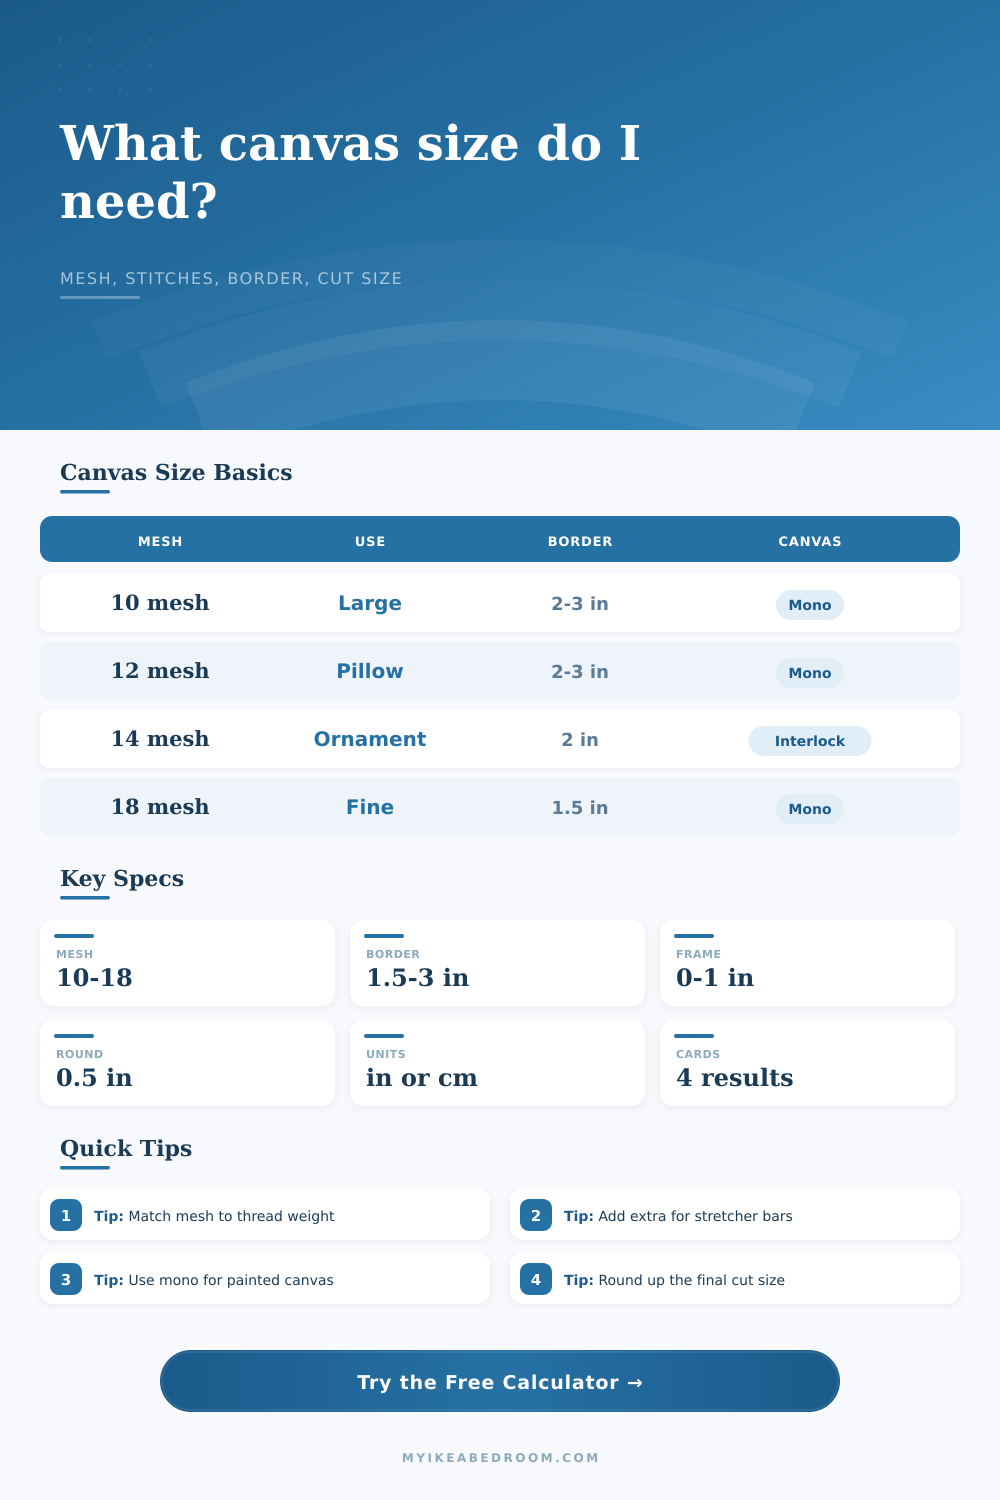
Start from stitches when possible: Mesh count makes the design size exact: divide stitch width and height by holes per inch, then add allowance to all four sides.
Keep stretcher space separate: Working border, stretcher-bar allowance, and finishing allowance do different jobs. Enter each separately so the cut size is not cramped.
Choose canvas type deliberately: Mono canvas is flexible for painted designs, while interlock canvas resists distortion on small ornaments and shaped pieces.
Round up, not down: A half-inch rounding increment gives a tidy cutting target while preserving extra canvas for blocking, tacking, and edge handling.
Now you’ve got the chart. Now you’ve got the thread. Now you can picture your finished needlepoint resting on your desk as a pillow or something equally pretty. And so… you grab your scissors.
But suddenly, deciding how much to cut becomes real headache. But wait. What was all of that about? How do I figure out how much extra fabric I should leave? How big should it be around the edges after adding stretchers? What about when I block the item and want some space for my border?
How to Calculate the Right Canvas Size
This is where many of us gets stuck. We either end up cutting too small, so there is not enough room at the edges. Or we go overboard and waste fabric by cutting it to large.
The good news is that it’s just simple arithmetic. The bad news is that there are so many factors, its easy to overlook something if you don’t have a system.
So first let’s break down what mesh means. What does it actualy represent in real life? One thing to know about mesh is that it mean holes per inch. So if you’re stitching on 14 mesh canvas you have one hole for each stitch. An inch will contain fourteen stitches.
Seems simple enough until we understand that the size you see on the canvas (the size in height x width) isn’t necessarily where you start. You can’t stitch right up to the very edge of the canvas without risking fraying or losing tension. In order to create you must leave some sort of working border. This is known as plain canvas around the outside of your stitched piece.
Why? Because it allows you to secure the canvas by tacking it down or attaching it to a frame, or it gives your needle somewhere to move without worrying about going through your design.
Once you enter the dimensions into the calculator above, it will do the math for you! You won’t have to juggle several addition equations in your brain anymore. Not only that but it can help you remember whether you’re using inches or centimeters.
The one thing most folks ignore is that there’s no such thing as “the” border. There’s a working border (the space you want between your stitches). There’s a finishing allowance for hemming, turning under, or piping. There’s also a stretcher allowance if you’re mounting it on bars to keep it taut. Every one of those require some room.
A couple of inches for the border plus half an inch for the stretchers, and now you’ve got five inches added onto the overall width of the canvas. That can be quite a bit of canvas. Underestimate it, and what happens? The design gets eaten up with the borders. Or worse yet, you run out of canvas before you get to the end of the last stitch.
That means thinking different about those edges depending on the type of canvas. Is it mono canvas? That’s flexible. It will shift a little while you’re stitching. You may want to leave some wiggle room for squaring up and blocking later on.
Is it interlock canvas? It is more stable and tight. It keeps its form better. So, it’s frequently used when creating a small intricately shaped item in which any sort of distortion would be an issue.
Or maybe you’re working with Penelope canvas which allow you to split the threads for increased detail. Before you go counting off your stitches, you should of first have a handle on what mesh count you’re using. Those structure breakdowns on the page spell it out. They remind you that your material decide how much space you have to work with. For example: you’ll need a wider grip on a rug canvas than you will on an ornament canvas.
The way you decide what size to make the design needs mention too. If you’re working from a chart, you simply count the stitches on that chart. If you’re working from a finished size, well then just measure out desired size. These two are not always perfect matches. Stitches count is accurate. Stitches count depends on the mesh. Finished size measurement make sense. Finished size measurement does not account for the grid nature of the canvas. A plan would be to consider both and go with larger one. For example, if you count your stitches and get eleven inches, but you actually wanted it to be twelve inches, trust the twelve. A bit more canvas is better than running out.
The last practical step is rounding. Most fabric is sold by the yard (or half yard) from your local fabric store. If you cut something at eleven point seven inches, what good does that do when you’re facing a bolt of fabric? By rounding up to either an inch or even half an inch, you have a nice clean target. You won’t have to pinch yourself with tight margins.
This option lets you control how much you round on the calculator. And it gives you a number you can take to the store and use.
And there’s really only one trick. Understand what you’re actually measuring. Because you’re not just measuring the picture. You’re measuring the picture + the infrastructure that holds it. When you remove the engineering from the art, the sizes reveal themselves.
You cut with confidence. You stitch with room to breathe. And you end up with a piece that looks exactly like you imagined. The edges are clean. You won’t panic at the last minute about running out of canvas.