Mural Wallpaper Panel Calculator
Estimate mural panels, working width, trim allowance, repeat-match waste, and net wall coverage for bedroom feature walls, nursery murals, closets, and wide accent walls.
Use a preset as a realistic starting point, then adjust dimensions and allowances to match the mural specification sheet.
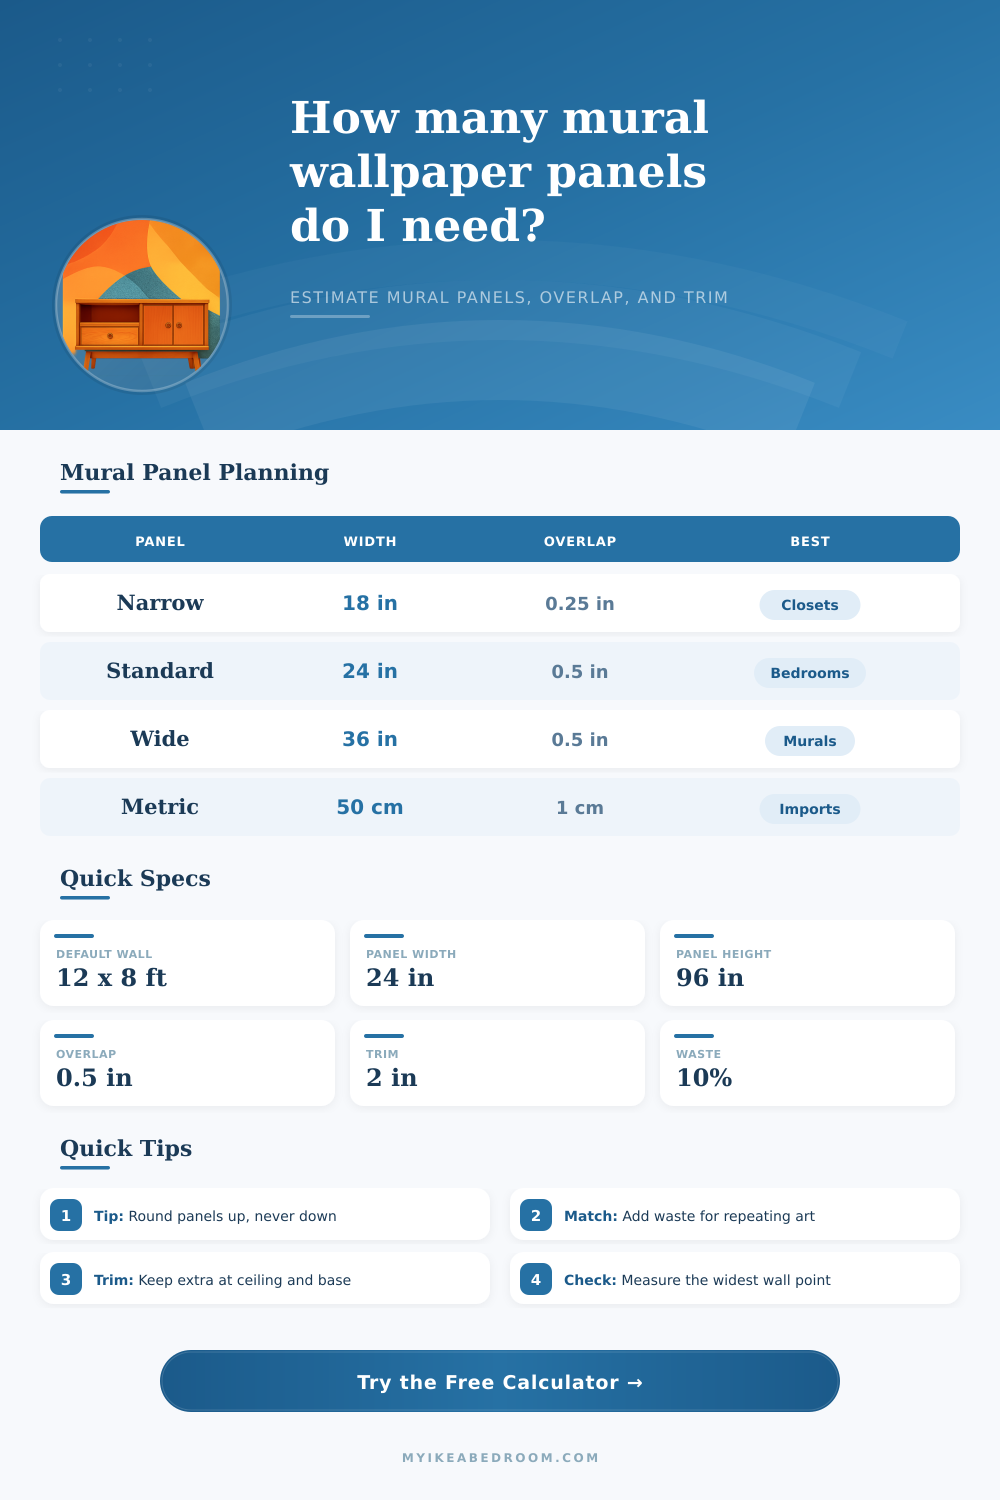
| Printed panel | Typical overlap | Working width | Panels for 12 ft wall |
|---|---|---|---|
| 18 in narrow mural strip | 0.25 in | 17.75 in | 9 panels |
| 20.5 in wallpaper roll width | 0.25 in | 20.25 in | 8 panels |
| 24 in standard mural panel | 0.50 in | 23.50 in | 7 panels |
| 27 in scenic panel | 0.50 in | 26.50 in | 6 panels |
| 36 in wide mural panel | 0.50 in | 35.50 in | 5 panels |
| 50 cm imported panel | 1 cm | 49 cm | 8 panels |
| Wall height | Top and bottom trim | Minimum panel height | Planning note |
|---|---|---|---|
| 7 ft 6 in | 1 in each | 92 in | Short rooms and closets |
| 8 ft | 2 in each | 100 in | Comfortable bedroom allowance |
| 8 ft 6 in | 2 in each | 106 in | Check tall mural option |
| 9 ft | 2.5 in each | 113 in | Often needs custom height |
| 10 ft | 3 in each | 126 in | May require stacked tiers |
| Sold as | Order rounding | Best for | Calculator behavior |
|---|---|---|---|
| Individual panels | Exact panel count | Replacement strips and custom murals | Rounds only for waste buffer |
| 2-panel set | Even numbers | Door panels and small alcoves | Rounds up to pairs |
| 4-panel set | Quarter mural kits | Headboard and accent walls | Rounds to complete kits |
| 6-panel set | Large scenic mural | Typical 10 to 12 ft rooms | Shows spare panels |
| 8-panel set | Wide wall kits | Large landscape artwork | Protects image sequence |
| Project | Wall size | Panel assumption | Typical takeoff |
|---|---|---|---|
| Queen headboard mural | 8 ft x 8 ft | 24 in panels, 0.5 in overlap | 5 to 6 panels |
| Bedroom feature wall | 12 ft x 8 ft | 24 in panels, 2 in trim | 7 to 8 panels |
| Nursery scenic wall | 10 ft x 8 ft | 27 in panels, medium match | 6 panels |
| Home office backdrop | 9 ft x 8 ft | 36 in panels, low waste | 4 panels |
| Wide landscape mural | 15 ft x 9 ft | 36 in panels, edge margin | 6 to 7 panels |
Lower seam count and faster coverage, but harder to reposition on tall walls.
Easier solo handling, useful around outlets, doors, shelves, and alcoves.
Balances trimmed sides so the main artwork reads centered over furniture.
Adds insurance for out-of-plumb corners, sequence errors, and heavy side cuts.
Mural wallpaper is about aesthetics. But to install it, you need to measure accurately. Once you know what panels and walls you want, input that data and calculator does the rest. Before purchase, it converts a wish into an action.
Usually the first challenge is panel width: Domestic wall murals is typically available in 24-inch wide panels that an individual can install on their own. Foreign made peel-and-stick wallpaper panels are frequentely 50 centimeters, which requires a mental conversion that trips up many shoppers.
How to Measure and Plan for Wallpaper
If there’s a chance your mural might shift or shrink, then overlap is required to prevent ugly gaps. Half an inch of overlap will reduce your effective coverage per strip, as indicated in the reference table. That little bit adds up for a dozen feet! If you forget, plan on additional panels.
Trim Allowance Traps Height, For example, cutting a piece of paper for an eight foot wall sounds easy but you actualy need extra length above and below to account for trimming! Wallpaper can’t be mounted directly on the painted line… that would cause the scissors/knife to wobble. It must have enough length to cleanly cut off along molding and baseboard corners. So most installers gives it two inches each side; that’s four inches total and just barely enough for a 96″ long panel on an 8′ wall!
Image Alignment gets trickier with stacked tiered walls and taller ceilings. This tool checks the height restriction to let you know if your mural won’t fit before you purchase it.
What is the hidden expense of wallpaper and what’s the catch? Wallpaper follows a pattern and order. Unlike paint, which covers everything uniformly, wallpaper have a specific sequence and pattern match. But what if your panels is numbered? Or what if the pattern does not repeat? You might want to use leftover wallpaper from another part of room. You need to keep the story line.
For this reason, the calculator lets you account for waste. A general figure is 10-percent (safe); however, complex walls with odd angles or outlets requires greater allowances. Better to guess high, rather than fall a few strips short, as you should of wait for another delivery, risking shade shifts from your initial roll.
Seam count vs. Handling difficulty: A wider panel has fewer seams. This creates a continuous image and looks more professional. But it’s heavier, awkward by itself, etc. Narrower panels is manageable around things like door frames, but present multiple seam that must be carefully lined up. The comparison section will help you consider this balance depending on your comfort/skill level and layout of your walls.
If you’re centering the mural, symmetrical is best. If you choose edge panels, it provides insurance against any older house corners that are out-of-plumb.
Mural wallpaper is all about balance. Visually speaking, I want my murals to appear as though they were always there…not pieced together from leftover scraps of wall. To make it happen, run some numbers before purchase. Total the maximum width, add the trim allowance, then round up the number of panels needed. Avoid frustration by planning ahead (and avoid lugging around buckets of glue on a ladder while trying to make the numbers fit).