Masking Tape Length Calculator
Estimate tape for ceiling lines, baseboards, corners, doors, windows, trim runs, overlap, waste, and standard 60 yd or 55 m rolls.
Masking tape estimate
Total tape length
0 ft
0 mRolls needed
0
60 yd roll referenceNet edge length
0 ft
before strips and buffersOverlap and waste
0 ft
spare after full rolls| Room edge | Length formula | Typical use | Calculator input |
|---|---|---|---|
| Ceiling line | 2 × length + 2 × width | Wall paint protection | Top edge toggle |
| Baseboard line | Perimeter minus door widths | Floor or trim protection | Base edge toggle |
| Inside corners | Corners × wall height | Accent walls or color changes | Corner count |
| Custom trim | Measured edge length | Rails, shelves, built-ins | Extra trim field |
| Roll reference | Imperial length | Metric length | Planning note |
|---|---|---|---|
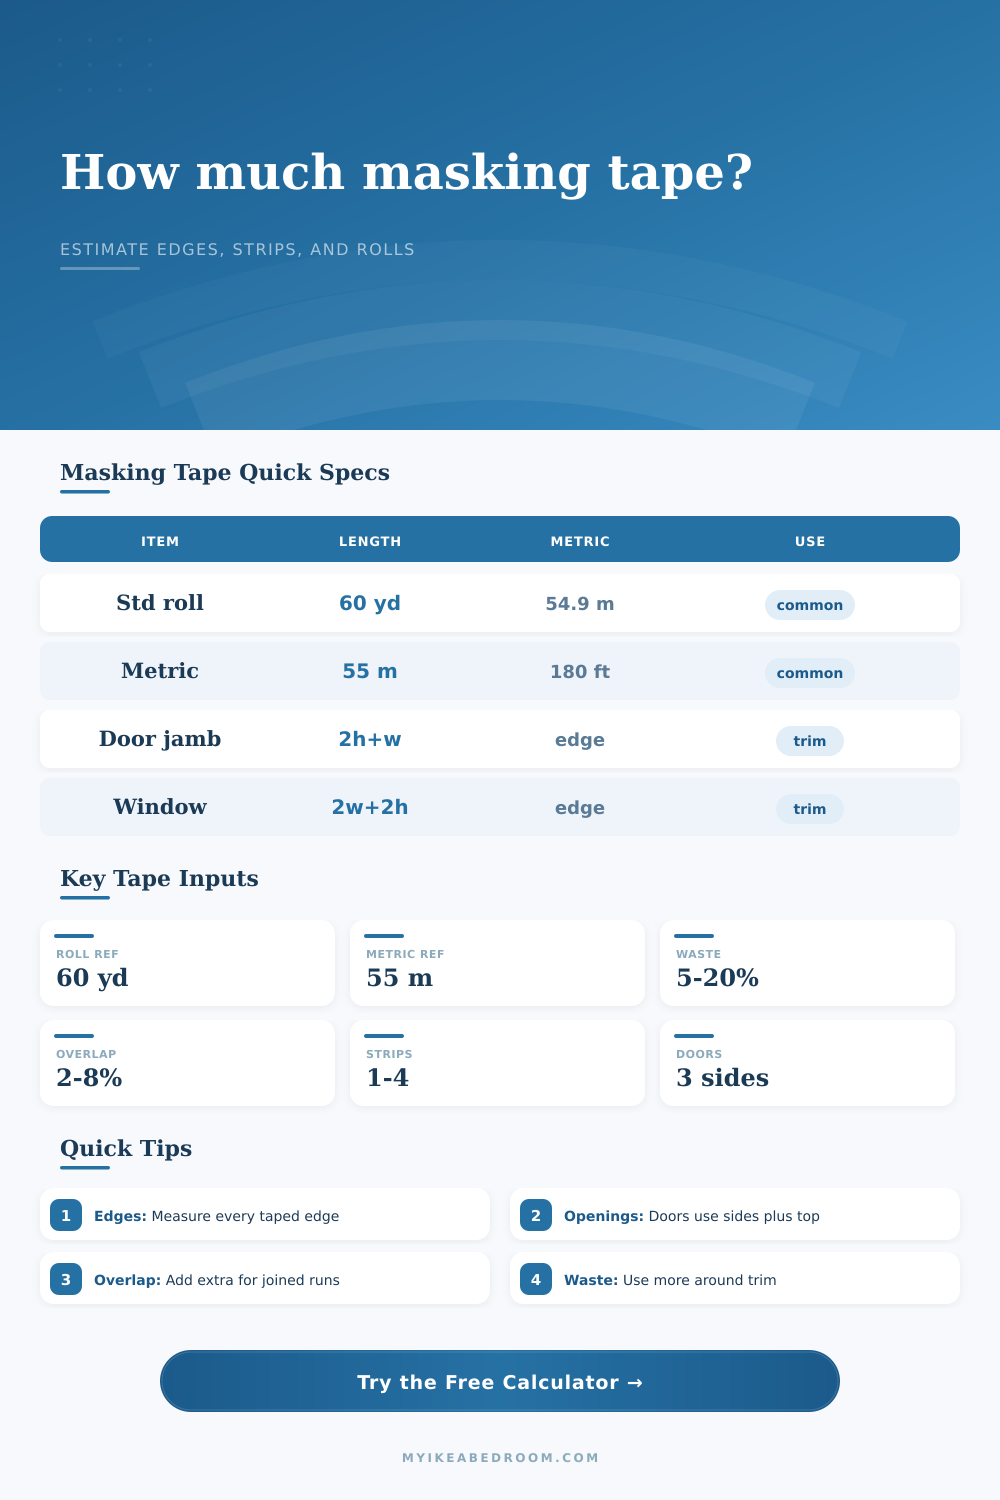
| Standard long roll | 60 yd or 180 ft | 54.86 m | Common masking tape reference |
| Metric long roll | 180.45 ft | 55 m | Nearly the same as 60 yd |
| Half roll reference | 30 yd or 90 ft | 27.43 m | Useful for small trim tasks |
| Custom roll | User entered | Converted internally | Use label length from your roll |
| Opening type | Masking formula | Best for | Door/base logic |
|---|---|---|---|
| Door jamb, 3 sides | 2 heights + 1 width | Door frame while painting walls | Door width is removed from base edge |
| Full door perimeter | 2 heights + 2 widths | Door slab or casing masking | Still subtracts base interruption |
| Full window perimeter | 2 heights + 2 widths | Window trim and glass edges | Added separately from room perimeter |
| Window sill only | 1 width | Lower ledge protection | No side or top edge added |
| Masking detail | Overlap | Waste buffer | When to use |
|---|---|---|---|
| Long straight wall | 2% | 5% | Few joins, simple edges |
| Normal bedroom | 5% | 10% | Ceiling, baseboards, openings |
| Window-heavy wall | 8% | 15% | Many short pieces and corners |
| Detailed trim | 12% | 20% | Rails, shelves, panels, rework |
All tape length math is based on linear edge measurements. The calculator does not estimate tape width coverage or adhesive performance.
Measure the geometry. Avoid wasting money and time by guessing how much masking tape you’ll need. Most folks will pick up roll of tape in hopes that it’ll be enough. Guess what? Chances are they’ve run out halfway up their baseboard. Or, they might have more than enough because they’ve guessed wrong.
All the work happen before the brush ever hits the wall, not during the painting portion. You must decide how much protection you want, plan your runs, and measure out your edge. It’s the boring portion, the quiet portion, and it make a huge difference in whether you have enough.
How to Plan Your Painting Project
After plugging in your measurements, the calculator does all the math for you (no conversions or guessing at coefficients). Enter your room’s length, width and height and it will give an exact linear estimate. It then takes into account any special openings such as windows and doors. Vertical corners. Strips per edge. It includes all the stuff that many DIYers forget about but really does matter.
Consider that if you are painting both a baseboard AND ceiling line you are actualy taping twice around the perimeter of the room. That immediately doubles your material requirements. So beyond pushing a button, knowing what goes into that calculation is key.
For instance, if you are inputting windows and doors, you need to understand how much of the window or door opening you’re masking with tape. Usually this means taping both sides (vertical) and then top of a standard door jamb. So you can see why calculator takes away the width of the door from the length of the run of baseboard, since you do not tape across the door. Around it. That matters when you want to be precise.
Windows add an additional level of problems as they interrupt otherwise long straight runs. Each time you come to a point where you stop and start again with a new piece of tape, you’ve created a join. Which should of have overlap. Painting has hidden costs like overlap and waste. Taping doesn’t work like you’re laying out a mile long continuous piece of tape. You cut, pull, apply, repeat.
You also need to add a percentage for overlap and include buffer for waste. So how much overlap do you need? Two percent if it’s just a simple straight wall. You need twelve percent or more if there is a lot of trim, picture rails, and shelf in the room.
How much waste do you budget for? This depends on your skills, but generally the more trim, shelves, and rails in a room, the more likely you’ll need extra tape for overlap and waste. You don’t want to underestimate this one. There you stand in the center of a room with a dry brush and no tape in sight. This is a classic way for DIYers to fail.
You can typically find most regular rolls of masking tape that are either 55 meters long (called ‘m’) or 60 yards long (called ‘yd’). For all practical purposes they are exactly the same length. You’ll usually just go with what is available nearby.
The last thing to know about planning out your project is how many rolls you need. Because there is no such thing as purchasing half a roll from the store, the calculator rounds up to the next complete roll. It will display the total linear feet needed, the amount of rolls you should order, plus how much spare tape you’ll have left over. The spare count is great if there’s something you didn’t expect or if you want to do some touch ups later on.
This is explained well in the reference tables on the page. It will give you an idea of how much it all adds up to based off the different room layouts. Simple bedroom layout? Easy peasy. Now add a staircase, several doors and a bunch of other openings, and that’s a whole diffrent ball game (a.k.a., a hallway). The math isn’t any harder, but now there are more tricky edges to account for.
Enter the preset options. That gives you something to start from when it comes to typical situations such as a feature wall or a basic bedroom. Then adjust to match your specific situation.
In conclusion, masking tape is used for protection as well as precision. With proper amounts, you don’t waste any and get nice clean lines. It makes your prepping phase a little more organized instead of chaotic. You go through fewer trips to the store and have more time to paint! The point is you come in the room knowing exactly what you need and can just start working.
A few extra minutes to figure out what you need is worth the feeling of being prepared. That’s the difference between a project stalling or flowing.
You want it to flow.