Lights Per Circuit Calculator
Estimate lighting circuit load from amps, voltage, fixture watts, fixture count, LED driver efficiency, continuous derating, dimmer limit, and room or zone count.
Presets fill common residential lighting groups. Adjust the values to match fixture label watts, drivers, dimmers, and switching zones.
Low-watt LED pucks
Typical fixture: 3 W to 6 W before driver loss.
Circuit behavior: dimmer minimum load or driver channel limits often matter before breaker amps.
Recessed downlights
Typical fixture: 8 W to 15 W for common residential cans.
Circuit behavior: many rooms can share one circuit, but switching zones should stay practical.
Vanity and bath bars
Typical fixture: 20 W to 60 W depending on length and lamp count.
Circuit behavior: shared fan, heat, or receptacle loads should be considered separately.
Shop and panel lights
Typical fixture: 36 W to 80 W for garage strips and flat panels.
Circuit behavior: fixture count can rise quickly, so derated capacity becomes the main checkpoint.
| Circuit | Voltage | Raw capacity | 80% derated capacity | Calculator use |
|---|---|---|---|---|
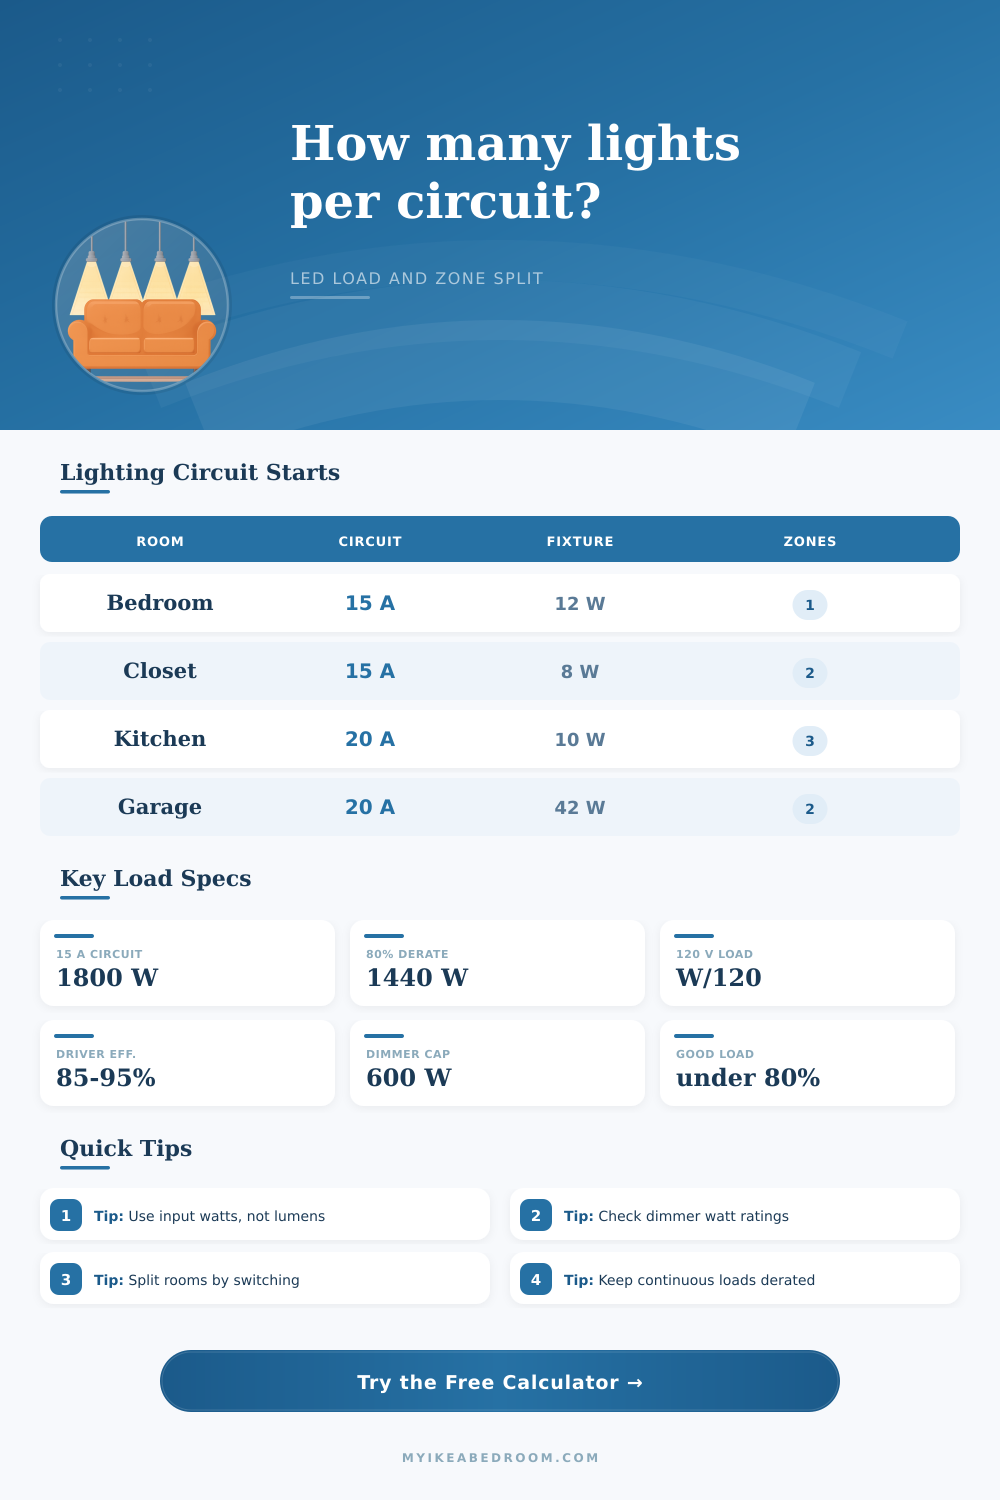
| 15 A lighting circuit | 120 V | 1800 W | 1440 W | Common bedroom, hall, and closet lighting baseline. |
| 20 A lighting circuit | 120 V | 2400 W | 1920 W | Common for larger lighting groups or mixed room runs. |
| 10 A lighting circuit | 120 V | 1200 W | 960 W | Useful for small panels, modules, and limited circuits. |
| 16 A lighting circuit | 230 V | 3680 W | 2944 W | Used when checking higher-voltage lighting circuits. |
| 6 A lighting circuit | 230 V | 1380 W | 1104 W | Good for small dedicated lighting circuits. |
| Driver efficiency | 12 W LED input | 24 W LED input | Loss per 10 fixtures | What it means |
|---|---|---|---|---|
| 95% | 12.6 W | 25.3 W | 6.3 W at 12 W each | Efficient driver; circuit input stays close to LED watts. |
| 90% | 13.3 W | 26.7 W | 13.3 W at 12 W each | Strong default for many integrated LED fixtures. |
| 85% | 14.1 W | 28.2 W | 21.2 W at 12 W each | More input load is needed for the same LED output. |
| 80% | 15.0 W | 30.0 W | 30.0 W at 12 W each | Driver loss becomes visible on larger fixture counts. |
| 75% | 16.0 W | 32.0 W | 40.0 W at 12 W each | Use when an older or warm driver runs less efficiently. |
| Control device | Typical limit | Derating note | Best calculator input | Watch item |
|---|---|---|---|---|
| Small LED dimmer | 150 W to 300 W | Often lower for LED loads than incandescent loads. | Enter the LED rating printed on the device. | Do not use the higher incandescent-only number. |
| Standard LED wall dimmer | 300 W to 600 W | Gang boxes and heat can reduce the usable rating. | Use the derated rating when multiple dimmers share a box. | Input watts after driver loss should stay below the cap. |
| Smart switch relay | 300 W to 960 W | Relay and neutral requirements vary by device. | Enter the lighting load limit, not motor load. | Check minimum load and LED compatibility. |
| Low-voltage transformer | 60 W to 300 W | Transformer capacity can be lower than the branch circuit. | Enter transformer rating as the dimmer limit. | Long cable runs can add voltage-drop constraints. |
| Driver bank or channel | 30 W to 200 W | Each output channel may have its own maximum. | Calculate one channel at a time when needed. | Split zones before the channel limit is exceeded. |
| Preset | Circuit start | Fixture start | Control limit | Zone focus |
|---|---|---|---|---|
| Bedroom ceiling LEDs | 15 A at 120 V | 8 lights at 12 W | 600 W dimmer | Usually one room or one scene group. |
| Kitchen downlights | 20 A at 120 V | 18 lights at 10 W | 600 W dimmer | Task, island, and ambient zones split cleanly. |
| Garage shop lights | 20 A at 120 V | 8 lights at 42 W | No dimmer cap | Split by bay or workbench area. |
| Patio lights | 15 A at 120 V | 14 lights at 9 W | 300 W control | Separate seating and perimeter groups. |
| Landscape transformer | 5 A at 120 V | 18 lights at 4 W | 120 W transformer | Split by transformer channel or outdoor zone. |
Use the limiting device. The maximum fixture count is based on the smaller of derated circuit capacity and the dimmer, transformer, relay, or driver-bank limit when that limit is entered.
Split zones for control and capacity. A circuit may support many LEDs electrically, but rooms usually feel better when task, accent, and ambient lights are grouped into usable switched zones.
Flip the switch. Your new set of sleek LED recessed lights is installed in your kitchen. Bright. Crisp. Time to make some coffee. Plug it in, breaker trips.
What’s that? That problem has a name among electricians. When you plugged in the coffee maker, you ignored how much electricity those new lights draw from the wall versus what they say they’re emitting off the box. You overloaded the circuit.
Why Your New Lights Trip the Circuit Breaker
You can use the calculator at the top of this page and let it do the math for you, but I think if you understand how it works, you won’t have any headaches in the future. So why? It all comes back to efficiency of drivers. An LED fixture doesn’t take the full wattage they are rated straight off the circuit. Instead, they takes more.
How much more? It is enough to pay for internal power supply to convert line voltage into what the diode requires. So if it’s a twelve-watt fixture, it may be drawing thirteen or fourteen from your breaker. On its own, no big deal. But then you multiply that by twenty fixtures and now you’ve added almost a hundred watts of unseen load onto your circuit.
And this is where the derating comes into play. Lighting is considered by many electrical codes to be a continuous load. Continuous implies that lights are on for three hours or longer. This creates heat inside breaker and the wiring itself. To ensure safety, you cannot use more than eighty percent of total capacity of the circuit.
In other words, a typical fifteen amp circuit yields one thousand eight hundred watts (raw). Factor in derating, and now all you’ve got to play with is one thousand four hundred forty watts. That’s your limit, that’s your cap.
There’s also a limitation imposed by dimmers that’s unrelated to the breaker. Dimmers is rated by max wattage. Most new LED dimmers top out at a thousand watts, possibly six hundred. Even though you may have plenty of space left on the circuit, exceeding your dimmer’s wattage limit will cause it to overheat and fail. Read the lowest number; either that or check the breaker.
The page has a table of commonly used residential scenarios with clear explanations of what’s what. The control issue is solved by using zones to split up your lighting. Putting all the lights in a big space on the same switch sounds like convenience, but then what if you just want ambient lighting during dinner time? Or maybe you just want task lighting when you are cooking. You group fixtures together to reduce number of switches needed. This reduces load per switch and makes it easier to use the space.
The calculator will estimate roughly how many fixtures to put into each zone, depending on total number of fixtures and the number of controls you wish to have.
A lot of folks read the box and see “equivalent to a hundred watt bulb” and think it’s drawing one hundred watts. Nope. It’s more like twenty. However, you have to consider loss from the driver. That’s what people screw up on. It is always the input watts. It is not the lumen output. It is not the incandescent equivalence.
Another easy trap is garage shop lights. Sure, they appear small, but they has to cover large areas and often run 40 to 80 watts each. Before you know it, a couple of those can eat away at your reduced capacity. It is the same with bathrooms where you add vanity bars along with ceiling cans. The total draw adds up before the breaker or dimmer even gets a whiff.
You don’t just want to know how many watts it takes to power the lights but also how long that will be the case. Breakers fail, wiring ages, and you add new fixtures. Having a little cushion (some extra space) in your estimate provides room for these types of modifications. Before buying that final fixture, you should of known exactly how close to the limit you are.
Lighting design is as much a practice in subtraction as addition. Take away the driver loss, take away the derating factor, then take away the dimmer limit. What’s left? Anything else is hope. Turn on the switch when the numbers matches.