Hedge Planting Spacing Calculator
Plan hedge plant count, real center spacing, row count, total row length, staggered density, and mature coverage from length, species spread, style, row offset, end clearance, pot size, and units.
Choose a familiar hedge layout, then tune the plant spread, style, row count, offset, and clearance to match the site.
Spacing readout
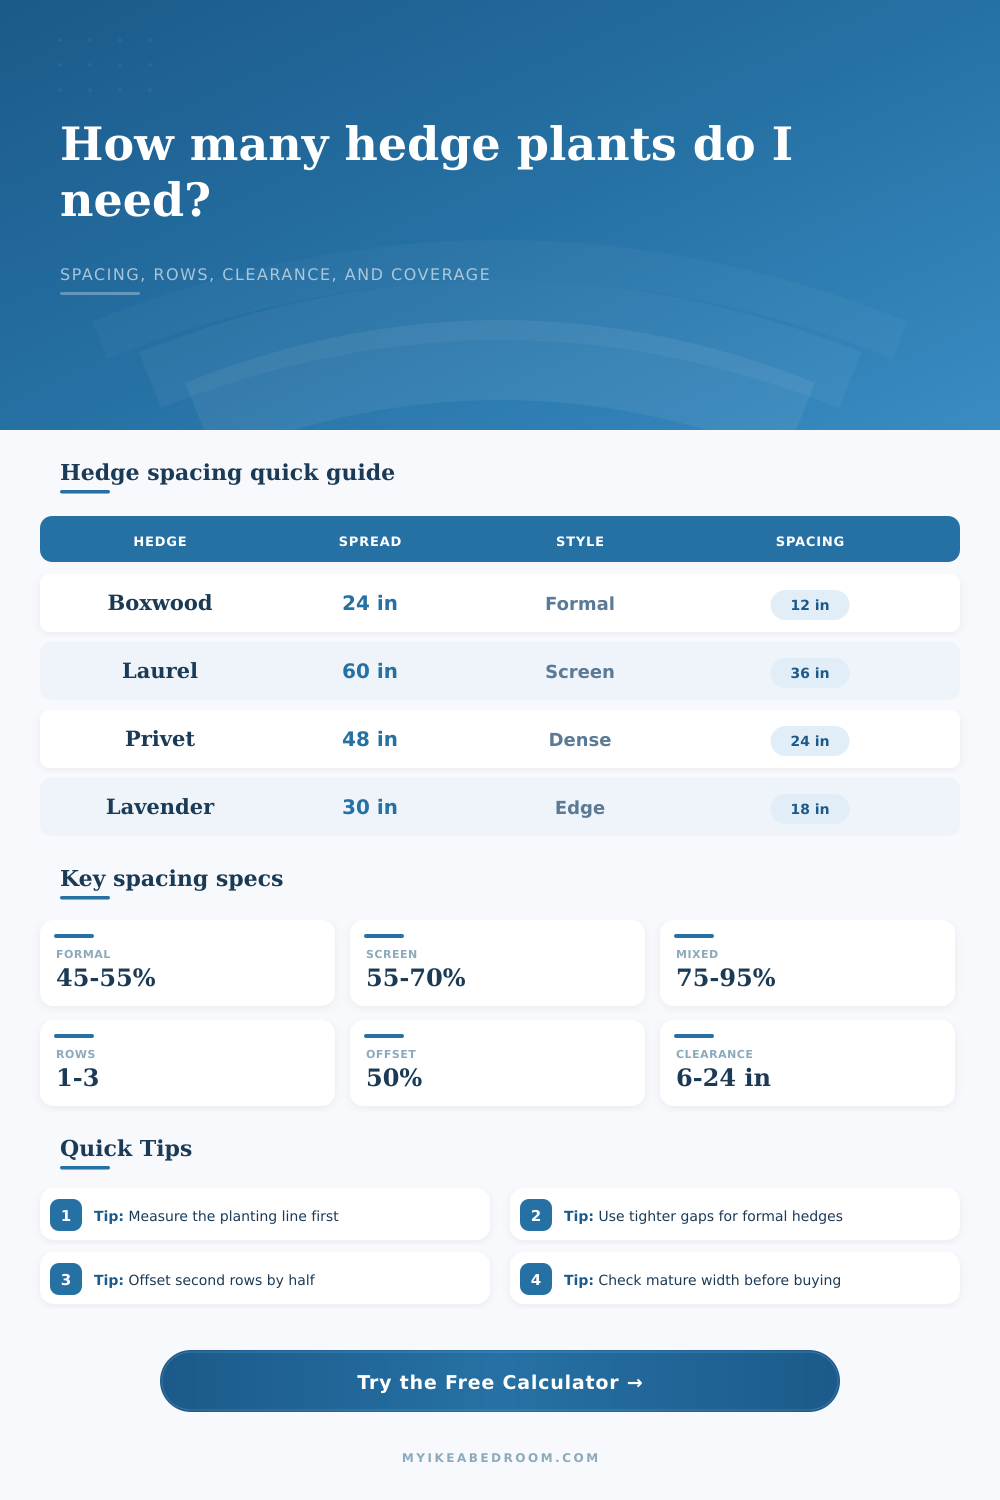
A formal boxwood border uses about 12 inch centers for fast visual fill.
Mature coverage: ready to calculate.
Staggered density: single row density shown after calculation.
| Spacing style | Target formula | Best use | Coverage behavior |
|---|---|---|---|
| Formal tight hedge | Spread x 0.50 | Boxwood, yew, clipped privet | Fast closure and strong overlap |
| Dense screen | Spread x 0.60 | Laurel, privet, hornbeam | Good privacy without extreme crowding |
| Balanced garden hedge | Spread x 0.70 | General boundary planting | Moderate overlap at maturity |
| Loose natural hedge | Spread x 0.85 | Flowering shrubs and informal edges | Airy shape with light overlap |
| Native mixed cover | Spread x 0.90 | Wildlife hedges in rows | Relies on row depth and mixed forms |
| Balcony planter row | Spread x 0.55 | Containers and trough planters | Compact, controlled spacing |
| Plant type | Mature spread input | Typical row spacing | Useful row pattern |
|---|---|---|---|
| Boxwood border | 18-30 in spread | 10-16 in centers | Single row for edging; double only for extra depth |
| Cherry laurel screen | 48-72 in spread | 30-42 in centers | Single row for screens; leave access room behind |
| Privet hedge | 36-60 in spread | 18-30 in centers | Single row for clipped lines, double for rapid fill |
| Lavender edge | 24-36 in spread | 15-24 in centers | Single airy row with good airflow |
| Native mixed hedge | 36-72 in spread | 30-48 in centers | Double staggered rows for layered cover |
| Balcony planter shrubs | 16-24 in spread | 10-16 in centers | Single row constrained by planter length |
| Rows | Offset setting | Density formula | Planning note |
|---|---|---|---|
| 1 row | 0% | Plants / usable ft | Cleanest line for formal borders and narrow beds |
| 2 rows | 50% | Total plants / usable ft | Classic staggered hedge for thicker screening |
| 2 rows | 25% | Total plants / usable ft | Useful when gates or posts force uneven placement |
| 3 rows | 50% | Total plants / usable ft | Shelter-style planting with more bed depth required |
| Any rows | 0% | Rows x plants per row | Grid rows are easier to mark but look less natural |
| Starter grade | Spacing adjustment | Why it matters | Best match |
|---|---|---|---|
| Plug or bare-root whip | 5% closer | Small plants need more points to knit quickly | Native whips, bare-root privet, young yew |
| 1 gallon or 2-3 liter | Standard | Good balance of plant size and spacing accuracy | Most home hedge starts |
| 3 gallon or 10-12 liter | 5% wider | Larger root balls and canopies need breathing room | Laurel, hornbeam, specimen shrubs |
| 5 gallon or 18-20 liter | 10% wider | Instant structure but less tolerance for crowding | Evergreen screen sections |
| Container-ready shrub | 10% closer | Planters cap final spread and encourage tighter rhythm | Balcony troughs and patios |
Formal border
Layout: single row with a tight style factor.
Use when: the hedge is clipped regularly and depth is limited.
Watch: keep end clearance consistent so the line does not look pinched.
Privacy screen
Layout: single or double row with dense screen spacing.
Use when: mature height and year-round cover are the main goals.
Watch: very broad species need enough access room for pruning.
Native mixed
Layout: double staggered rows with varied species spread.
Use when: habitat value and layered cover matter more than a sharp line.
Watch: base spacing on the average clipped spread, not the largest shrub.
Balcony planters
Layout: one compact row with planter-adjusted spacing.
Use when: the container controls root room and mature width.
Watch: subtract end clearance before counting plants for each trough.
Mark centers, not holes. Run a string line, mark every actual center spacing, then shift individual marks around drains, posts, or path edges before digging.
Use mature spread as the limiter. A small pot can tempt tight planting, but the final clipped width should decide whether the hedge closes neatly or becomes crowded.
First, always measure where your hedge will go before purchasing plants. Many people imagine what privacy look like while standing in garden and reach for some shrubs that happen to be nice in containers. And then when you get them planted, you find you’re left with a dozen feet of exposed earth because you used ten of those bush. It is a classic error driven by enthusiasm rather than geometry.
The spacing calculator (above) makes guessing a thing of the past. It transforms physical limitations into real-life numbers. These include how many rows you need and how long each row must be. They also shows how wide apart to space plants and at what intervals to stagger them. It leaves the math to the machine and allows you to do what most everybody likes least: dig.
How to Use the Hedge Spacing Calculator
In fact, spacing affects how things fit together over time (and whether they fit in at all). What works for a formal border (tighter space) doesn’t work the same way than for a loose native screen (the goal is different: immediate structure versus eventual canopy closure). The tool asks what style of mature spread you imagine (loose or formal)… And then uses that as the basis off its target formula, which expresses those desires. Selecting formal tells the system you want fast visual fill (it will push centers closer together), while selecting loose hedge means it gives more breathing room.
Why does this matter? Because if the shrubs is crowded together, they compete for light and nutrients instead of working together toward creating a wall. So the place most plans go wrong (or right) is in understanding the inputs: How wide do you want your hedge to be? When you clip it, how wide will it be at its full size? It should of not its crazy-maximum-growth-habit value. Because you’re planning to trim it, and you’re not building a shrub bed intended to run free.
Use its full natural spread for a laurel screen, for instance, and the calculated spacing will be too wide. And you’ll have holes that take years to fill. To adjust this, the calculator takes into account the type of style you chose but again, only if you feed it realistic expectations.
The problems with multiple rows are something our simple intuition fails to capture. Half-spacing between staggered row produces a fuller barrier, but with fewer than twice as many plants along a given length. Because of this, there is an option for offsets built into the tool. The half-spacing offset provide the most evenly spaced result. It closes visual gaps between plants in one row and next. So two skinny rows becomes one fat row of screening.
The math of it all is clear from the reference tables on the page. They illustrate the interplay of offset and row number and how that affects total density per foot of hedge line.
The size of the pot you use will also affect how quickly a planting stabilizes. Bare-root whips or even small plugs knit together quicker than larger gallon pots and gets squeezed closer at planting time. Larger pots have bigger canopies and root balls; they require a little breathing room so they won’t suffocate each other during their first year. The algorithm adjusts accordingly, nudging the numbers up or down according to the grade you specify as your starter material. It is a small variable, but it keeps you from the common mistake of assuming all plants arrive with identical footprints.
No one thinks about end clearance till they need it, like when a plant grows too close to a fence post. Or maybe you realize you didn’t leave enough clearance to keep plants away from gate hinges. Or it gets too close to a paved edge where roots can’t grow through hard soil. An inch or two at each end of the hedge line keeps it back from these types of things, and visually makes the hedge less pinched up next to hard surfaces. The tool deducts any end clearance you enter from the final total length, so you don’t accidentally plan for a plant with no place to go (and vice versa).
IT’S A promise to future you. Good spacing is basically about making a pact with yourself: You’re planning for how to arrange your young plants so they’ll work when they get bigger. The calculator up top grounds your plan in what is measurable and keeps you honest. Five years from now, you may not remember the spreadsheet when you stroll by that hedge. But you will treasure the line it closed.