Flooring calculator
Floor Transition Strip Calculator
Size doorway transition strips by opening width, stock length, profile width, gap coverage, floor height change, cut waste, and fastener spacing.
These presets use common catalog-style transition profiles and sizes, including aluminum T-molding, hardwood trim, vinyl plank caps, sloped tile profiles, and rubber reducers.
Full transition strip breakdown
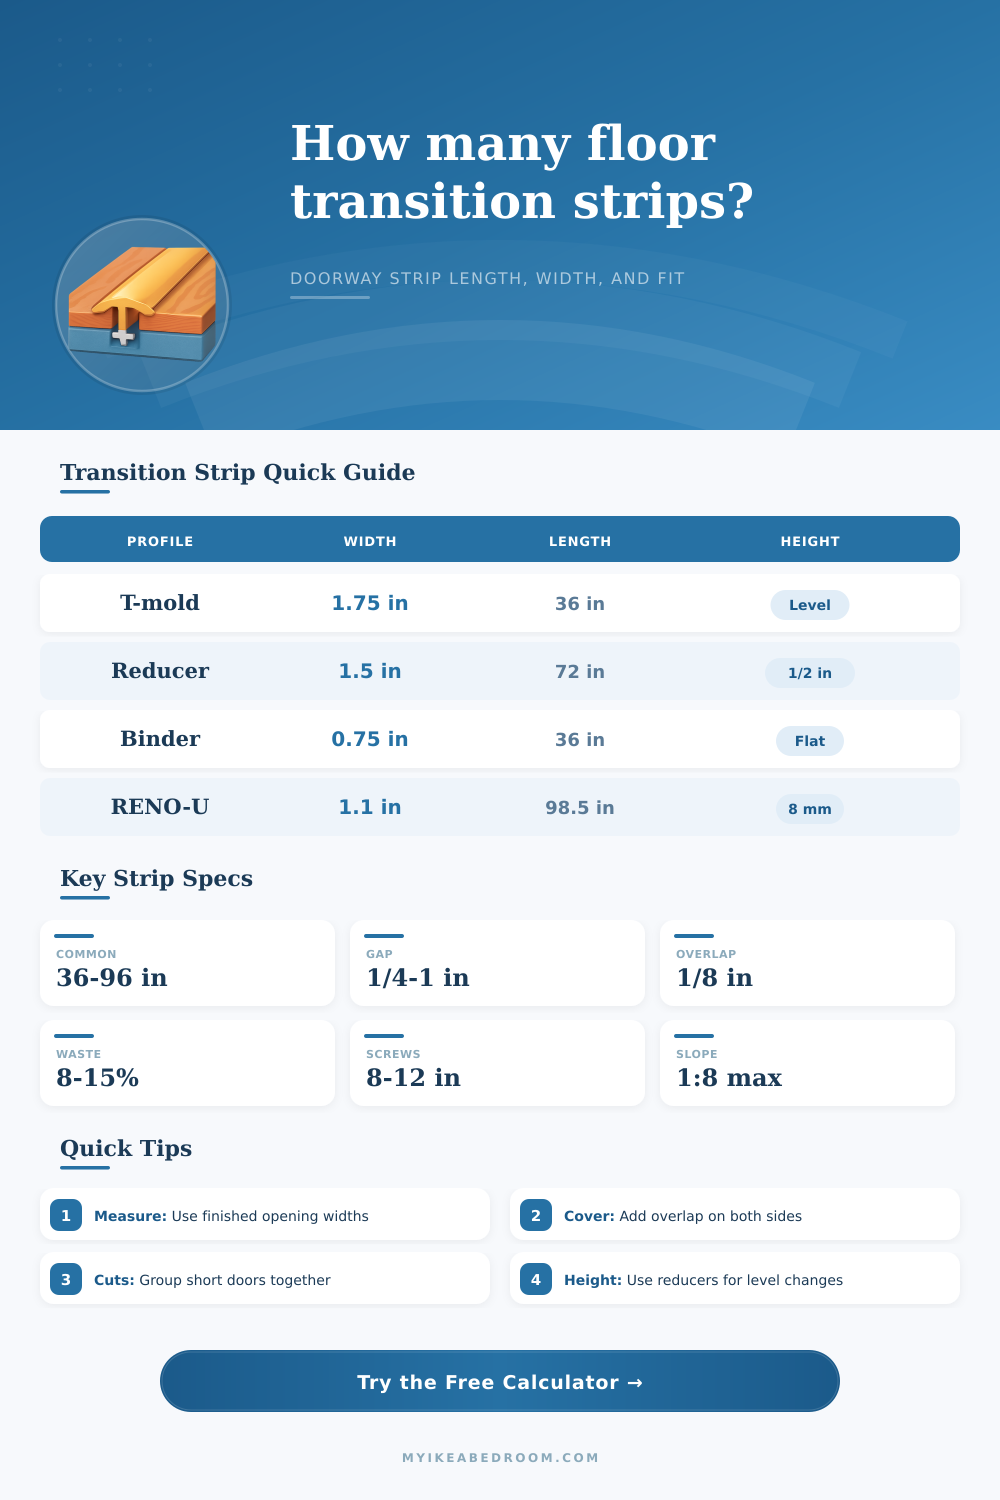
| Profile type | Common face width | Common stock length | Best use |
|---|---|---|---|
| Aluminum T-molding with track | 1-1/2 to 1-3/4 in | 36, 72, 96 in | Level floor-to-floor doorway transitions. |
| Hardwood carpet or tile trim | 1 to 2 in | 36, 72 in | Wood-look threshold or stain-to-match work. |
| Vinyl plank square cap | About 1-1/4 in | 84 in | Thin LVP edge caps around 4 to 7.5 mm planks. |
| Tile sloped transition profile | About 1 to 1-1/2 in | 98.5 in | Tile down to vinyl, concrete, or carpet. |
| Floor height difference | Suggested profile | Minimum visible width | Planning note |
|---|---|---|---|
| 0 to 1/8 in | T-molding or seam binder | Gap plus 1/4 in | Focus on expansion gap coverage. |
| 1/8 to 3/8 in | Reducer or sloped profile | 1-1/2 in or wider | Check slope and finished edge protection. |
| 3/8 to 3/4 in | Wide reducer or rubber reducer | 2 in or wider | Gentler slope is more comfortable underfoot. |
| Over 3/4 in | Custom threshold or ramp profile | Project-specific | Confirm accessibility and trip-edge requirements. |
| Stock length | Door widths covered | Best cutting pattern | Waste note |
|---|---|---|---|
| 36 in strip | One standard 28 to 34 in door | Single doorway cut | Low waste if every opening is under 36 in. |
| 72 in strip | Two 30 to 34 in doors | Pair similar openings | Often the cleanest residential choice. |
| 84 in strip | Two doors plus a small closet | Use longer closet piece last | Common for vinyl plank trims. |
| 96 to 98.5 in strip | Large opening or several doors | Sort cuts longest to shortest | Best for wide rooms and tile profiles. |
| Scenario | Typical openings | Total cut length | Likely stock count |
|---|---|---|---|
| Bedroom suite | 2 doors at 30 in | 60 in | 1 strip at 72 in or 2 at 36 in. |
| Hallway bedrooms | 4 doors at 32 in | 128 in | 2 strips at 72 in or 4 at 36 in. |
| Kitchen to living room | 1 wide opening at 60 in | 60 in | 1 strip at 72 in, or longer if mitered. |
| Open room break | 1 run at 96 in | 96 in | 1 long profile or 2 shorter strips with seam. |
Before purchasing any transition strip, take measurements of your doorways. Transition strips is not simply for looks, they serve as structure as well. They are there to allow for movement to fill in gaps between two different type of flooring. This means most folks purchase their hardware first (wrong) and then measure second (also wrong).
Your doorway size will decide what type of strip to select. After entering your measurement, the calculator do the math. No more estimating waste or converting fractions. No more buying too little material and having to make another trip to store.
How to Measure Your Doorway Correctly
First, you define the profile. A T-molding is what you would of used if both of your floor were level. That way they can expands and contract independently (which is important when dealing with vinyl or wood). If one floor is lower/higher than the other then you require a reducer. Putting a flat binder on an uneven transition can cause someone to trip, plus it doesn’t smooth out height difference well. It just looks bad. The tool will help you find the right profile based off your subfloor.
The biggest error installers make is with width. If you don’t allow for overlap, your standard strip won’t cover it all. Measure the length of what’s between your floor edges but know that you want to have a minimum of an eighth of an inch overlapping on both sides. That way the trim doesn’t sit unsteadily on top of edge. That way the trim doesn’t sit precariously on the edge where it can get kicked up or exposed to wear. The calculator accounts for this safety margin. It makes sure the bridge width covers the gap plus a safety margin.
The difference between seamless vs failure within a year. Plan your length: The standard strip lengths is 72 inches and 36 inches. They do not sell by linear foot. You has to purchase full strips. So if you want to cut a long piece for a skinny door opening, you end up with short leftover pieces that can’t be used anywhere else.
The calculator factors this into waste by considering how complex the cuts will be. If you are just cutting in a straight line maybe add an additional 5% to account for waste. For mitered corners, odd openings, etc., you’ll probably need at least 15% extra. That way you don’t runs out halfway through the room.
It’s all held down with fasteners, and it matters how they’re spaced. If you screw them in, it matters how far apart they are; if they are too far apart, the strip will vibrate when walked on. Too close together? It distorts the profile and splits the wood. With this tool, you get a fastener count based off whichever spacing preference you choose. That way, you know exactly how many screws or clips to purchase in one shopping trip.
It’s not just about what you use but how you prepare for it. Where one room meets another are called a transition strip. It is both functional and safe. How do you get the profile correct? By getting the length and width correct so the install is planned looking. Measure twice, calculate once. Don’t worry about the gap. It doesn’t have to be a flaw. With the right hardware, the finish look clean and hides the work underneath. Install with confidence.