Drop Cloth Quantity Calculator
Estimate drop cloth counts from floor area coverage, wall perimeter splash zone, furniture protection, overlap percentage, cloth size, and waste buffer.
📌Room protection presets
⚙Room, cloth, and buffer inputs
Your drop cloth quantity result
🧾Drop cloth size facts
🔢Formula used
cloths = ceil(((floor + splash + furniture) x (1 + waste%)) / (cloth area x (1 - overlap%)))
📐Cloth size coverage table
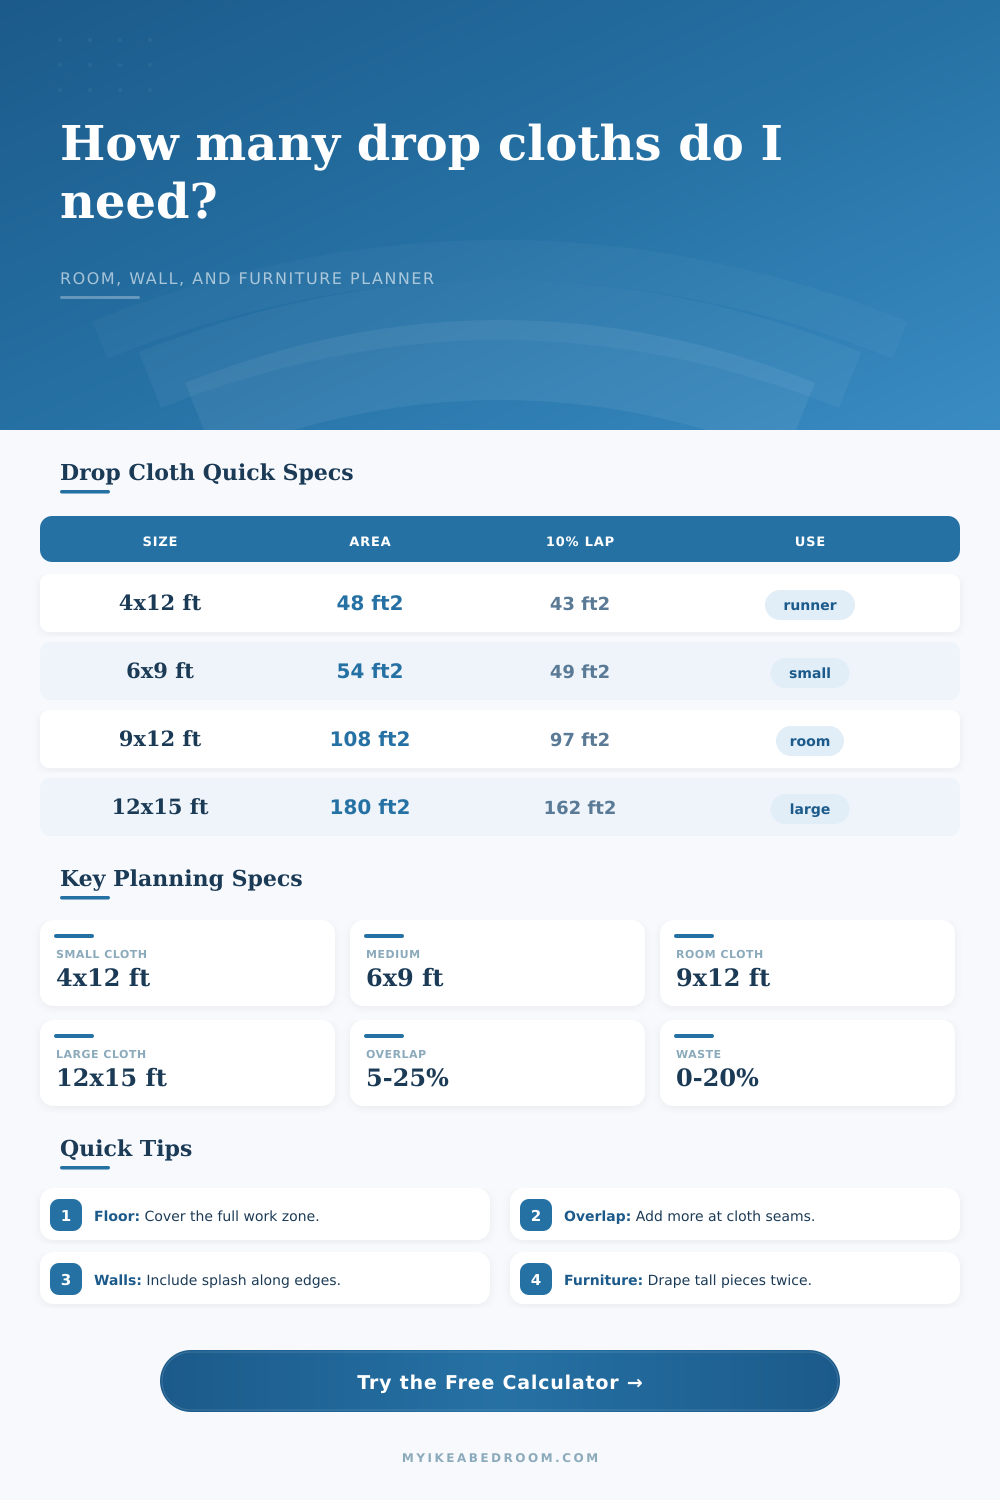
| Drop cloth size | Raw coverage | Effective at 10% overlap | Typical use |
|---|---|---|---|
| 4 x 12 ft runner cloth | 48 sq ft / 4.46 sq m | 43.2 sq ft / 4.01 sq m | Hallways, counterside work, narrow paths |
| 6 x 9 ft compact cloth | 54 sq ft / 5.02 sq m | 48.6 sq ft / 4.52 sq m | Small rooms, single-wall painting, furniture drape |
| 9 x 12 ft room cloth | 108 sq ft / 10.03 sq m | 97.2 sq ft / 9.03 sq m | Bedrooms, offices, dining rooms, medium spaces |
| 12 x 15 ft large cloth | 180 sq ft / 16.72 sq m | 162 sq ft / 15.05 sq m | Living rooms, open-plan areas, broad floor zones |
🏠Room preset reference table
| Preset | Floor area | Cloth size | Protection pattern |
|---|---|---|---|
| Powder room | 30 sq ft | 6 x 9 ft | High perimeter share, compact floor coverage |
| Hall runner | 72 sq ft | 4 x 12 ft | Narrow path with long seam overlap |
| Small bedroom | 110 sq ft | 9 x 12 ft | Floor plus light furniture drape |
| Home office | 120 sq ft | 9 x 12 ft | Desk and shelving protection added |
| Kids room | 132 sq ft | 9 x 12 ft | Higher spare buffer for furniture moves |
| Primary bedroom | 195 sq ft | 12 x 15 ft | Large furniture footprint with standard drape |
| Living room | 270 sq ft | 12 x 15 ft | Sofa drape and broad wall-edge protection |
| Dining room | 168 sq ft | 9 x 12 ft | Table drape, moderate perimeter splash zone |
| Open-plan area | 396 sq ft | 12 x 15 ft | Wide floor area with lower perimeter share |
| Stair landing | 85 sq ft | 4 x 12 ft | Custom area, heavy overlap, extra spare |
📊Overlap and buffer planning table
| Setting | Usable cloth coverage | When to use it | Planning effect |
|---|---|---|---|
| 5% overlap | 95% of raw cloth area | Flat rooms with simple cloth placement | Fewer cloths, less seam reserve |
| 10% overlap | 90% of raw cloth area | General room painting and light DIY work | Balanced default for most rooms |
| 15% overlap | 85% of raw cloth area | Furniture legs, doorways, and edge tucks | More reliable seam coverage |
| 20% overlap | 80% of raw cloth area | Messier prep, ladders, or high-traffic paths | Raises cloth count for safer coverage |
| 10% waste buffer | Adds 10% required area | Typical spare for folds and repositioning | Applied before final cloth rounding |
| 20% waste buffer | Adds 20% required area | Irregular rooms, stairs, or many obstacles | Useful when layouts are uncertain |
🛋Splash zone and furniture assumptions
| Protection item | Area method | Common input | Calculator treatment |
|---|---|---|---|
| Floor area coverage | Length x width or custom area | Full room or active work zone | Always included as the base protected area |
| Wall perimeter splash zone | Perimeter x protected share x splash height | 6 to 18 inches / 15 to 45 cm | Adds edge coverage for paint or dust splash |
| Low furniture drape | Footprint x 1.2 | Benches, short cabinets, low tables | Adds a light cover allowance |
| Standard furniture drape | Footprint x 1.6 | Desks, dressers, chairs, small shelves | Adds extra surface for sides and folds |
| Tall or bulky drape | Footprint x 2.1 | Sofas, wardrobes, tall storage | Adds more cloth for height and corners |
| Full wrap reserve | Footprint x 2.6 | Fragile finishes or dust-heavy work | Adds the largest furniture protection allowance |
💡Practical calculation tips
Guessing how far a drop cloth goes is like using a precision tool as a blunt instrument; it doesn’t work. You’ve got the math down, right? You stroll into room and glance around. You figure out square footage and head to Home Depot with your cart full of two drop clothes. But there you are in the center of the room, a paintbrush dripping on carpet as you realize, oh wait, I don’t have enough coverage for the sofa drape, much less the wall splash. The trim turns ugly. Your floors turn wet. And by noon you’re back at the store restocking supplies.
To plan right, it’s about moving away from counting areas and toward thinking in volumes. This is a three-dimensional space, not some flat plane that gets covered with paint. You have to account for seams, furnitures casting shadows, and splashes that will go upwards.
How to Plan Your Drop Cloths
Plug in your room dimensions into the calculator above and let it do the math for you. It will show you the hidden costs of protection, like the waste buffer and the perimeter splash zone (so you don’t miss them).
First it is on the floor, and then what happens? Every room have an outer perimeter to protect against roller splatter, while adding 12 inches of splash height (standard) against those walls increases square footage of your required coverage by quite a bit. For a whole-room paint job, you’ll want to cover entire length of each side. With an accent wall paint job, you can decrease the percentage accordingly. This is important as you adjust the share via the tool. Even if you are only doing a portion of the wall, you may still need full-floor protection to catch any drips that travel.
The next variable that throws off most estimates is furniture. In an ideal world, you move all of it out. But that doesn’t happen in the real world at home. Most likely, you’ll be draping the bed, the chair, the desk, etc.
Drape isn’t just laid flat. It has to covers vertical surfaces, it must be tucked under things, folded over… Draped. The industry use a standard drape multiplier that takes into account the additional fabric required to wrap around sides and fold over edges so there are no gaps. Wardrobes require even more fabric; if you don’t take this into account, you’re looking at exposed wood, stained upholstery.
The trade’s insurance policy is called overlap. If you’re using two cloths, you has to overlap them slightly, so that no paint will sneak through the seam. For most situations, ten percent is a good default number for overlap… It strikes a balance between security and material usage. Because foot traffic moves the fabric around, areas like high-traffic pathways or narrow hallways should of being overlapped more. This reference table on the page explains it neatly: as your overlap goes up, your effective coverage go down. That means you’ll pay in terms of cloth count, but it’s a small price to pay to keep your hardwood floors safe.
And then there’s that last bit of sanity: the waste buffer. You cut a little off; you tuck a corner in a bit too far; you stand on a puddle. Give yourself ten- or even twenty-percent buffer for those things that will inevitable happen. Better to have more cloth in hand than to scramble for plastic wrap and tape halfway through your project.
Choosing the right cloth is important, too: Runners make sense for a hallway; large cloths has fewer seams than small ones in a large room. You want less cloth used where there’s more traffic. We’ve built the calculator to account for this, allowing you to select from common sizes and then calculate the actual covered surface taking overlap into account.
Ultimately, it’s all about control. With a good floor protection plan, your work area remain neat and the balance of your home is protected. It transforms a haphazard guessing game into a measured process. Measure, then protect; overlap; repeat. Paint looks great. Floors stay dry. And you’re done, without having to worry if you ran out of cloth.