Diagonal floor layout and carton planner
Diagonal Tile Flooring Calculator
Estimate room area, rotated tile bounding-box coverage, diagonal waste, cut perimeter, tile count, full boxes, grout line density, and pattern repeat for bedroom floors, closet nooks, laundry alcoves, bathrooms, mudrooms, and entry landings.
| Diagonal angle | Visual effect | Typical waste add-on | Best room type |
|---|---|---|---|
| 30° | Subtle slant with a directional run | 2% to 4% | Narrow closet, hallway, or laundry alcove. |
| 35° | Gentle diagonal that reduces tiny edge triangles | 3% to 5% | Entry landing, mudroom, or small bedroom. |
| 45° | Classic diamond pattern with balanced corners | 5% to 8% | Bedrooms, bathrooms, closets, and square rooms. |
| 60° | Strong directional angle with longer wall cuts | 6% to 10% | Feature floor line or plank-format tile. |
| Tile format | Face coverage | Diagonal behavior | Planning note |
|---|---|---|---|
| 8 in by 8 in | 0.44 sq ft | Many joints, small cuts | Good for tight closets and alcoves. |
| 12 in by 12 in | 1.00 sq ft | Classic diamond scale | Easy waste and carton math. |
| 18 in by 18 in | 2.25 sq ft | Fewer full tiles, bigger triangles | Check wall squareness before cutting. |
| 6 in by 24 in | 1.00 sq ft | Long repeat and directional look | Use a start line through the focal view. |
| 12 in by 24 in | 2.00 sq ft | Large rotated bounding box | Add waste for broken long points. |
| Room or feature | Extra area to add | Cut pressure | Layout start suggestion |
|---|---|---|---|
| Bedroom closet pocket | 2 to 8 sq ft | Moderate | Keep the room centerline; cut into the closet last. |
| PAX wardrobe nook | 0 to 6 sq ft | High | Plan full tiles where the wardrobe base stays visible. |
| Bathroom toilet return | 2 to 4 sq ft | High | Dry fit around the flange before setting the field. |
| Entry threshold | 1 to 5 sq ft | Moderate | Align a strong diagonal point with the doorway. |
| Laundry appliance bay | 3 to 8 sq ft | Moderate | Carry the pattern under front legs and visible edges. |
| Grout joint | Use case | Density effect | Layout note |
|---|---|---|---|
| 1/16 in | Rectified porcelain | Low joint width, precise lines | Needs very consistent tile sizing. |
| 1/8 in | Common floor tile | Balanced density | Good default for bedrooms and closets. |
| 3/16 in | Ceramic and uneven edges | More visible grid | Helps absorb slight size variation. |
| 1/4 in | Rustic or quarry tile | High joint presence | Include joint width in repeat planning. |
For example: You find yourself standing in a room with walls that are not square. It’s common in older houses where structure settles over time. When laying out tile, if you line it up directly with the walls, the cuts gets smaller on one side, making a mess of them eventualy. Using a diagonal layout solves this issue since it spreads out any uneven cuts to all 4 walls. The eye perceives the diamond pattern as on purpose… As a part of the geometric design. But, this is achieved through careful planning.
Guessing how many materials you need slow down (or costs more) the process. You simply input the size of your rooms and the type of tiles, and the calculator will crunch the numbers. You will no longer has to estimate conversions and coefficients. It even calculates the “rotated bounding box” for each tile, taking into consideration that a diamond shape actualy has a footprint greater than a rectangle. Yes, it doesn’t assume each is a mere rectangle. Why? Because straight-tiled pieces uses less floor space surrounding them different than do diagonally placed ones, and you want to know how much extra space they take up before heading out to shop.
How to Plan Your Diagonal Tile Floor
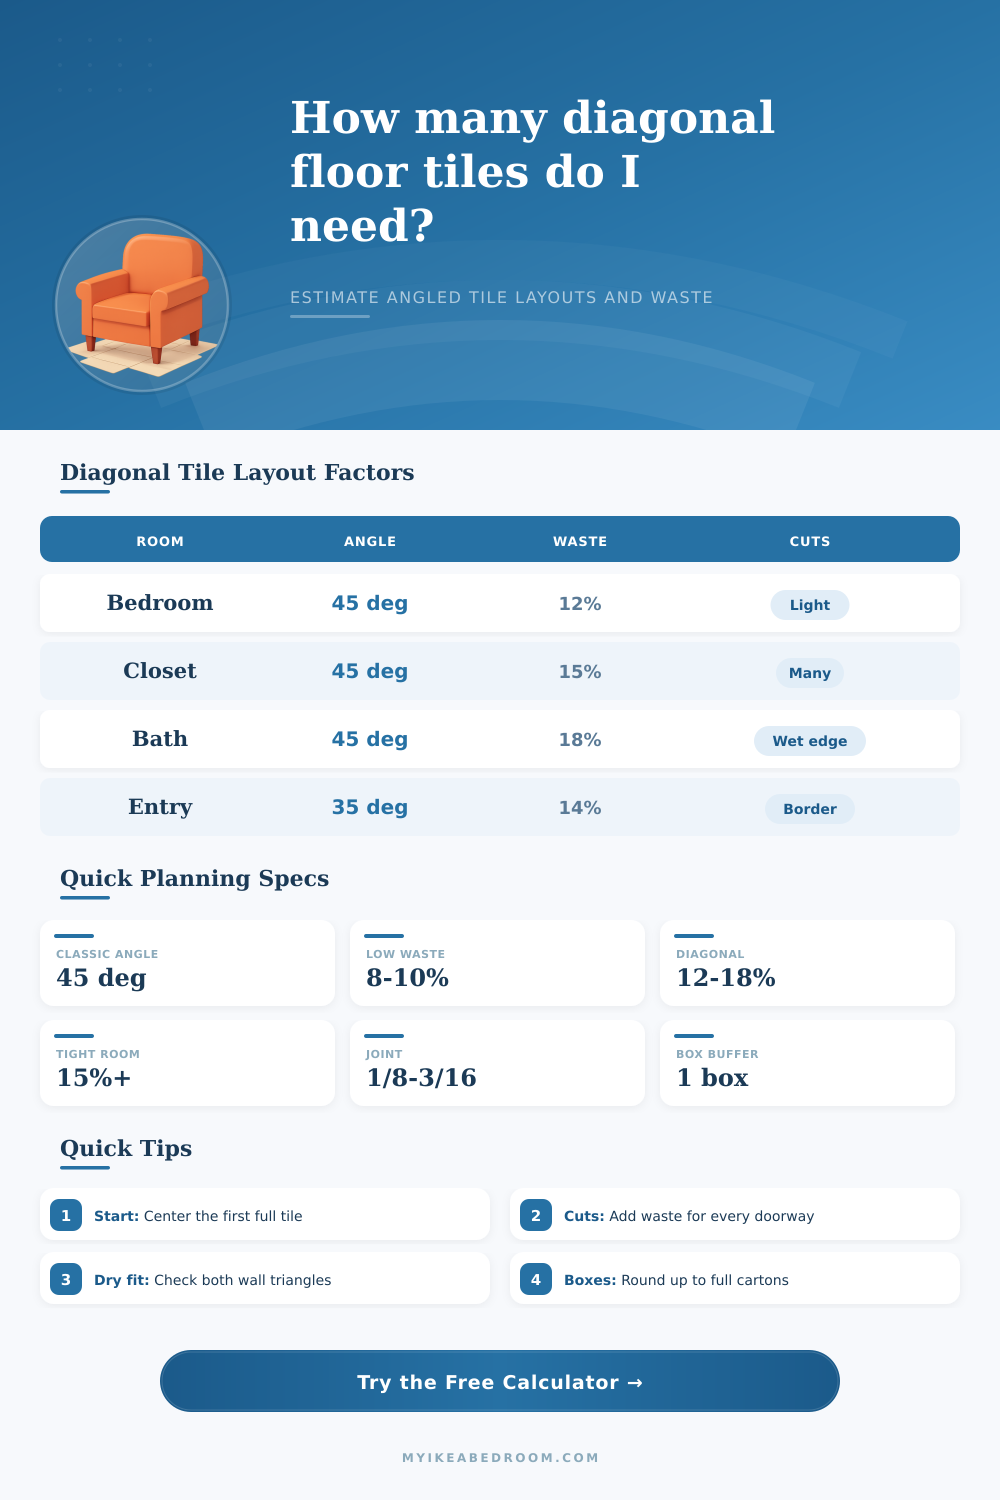
First, look at your waste factor. Generally speaking, a straight lay will require five to ten percent additional for cuts and breakage. Diagonal installs typically requires twelve to eighteen percent additional. Depending on which angle you select, the tool calculates the additional buffer. For example, a forty-five-degree diamond works great in a bathroom or bedroom because it centers the pattern nicely. It also produces larger corner triangles that is easy to cut out cleanly versus small slivers. If your space is narrow (i.e. Hallways), think about angling the install up to thirty or even thirty-five degrees. This softens the corner sharpness and decreases the waste factor a little without losing the directional flow people appreciates.
Another thing to consider before purchasing anything is the layout. Do you want the layout anchored to the middle of the room? Do you want to line it up with a doorway? Or do you want to create a border frame around the perimeter of the space and then fill in? All these options will alter the placement of your tricky cuts. For instance, starting at the center tends to give the most balanced look in a square room. Lining up with a door means that no one who walks into the room will see any odd partial-tiles right off the bat. It seems like a small detail, but it matter for how a completed floor looks when you are standing on it.
Now, I know this one may not sound like much on paper, but it does affect your planning: Grout joint width. If your tile isn’t exactly uniform (i.e. A natural stone or some rustic ceramic), wider grout joints conceals any small variation in size from tile-to-tile. Narrower grout joints require precision. This all goes back to our module size because we’re accounting for how many times the joints fits across your floor space. More grout = more linear feet of grout to cover. More linear feet requires more product and more labor, increasing both material and labor costs.
Before buying, consider the material comparison section in the tool. For example, porcelain will handle a diagonal cut nicely since it’s denser and not as likely to chip off at a sharp corner. Stone may have some beautiful veining but tend to be more delicate on the corners and need a larger waste buffer so you can get those pesky ones through your install intact. Regardless of the math, order an additional box just in case. An un-opened box from the same lot means if there’s a break later down the line, you’ve got some spare matches. People should of forgot this until they need to replace a broken piece years after it was installed.
The first row must be a dry fit. Snap the centerline, lay down all your tiles (loose) with no mortar. Calculate how many you’ll need and order accordingly. Compare the other side wall. Do you get nice, useable triangles or do you end up with skinny bits that resemble an afterthought? Adjust your starting point a tile or two and go again until it balances out for you. This isn’t about filling in space… This is design element. Everything depends on the geometry.
The pattern distracts from the imperfection of the structure. It draws focus to itself instead of the crooked corners. The straight lines gives the room a bit more order then they typically would. When done right with the proportions, the floor will feel bigger than it actualy is. Measure carefully, account for your waste buffer, and let the angles do the heavy lifting for you.