🧵 Decorative Trim Yardage Calculator
Estimate linear yardage for braid, fringe, lip cord, tape, ribbon, and banding with edge layout, repeats, miters, joins, waste, and spool rounding.
📌 Decorative trim presets
⚙ Yardage settings
📏 Trim type reference
📚 Reference tables
| Placement | Length formula per piece | Common use | Corner count |
|---|---|---|---|
| Full perimeter | 2 x width + 2 x height | Pillows, panels, cushions | 4 |
| Top and both sides | width + 2 x height | Roman shades, valances | 2 |
| Top and bottom | 2 x width | Lampshade bands, duvet bands | 0-4 |
| Both vertical edges | 2 x height | Curtain side tape | 0 |
| Leading edge only | height | Drapery lead edge | 0 |
| Round circumference | diameter x 3.1416 | Ottoman, shade, round skirt | 0 |
| Trim type | Typical width | Suggested buffer | Planning note |
|---|---|---|---|
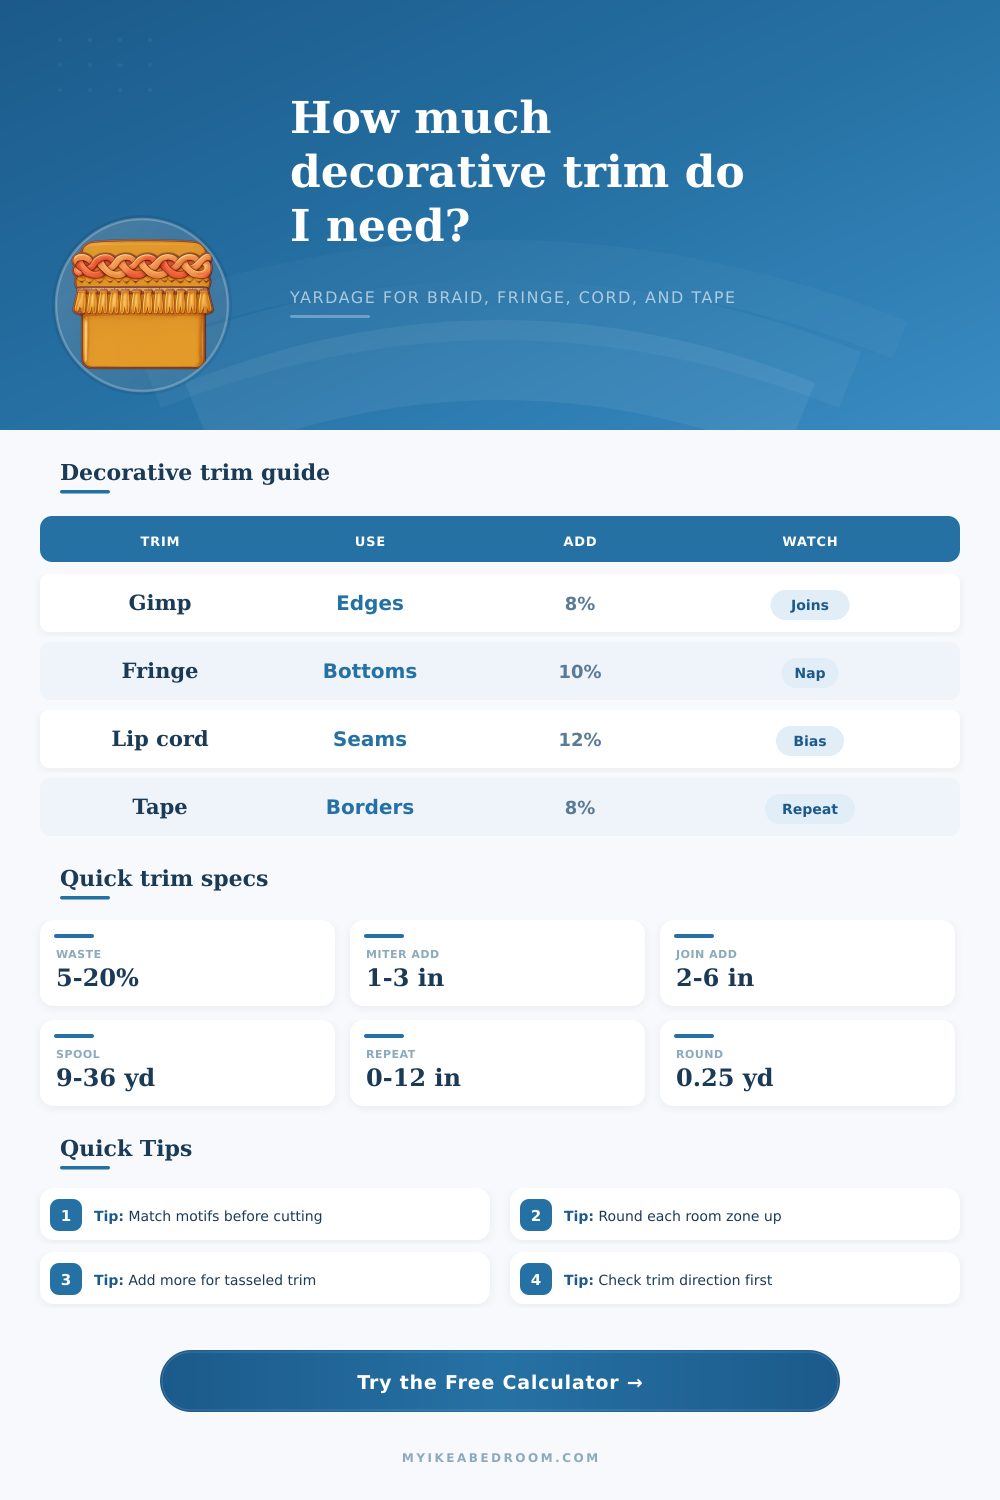
| Gimp braid | 3/8-3/4 in | 5-8% | Good for hiding staple or seam lines. |
| Greek key tape | 1-3 in | 10-15% | Match motif at corners and panel pairs. |
| Lip cord | 1/4-1/2 in cord | 10-12% | Extra disappears into seam allowances. |
| Bullion fringe | 2-9 in drop | 12-15% | Keep nap and direction consistent. |
| Tassel fringe | 1-4 in drop | 12-20% | Space tassels symmetrically at corners. |
| Ribbon banding | 5/8-2 in | 5-10% | Press and test shrinkage before sewing. |
| Package length | Equivalent | Best for | Calculator use |
|---|---|---|---|
| 3 yd card | 108 in / 2.74 m | Small pillows, lampshades | Rounds to full cards |
| 5 yd card | 180 in / 4.57 m | Roman shade borders | Rounds to full cards |
| 9 yd roll | 324 in / 8.23 m | Pair of curtains, bedding | Common decorator roll |
| 18 yd roll | 648 in / 16.46 m | Multiple cushions | Reduces join changes |
| 36 yd roll | 1296 in / 32.92 m | Room-wide banding | Bulk planning roll |
| Project | Typical dimensions | Common placement | Trim range |
|---|---|---|---|
| 18 in pillow pair | 18 x 18 in x 2 | Full perimeter lip cord | 4.5-5.5 yd |
| 96 in curtain pair | 50 x 96 in x 2 | Leading edge braid | 6-7 yd |
| 34 x 64 roman shade | 34 x 64 in x 1 | Top and sides tape | 5-6 yd |
| Queen headboard | 62 x 44 in x 1 | Full perimeter border | 6.5-8 yd |
| 14 in lampshade | 14 in diameter | Two circumference rows | 3-3.5 yd |
⚖ Comparison grid
💡 Trim planning tips
Trim is element in a room that can make it feel finished or unfinished. The stitching may be perfect and the fabrics rich, but if the fringe pulls out an inch from each end or the gimp braid dissapears three inches before the corner, it all fall apart.
Measuring the length of a piece to figure out the yards required does not account for the decorative trim’s behavior at a seam, at a turn, or on a curve. And then there’s the issue of waste. Most people fail because they underestimates the waste factor. They think that measuring along a straight line tells them exactly how much trim they need. Guess what? That’s where most projects fall short.
Why Use a Trim Calculator
Instead you put in the numbers (above), enter your dimensions, and the calculator figures out the rest. No fiddling with math or trying to estimate how many times to use a conversion factor. It takes into account that you’ll have to cut around corners (miter allowance) and that some piece will need to overlap other pieces when joined together.
And depending on what shape you make (round lamp shade? rectangular throw pillow?) the tool will adjust based off that pattern, so the path length changes. And there’s one other thing: because curves behave differently than straight lines, you want to use just a bit more material on the curved part to keep it smooth. This keeps it from puckering. For a round item, you use circumference instead of perimeter.
And then finally the input fields for Width and Height are simple enough, but these determines everything else. An 80 inch raw path gets me a 20 x 20 inch finished pillow. But I don’t cut an 80 inch piece of cord, do I? Trim projects has some necessary waste buffers. The reference table on this page explains this well and shows why different trims requires different amounts.
For example, gimp braid is forgiving and lies flat so perhaps only needs a five to eight percent buffer. On the other hand, tassel trim is very demanding. You can’t just eyeball tassels to get them to match, there’s too much wasted length trying to find the correct spacing. With the calculator, you can set your own buffer according to how complex your pattern is and/or your level of confidence. Maybe you’re matching a Greek key motif around each corner, that calls for an additional fifteen to twenty percent! Sounds like overkill till you see all the trim getting tossed aside because the patterns don’t quite line up…
Direction matters too: braid has a right side and a wrong side, and fringe has a specific direction. Wanting the fringe to go one way doesn’t mean it will just happen when you cut from a roll any which way. You’ll want to plan so that whatever piece you’re cutting has continuous runs going the same way, respecting the grain. The calculator allow for more than one panel or piece, buying what you need for each of those with similar orientation.
This is why, even though the calculated number of yards may be less, sometimes it does make sense to buy full spools or rolls. If the project is something large, such as a bed skirt or curtains. The uniformity of one roll really does help. Buying by the quarter yard (which is great for little pillows) can work for bigger projects. However, dye lot differences do exist in color. If you have to buy separate pieces, there’s no guarantee they’ll match.
Before you pick up a pair of scissors you need to plan your cut. It then breaks down the raw path length from purchase length, which give you the exact length of material you will have left over. Rounding up to standard cutting increments helps avoid that annoying “I’m short by half an inch” moment. Test a bit out first. Length gets consumed sewing trim in a seam. More length is consume stapled inside a frame.
The calculator gives an estimate, but your hands do the work. A bit of extra material is peace of mind. It gives you peace of mind to make mistakes, adjust things, and learn how a new material handles. Don’t scrimp on the buffer. Scouring for another matching roll costs more than buying a bit extra now.
You should of planned better. Trim is a finishing touch… but also a display of all your measuring mistakes. Do yourself a favor and take your time when you enter the numbers. Factor in those pesky corners. Respect the repeat pattern. Because what’s this all adding up to? Not just a number. A game plan to keep both your design and your edges clean. You want your trim to look like a piece of cake. Even though the math that went into it probably wasn’t. And getting it right means having enough to get each corner perfect. Start to Finish.