Deck Skirting Lattice Quantity Calculator
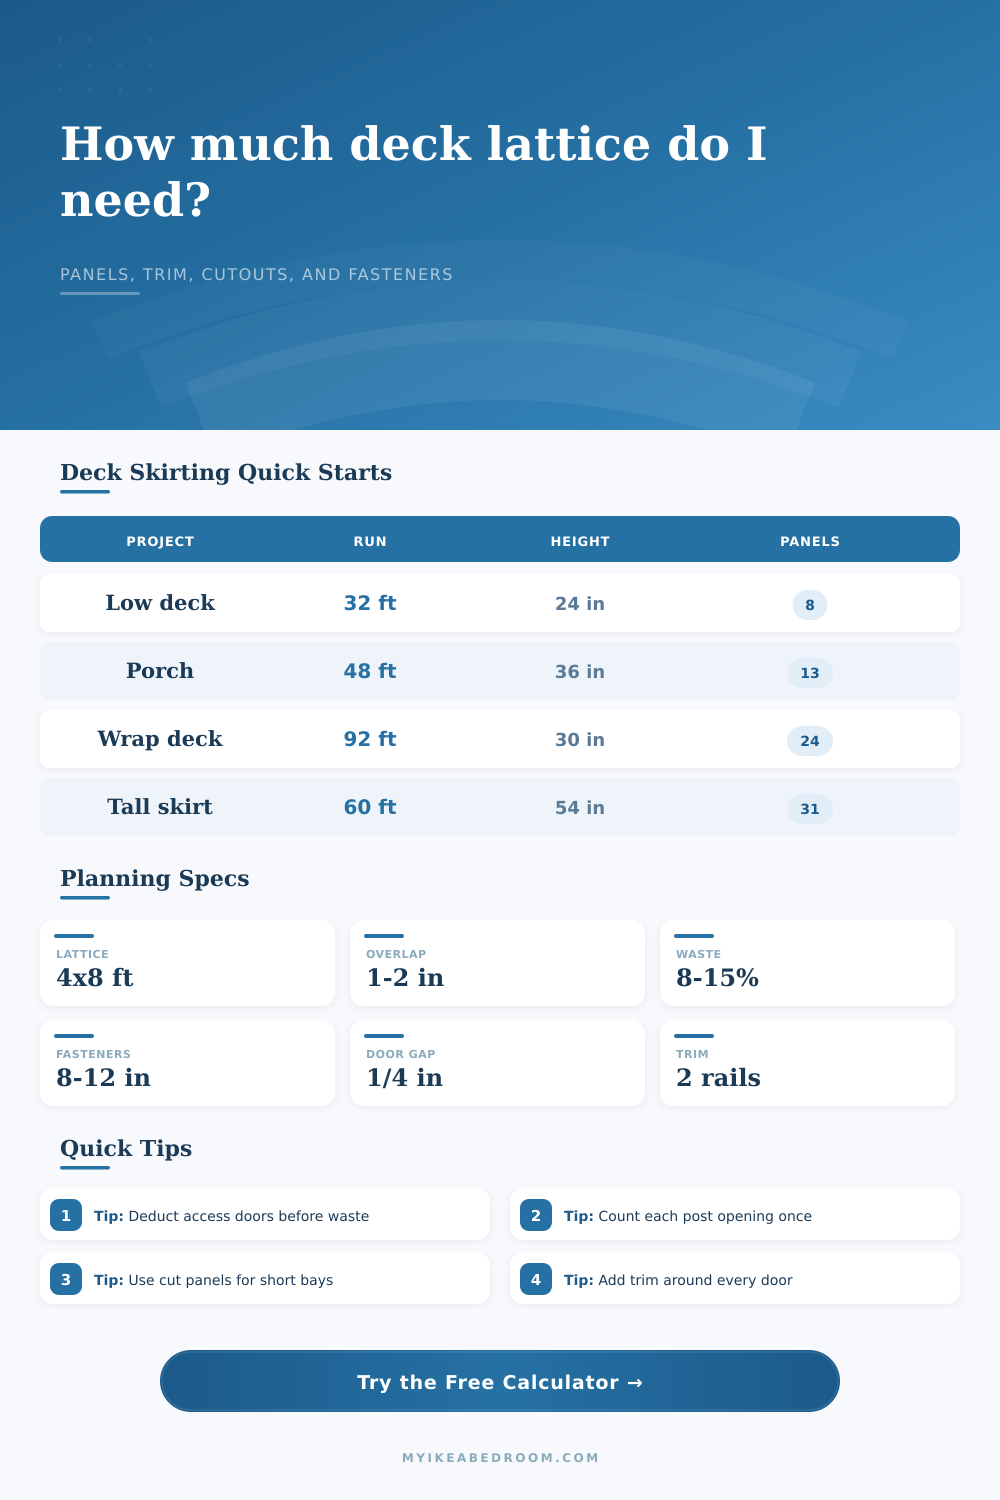
Estimate skirting area, lattice panel count, cut panel count, trim length, access door deduction, post opening deduction, overlap allowance, waste, and fasteners for deck and porch skirts.
▦Deck Skirting Presets
Load a common skirt layout, then adjust perimeter, height, panel size, access doors, post openings, overlap, waste, trim, and fastener spacing.
⚙Lattice and Skirting Inputs
▣Skirting Material Comparison Grid
📋Reference Tables
| Result | Formula | Inputs used | Planning note |
|---|---|---|---|
| Gross skirting area | Deck perimeter x skirt height | Run length and vertical height | Shows total face area before any openings |
| Access cutout deduction | Door count x door width x door height | Access openings | Deducts the open area but keeps trim around the door |
| Post opening deduction | Post count x opening width x opening height | Posts, piers, vents, or columns | Use the finished opening size, not only post size |
| Panel count | Adjusted area divided by panel area | Panel width, height, overlap, waste | Rounded up to full purchased panels |
| Fastener estimate | Fastened perimeter divided by spacing | Panel edges, trim style, spacing | Rounded up with a small spare allowance |
| Purchased panel | Skirt height | Strips per panel | Approximate run coverage |
|---|---|---|---|
| 48 in x 96 in lattice | 24 in | 4 strips if ripped from height | About 16 linear ft before overlap |
| 48 in x 96 in lattice | 32 in | 3 strips if ripped from height | About 12 linear ft before overlap |
| 48 in x 96 in lattice | 48 in | 2 strips if ripped from height | About 8 linear ft before overlap |
| 48 in x 48 in panel | 36 in | 1 tall section plus offcut | About 4 linear ft before overlap |
| 24 in x 48 in privacy panel | 48 in | 1 narrow section | About 2 linear ft before overlap |
| Trim layout | Trim length model | Fastener spacing | Best fit |
|---|---|---|---|
| Top and bottom rails | 2 x perimeter plus door frames | 10 to 16 in | Simple lattice held between rails |
| Rails plus vertical seams | Rails plus one vertical per cut panel | 8 to 12 in | Clean panel breaks at posts or framed bays |
| Full framed panels | Frame every panel piece on all sides | 8 to 12 in | Removable access panels and neat porch skirts |
| Horizontal slat battens | Top, bottom, and row trim proxy | 8 to 10 in | Slat skirts with more visible fastener lines |
| Scenario | Perimeter | Height | Typical waste |
|---|---|---|---|
| Low deck skirt | 28 to 40 ft | 18 to 28 in | 8 to 10 percent |
| Tall porch skirt | 40 to 70 ft | 36 to 54 in | 10 to 15 percent |
| Wraparound deck | 80 to 120 ft | 24 to 42 in | 10 to 15 percent |
| Access-door section | 16 to 40 ft | 24 to 48 in | 10 to 12 percent |
| Privacy skirt panel | 30 to 80 ft | 48 to 72 in | 12 to 18 percent |
💡Skirting Quantity Tips
There you are: a measuring tape and some lattice panels standing before you. Your job appears easy; just add a few panels around the perimeter. But wait! Those posts don’t sit evenly spaced between your panel. And there’s an odd cut-out here or there for those pesky storage access doors. Even when it looks like you have covered everything from street, it still feels like a house of cards as the wind whips through openings.
People mess up on skirting visuals. They purchase by square footage of their flooring only to find gaping holes in coverage. After entering your height and perimeter, the calculator do all of the work for you. No more converting or figuring out coefficients…just no thanks. It also considers other things that eat up material more then the loss on a saw blade.
How to Measure and Calculate Skirting Materials
The most common mistake people make is how they measure their perimeter. Simply put, just measure the perimeter of runs where you will be installing skirting. Don’t add in length of a wide stair opening that has no skirting installed. That will only result in adding panels and wasting extra pieces which fit nowhere. It is a little thing but it makes a big difference if you’re trying to stay on budget.
How high the skirt is determine how many pieces you will get off of a standard sheet of whatever material you use. Lattice is typically four by eight foot panels. Depending on whether you cut up or across grain (more on that later) you will have three or four usable strips from a single panel if you are making a skirt that is twenty-four inches tall. Make your skirt taller and you will end up with fewer strip. Less waste but fewer usable strips.
The tool does all of this automatically for you, but knowing how it works makes visualizing the cuts easier. What you are doing is effectively tiling a vertical floor. You cannot make all the panels butt up against each other exactly to prevent gaps when they expand and contract from seasonal humidity changes. You must overlap them which is why the overlap setting exist. By overlapping the panels by an inch or two, you hide their imperfections and give yourself something to nail trim to.
Next come the structural posts and access doors. Those eat into overall square footage. One 30-inch door may seem small and insignificant, until you multiply by three…that’s almost one whole panel. To help account for this lost square footage, the calculator will automatically subtract those spaces first. Why? Because waste represents usable square footage and not voided space. Who needs ten percent wasted lattice in an open door?
Tracking full panels vs. Cut panels will also aid in estimating your labor. A full panel installs quickly. However, any cuts like posts or corners takes time and razor-sharp blades to fit snugly.
Finally, trim. This can make the project look professionally done; or it can make it appear like a DIY afterthought. Do you want to frame out each panel? Or just run some top and bottom rails? That makes a difference in amount of lumber and fasteners you need. Framing out the panels is cleanest but a lot more material. And again: closer fastener spacing keep things from sagging in large bays (particularly when the lattice will be exposed to high winds, or heavy vines).
The other thing: people under-buy screws because they think that means every single hole should of get one. Nope. It doesn’t take that many; a couple good strategic ones keep everything snug and still allow air to flow underneath.
The other difference maker is material. Some are more flexible/forgiving (like vinyl lattice), others are more like wood (which look more traditionally “lattice-y,” but must be sealed at cut ends or they will rot). Others still offer composite boards that is stiffer and hold up better to high-impact situations. It’s all laid out nicely on the page as a reference table to help you compare how many square feet one board covers of another. Each has its own nuances when it comes to cutting and fastening. Knowing these makes choosing your tool settings easier.
Skirts are all about covering up the structure without trapping moisture. Too much cover traps moisture which will rot out your joists. Too little cover is unsightly and a tripping hazard. It also gives critters an opportunity to make their home. You want something breathable enough to keep everything dry but covered enough to conceal the gunk beneath.
That balance of breathability and coverage comes down to getting the quantities correct. This reduces how many trips to the hardware store during the project and how much trash you have at end. You want to be able to match what’s on paper to what’s going into the ground. What you’ve planned should add up to what you see. Make sure to get your measurements spot-on. Then, rely on the tool to do the hard work and save your time for clean cutting and good fastening.
What remains is a neat foundation that keeps your investments safe from the elements and prying eyes.