Cross Stitch Fabric Size Calculator
Convert stitch width, stitch height, fabric count, over-one or over-two stitching, border allowance, framing allowance, and unit preference into a practical cut fabric size.
| Fabric count | Over-one effective count | Over-two effective count | Typical use |
|---|---|---|---|
| 11 count Aida | 11 stitches per inch | Not typical | Large motifs, beginner-friendly grids, pillows, and bold seasonal panels. |
| 14 count Aida | 14 stitches per inch | Not typical | Classic framed samplers, quotes, bookmarks, and gift pieces. |
| 16 count Aida | 16 stitches per inch | Not typical | Slightly smaller finish than 14 count with crisp detail. |
| 18 count Aida | 18 stitches per inch | Not typical | Compact ornaments, stocking cuffs, and detailed charts. |
| 22 count Hardanger | 22 stitches per inch | 11 stitches per inch | Bands, bell pulls, and counted-thread work with flexible scale. |
| 25 count evenweave | 25 stitches per inch | 12.5 stitches per inch | Miniature over-one work or larger over-two specialty projects. |
| 28 count linen | 28 stitches per inch | 14 stitches per inch | Over-two linen substitute for many 14 count Aida charts. |
| 32 count linen | 32 stitches per inch | 16 stitches per inch | Over-two linen substitute for many 16 count Aida charts. |
| 36 count linen | 36 stitches per inch | 18 stitches per inch | Over-two linen substitute for many 18 count Aida charts. |
| Chart size | 14 count or 28 over two | 16 count or 32 over two | 18 count or 36 over two |
|---|---|---|---|
| 60 x 60 stitches | 4.29 x 4.29 in | 3.75 x 3.75 in | 3.33 x 3.33 in |
| 100 x 80 stitches | 7.14 x 5.71 in | 6.25 x 5.00 in | 5.56 x 4.44 in |
| 140 x 100 stitches | 10.00 x 7.14 in | 8.75 x 6.25 in | 7.78 x 5.56 in |
| 180 x 240 stitches | 12.86 x 17.14 in | 11.25 x 15.00 in | 10.00 x 13.33 in |
| 250 x 320 stitches | 17.86 x 22.86 in | 15.63 x 20.00 in | 13.89 x 17.78 in |
| Finish style | Border per side | Framing per side | Why it matters |
|---|---|---|---|
| Framed or matted piece | 2.5 to 3.5 in | 0.5 to 1 in | Allows lacing, mounting, centering, and mat coverage. |
| Hoop display | 1.5 to 2.5 in | 0 to 0.5 in | Enough fabric wraps around the hoop and can be finished neatly. |
| Pillow or cushion panel | 2 to 3 in | 0 to 0.5 in | Leaves fabric for seams, centering, and soft finishing. |
| Bookmark or band | 0.75 to 1.5 in | 0 to 0.25 in | Small bands need less side fabric but still need edge control. |
| Ornament | 1 to 2 in | 0 to 0.25 in | Small pieces need trimming room for backs, cording, or turning. |
| Scroll frame working cloth | 3 to 4 in | 0 to 0.5 in | Extra cloth helps rollers grip without crowding the stitched area. |
| Project | Chart stitches | Fabric setup | Cut-size thinking |
|---|---|---|---|
| Bookmark | 36 x 120 | 14 count Aida over one | Narrow width, taller height, small border, minimal framing allowance. |
| Ornament | 55 x 55 | 18 count Aida over one | Small design with enough fabric for backing and edge finishing. |
| Sampler | 140 x 100 | 16 count Aida over one | Balanced wall size with a generous working border on every side. |
| Linen reproduction | 180 x 240 | 36 count linen over two | Effective count is 18 stitches per inch, so the design stays compact. |
| Pillow panel | 120 x 120 | 11 count Aida over one | Large stitched area plus cloth for seams and soft finishing. |
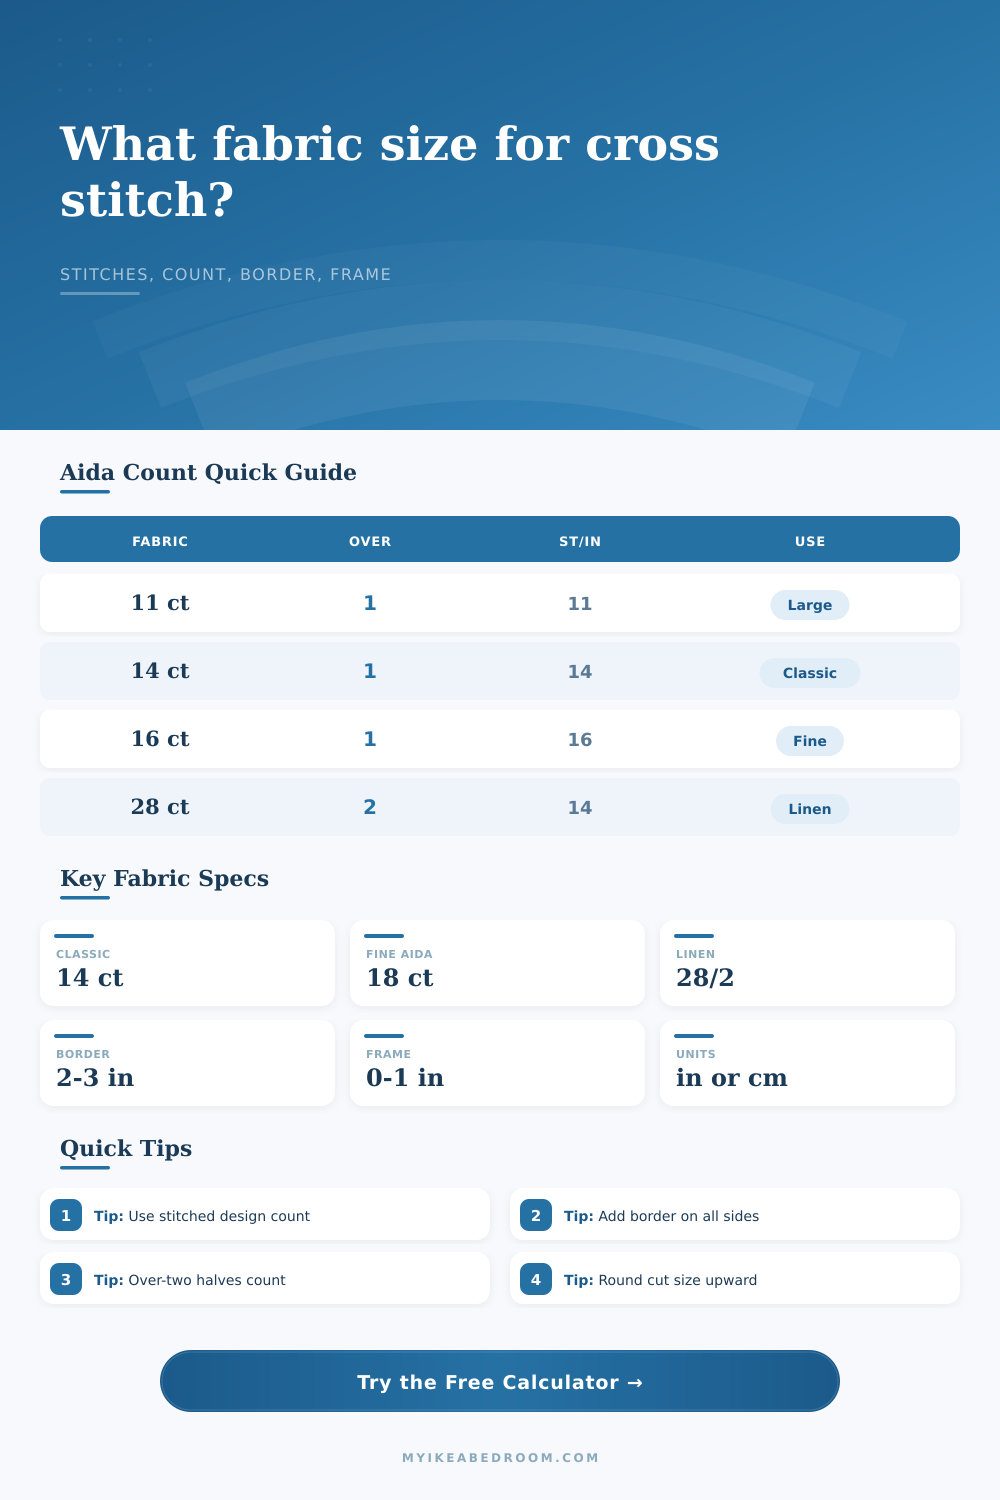
Start with chart stitches: The design size is stitch width divided by effective fabric count, and stitch height divided by the same effective count.
Add allowances twice: Border and framing allowance are per side, so the calculator adds them to the left and right, then top and bottom.
Check over-two fabric: On linen or evenweave, stitching over two threads halves the effective count, so 32 count over two finishes like 16 count.
Round upward before cutting: A rounded-up cut size is easier to trim later than a piece that is short after mounting, fraying, or squaring.
If you’ve ever ordered some fabric to cross stitch, only to get it on a bolt that’s far too short or too narrow, you know the frustration. You stitch each square perfectly only to discover you haven’t left any space at all to lace the thing up. Or the fabric is so tightly cut that there’s no way the hanging will fit through. It feels like such an obvious mistake, but most people tend to measure size of the finished product without accounting for the size of the process itself.
Once you enter how many stitches are required and what size you’d like the finished work to be, this calculator do all the rest for you. You will no longer wonder whether to add a margin here or convert inches over there.
Why This Calculator Helps You Choose Fabric
When it comes to fabric count, it’s a measure of density, which means it will determines your process. Standard Aida has a count equal to its number of stitches per inch, so if you stitch over one, your fabric count equals the stitches per inch. But what about moving to an evenweave or a linen? Because you are stitching over two threads instead, that count is half. Twenty-eight count linen stitched over two threads is equivalent to fourteen count Aida stitched over one. So you can pick out whatever fabric feels right for you in terms of texture while keeping the finished product exactly the same size. You can see where different counts merge onto the same physical scale from table on the page.
Once you know your effective count, be sure to review the size of the chart. Most patterns list design in stitches rather than inches. A hundred by a hundred stitch design doesn’t sound like much, but when stitched out onto an eighteen count Aida, it finish up as a humble five and a half inches. On eleven count Aida, that’s the same design ballooning into more than nine inches. This changes how the finished product looks. It also change the time needed to finish the project and the amount of thread you’ll use. Knowing the ratio ahead of time will keep your manageable evening project from turning into a three-month commitment.
But there is more to consider. The border or the additional fabric used around the stitches which allow you to stitch comfortabley also needs to be accounted for in the design size. Typically speaking, if you’re creating a framed piece, you’d ideally want at least two and a half to three inches of fabric border on each side. It provides plenty of room to trim fraying threads and lace the fabric taut. For a pillow, you’ll need even more fabric as the seams themselves use material. Cut the fabric to the exact dimensions of your stitching, and there won’t be anything left to secure it! Many people miss this. These allowances you can explicitly define with the tool. For example, a border for hooping? An extra margin for framing? A percent buffer to account for errors?
Fabric moves as you work with it. Sometimes it shrinks after washing. Sometimes it stretches out as you pull it taut. Add a little percent buffer so that you’re never shorted. Better to have a little too much than a little too little.
The second thing you should know about needles are what they say about the choice of count. Finer needles is needed on higher counts because coarse threads can damages the fabric. Larger needles and heavier threads can be used on lower counts. It’s more of a physical restriction than the math alone conveys. You won’t like trying to push a thick strand through an evenweave with a thirty-two count. Your hands will let you know whether or not the fabric is suitable for the thread you’ve chosen.
Here is one final tip. The calculator helps you visualize the size, but your hands will tell you if the material works for your thread choice. This tool will help you see what size the piece will be, but your hands will tell you if it can accommodate the materials you have in mind. I am constantly thinking about the physical reality of the fabric, about the cloth, the tension, the frame, the finishing technique, etc. It is not just the pixels on the chart.
When you consider all of that you end up with a smooth flowing project, no disappointment in the sloppy finish and no stress over running out of fabric. You should of left room for the process, measure twice, cut once.