Coffered Ceiling Calculator
Plan a balanced coffer grid by sizing panel openings, beam runs, border members, crown or trim length, inset reveals, lighting cutouts, and waste from one room layout.
Start with a common coffered ceiling pattern, then adjust room size, beam dimensions, panel inset, border width, trim allowance, waste, and lighting cutouts.
Balanced coffer grid
The preview shows interior beam lines and typical lighting cutout positions. Use the numeric panel size for layout marks.
Border note: Wider perimeter beams can hide out-of-square walls and help the grid read centered.
Fixture note: Cutouts are counted for trim length, not electrical layout.
| Room type | Typical grid | Panel shape | Planning focus |
|---|---|---|---|
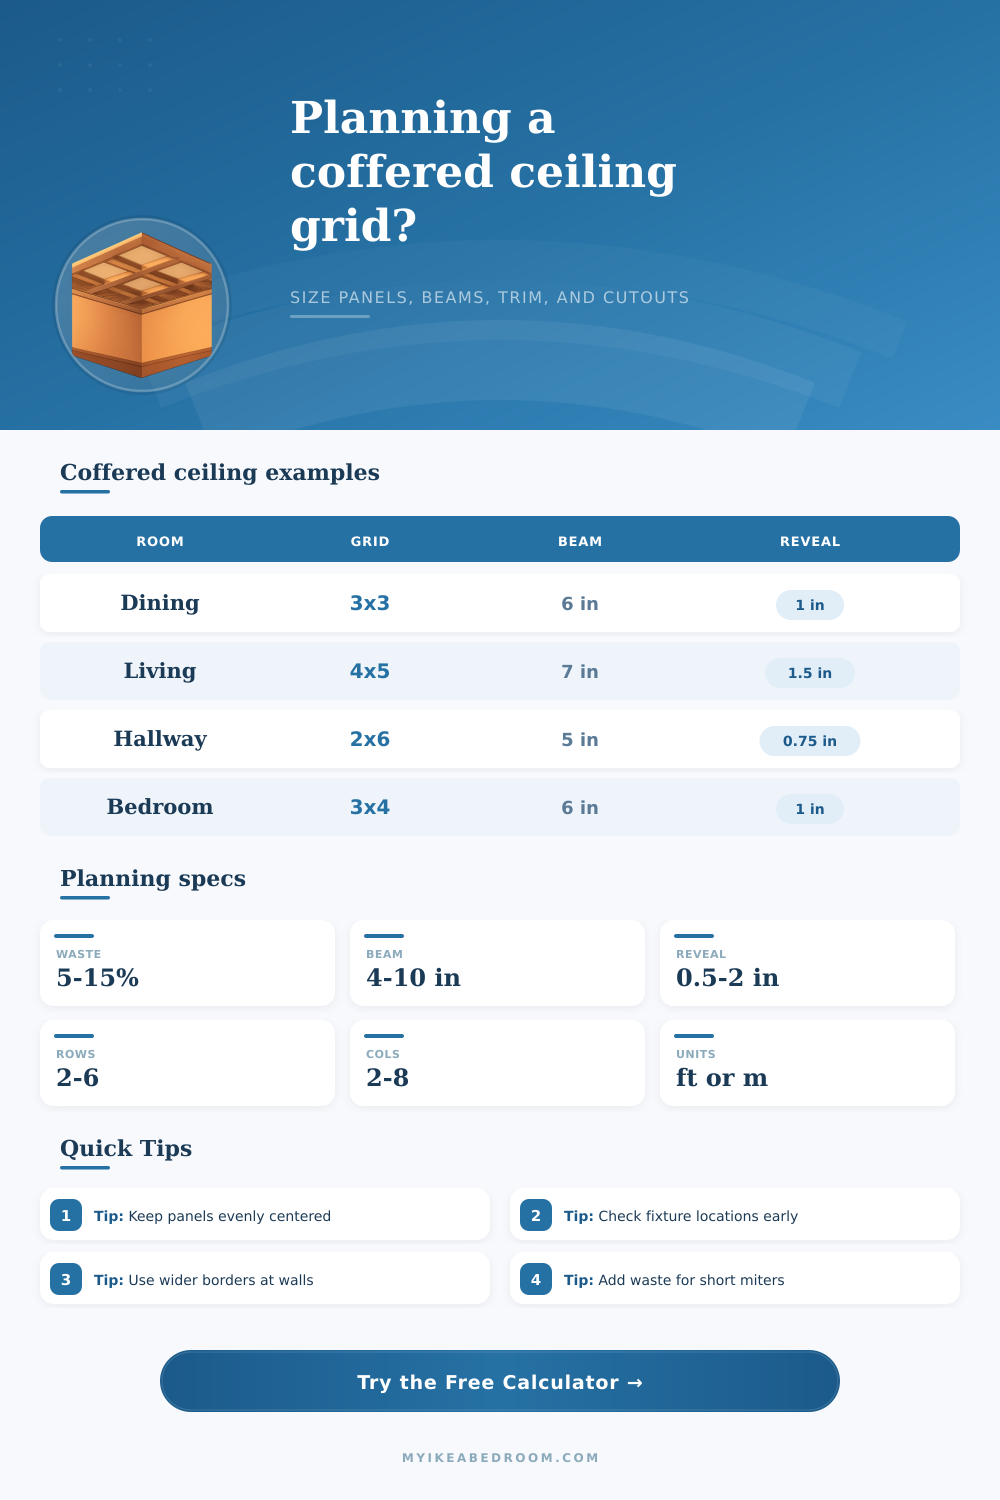
| Dining room | 3 x 3 or 3 x 4 | Nearly square panels | Center chandelier and keep borders even |
| Living room | 4 x 5 or 4 x 6 | Slight rectangles | Align long sight lines with seating zones |
| Hallway | 2 x 5 to 2 x 8 | Long rectangles | Keep panels consistent along the run |
| Bedroom | 3 x 4 | Soft rectangles | Center field over the bed wall and circulation |
| Detail | Light look | Medium look | Deep look |
|---|---|---|---|
| Interior beam width | 4 in to 5 in | 6 in to 8 in | 9 in to 12 in |
| Beam depth/drop | 2 in to 3 in | 4 in to 6 in | 7 in to 10 in |
| Shadow reveal | 1/2 in | 3/4 in to 1 in | 1 1/2 in to 2 in |
| Panel inset | 1 in | 2 in to 3 in | 4 in plus |
| Length item | Counted from | Use allowance when | Calculator treatment |
|---|---|---|---|
| Perimeter trim | Room perimeter | Walls are not square | Added before allowance |
| Panel crown | Every coffer opening | Many short miter returns | Panel perimeter x panel count |
| Beam edge trim | Beam centerline run | Two-sided beam profiles | Beam length x trim mode |
| Fixture trim | Lighting cutouts | Collars or access panels need border | Cutout count x trim per cutout |
| Lighting pattern | Best grid | Cutout placement | Layout note |
|---|---|---|---|
| Single chandelier | Odd rows and columns | Center panel | Use 3 x 3 or 3 x 5 when possible |
| Paired pendants | Even columns | Two center panels | Check spacing against the island or table |
| Recessed lights | 3 x 4 or 4 x 5 | Panel centers | Avoid placing fixtures on beam lines |
| Hallway cans | 2 x 6 or 2 x 8 | Alternating panels | Keep cutouts away from narrow end panels |
0 x 0
Larger panels, fewer interior beam lines, calmer ceiling rhythm.
0 x 0
Uses your selected rows and columns for panel and beam counts.
0 x 0
More panels, more beam runs, and shorter panel openings.
0 panels
Compares lighting cutouts to the number of available panels.
Keep the first layout pass geometric: Confirm the room rectangle, centerlines, rows, columns, and panel openings before deciding the final crown profile or decorative trim stack.
Protect the clean panel field: Place recessed lights, speakers, vents, and access panels inside coffer openings whenever possible so beams and crown runs stay continuous.
A coffered ceiling contain a grid of beams and organizes the space within the room. A coffered ceiling can make a room appear finish. However, planning the dimensions of the coffered ceiling are necessary prior to the construction of the beams.
The width of the beams, the placement of the panels within the ceiling, and the amount of trim for the ceiling must be decide prior to building the ceiling. Otherwise, the ceiling may appear too busily for the room. The calculator provide the mathematical results of the ceiling once the user enter the dimensions of the ceiling and the sizes of the beams into the calculator.
How to Plan a Coffered Ceiling
The dimensions of the room and the width of the beams must be understood before entering them into the calculator. The length and width of the ceiling are the dimensions of the area to be cover with the coffered beams. Additionally, the width of the border beam is not the same than the interior beams.
The border beam will be against the walls of the ceiling and can cover the corners of the ceiling that are not formed as square corners. The interior beams will divide the ceiling into panels, and the width of the beams will determine the size of each panel. The reveal and the inset of the panels will determine the depth of the coffered beams.
The reveal is the space between the beams and the panels. If the beams are cut to have a smaller reveal, the beams will appear more moddern within the room. Additionally, if the beams are cut to have a larger reveal, the panels will appear recess into the beams.
The inset is the measurement of how far the panels will extend back from the beams. The size of the panels can be seen in the calculator prior to cutting the beams. If the inset is too small, the panels will appear to be flush with the beams.
However, if the inset is too large, the panels will appear to be too small within the ceiling. The number of the rows and the number of the columns of the beams will have to be decide. An even number of rows and columns will cover the length of the ceiling.
However, if an odd number of rows or columns of beams are use, a light fixture can be placed in the center of one of the panels. The layout mode allow the designer to decide whether the beams should be centered within the area to be covered or whether the beams should be arrange in a grid around any existing light fixtures within the area. The comparison of the rows and the columns within the beams will allow the designer to decide the number of beams necessary to suit the size of the panels within the ceiling.
The purchase of the materials necessary to build the beams will require the calculation of the amount of waste and the amount of trim that will be necessary for the beams. The miters of the beams will require additional lengths of trim. Additionally, if any walls within the area are not formed as square corners, additional trim will be required for those walls.
The percentage of the total trim length will show the amount of waste that will be cut from the beams during the building process. Additionally, the number of pieces of lumber necessary for the beams will be show in the calculator. The program will calculate the total length of the trim necessary for the beams so that the designer does not run out of trim during the building of the beams.
If the beams will contain any light fixtures, these fixtures will have an impact upon the construction of the beams. For instance, if any of the beams will contain recessed lights or if there will be a light fixture in the center of the beams, the designer will have to account for the trim for those lights in the construction of the beams. The program will count the number of lengths of trim necessary for the light fixtures.
Additionally, reference tables will display the placement of the light fixtures within the panels created by the beams. The light fixtures should be contain within the panels so as not to interrupt the lines of sight of the beams. Finally, once all of the calculations have been made, a decision must be made regarding the dimensions of the beams.
A grid of beams may appear too busy within a small room or there may not be enough beams to cover a large area. The calculator can be used to test out various dimensions of the beams so that the beams will match the size of the room in which they will be install. Once the designer has determined the dimensions of the beams, the designer can select the various profiles of the beams and the crown molding that will be used in their construction.