Cladding Board Quantity Calculator
Estimate cladding boards from wall size, exposed board face, stock length, openings, layout direction, and waste allowance.
Cladding quantity result
| Exposed face | Coverage per 8 ft board | Coverage per 10 ft board | Coverage per 12 ft board |
|---|---|---|---|
| 3 in face | 2.00 sq ft | 2.50 sq ft | 3.00 sq ft |
| 4 in face | 2.67 sq ft | 3.33 sq ft | 4.00 sq ft |
| 5 in face | 3.33 sq ft | 4.17 sq ft | 5.00 sq ft |
| 6 in face | 4.00 sq ft | 5.00 sq ft | 6.00 sq ft |
| 8 in face | 5.33 sq ft | 6.67 sq ft | 8.00 sq ft |
| 10 in face | 6.67 sq ft | 8.33 sq ft | 10.00 sq ft |
| Layout system | Board direction | Typical reveal | Waste guidance |
|---|---|---|---|
| Horizontal lap siding | Boards run across wall width | Overlap, no added reveal | 8-12% for normal rectangles |
| Interior shiplap | Usually horizontal | Tight nickel gap or profile edge | 10-12% for end joints |
| Vertical cladding | Boards run up wall height | Profile dependent | 10-15% for top and bottom cuts |
| Board and batten | Base boards vertical, battens added | Batten spacing often 12-24 in | 12-18% including battens |
| Open slat screen | Usually vertical or horizontal slats | 0.25-0.75 in visible gap | 10-15% for alignment |
| Herringbone or diagonal | Angled short pieces | Pattern driven | 18-25% for miters |
| Wall condition | Opening deduction | Trim allowance | Takeoff note |
|---|---|---|---|
| One window | Deduct rough opening area | Add two sides plus head and sill | Keep extra short boards for returns |
| One door | Deduct door width x height | Add both jambs and head casing | Full boards often break at trim |
| Gable end | Use triangle area as a deduction or direct net area | Add rake trim along both slopes | Increase waste for angled cuts |
| Porch ceiling | Deduct lights or access panels only if large | Add perimeter starter | Check board lengths against joists |
| Room accent wall | Deduct large built-ins or fireplaces | Add edge trim when ends are visible | Use exposed face from sample board |
| Common project | Approx area | Typical face | Planning result |
|---|---|---|---|
| Bedroom shiplap feature wall | 120-150 sq ft | 5-6 in | 22-34 boards at 12 ft |
| Hallway half-wall cladding | 70-100 sq ft | 4-6 in | 14-24 boards at 10 ft |
| Garden room vertical exterior | 140-210 sq ft | 6-8 in | 26-42 boards at 12 ft |
| Porch ceiling tongue and groove | 160-220 sq ft | 3-5 in | 42-72 boards at 8 ft |
| Slatted TV backdrop | 70-90 sq ft | 1.5-3 in | 30-55 slats at 8 ft |
Wanting a clean moddern look, you begin to measure the feature wall. Calculate the square footage. Fall into the trap of buying based off only square footage. Then realize halfway up the second course you’re out of material!
Cladding isn’t just a function of surface area; it’s a linear-geometry problem of end joints, waste management, etc. Define your layout and let the calculator do the complex math. This helps you avoid mistake of thinking like you are working with drywall paper.
Why You Need More Material Than You Think
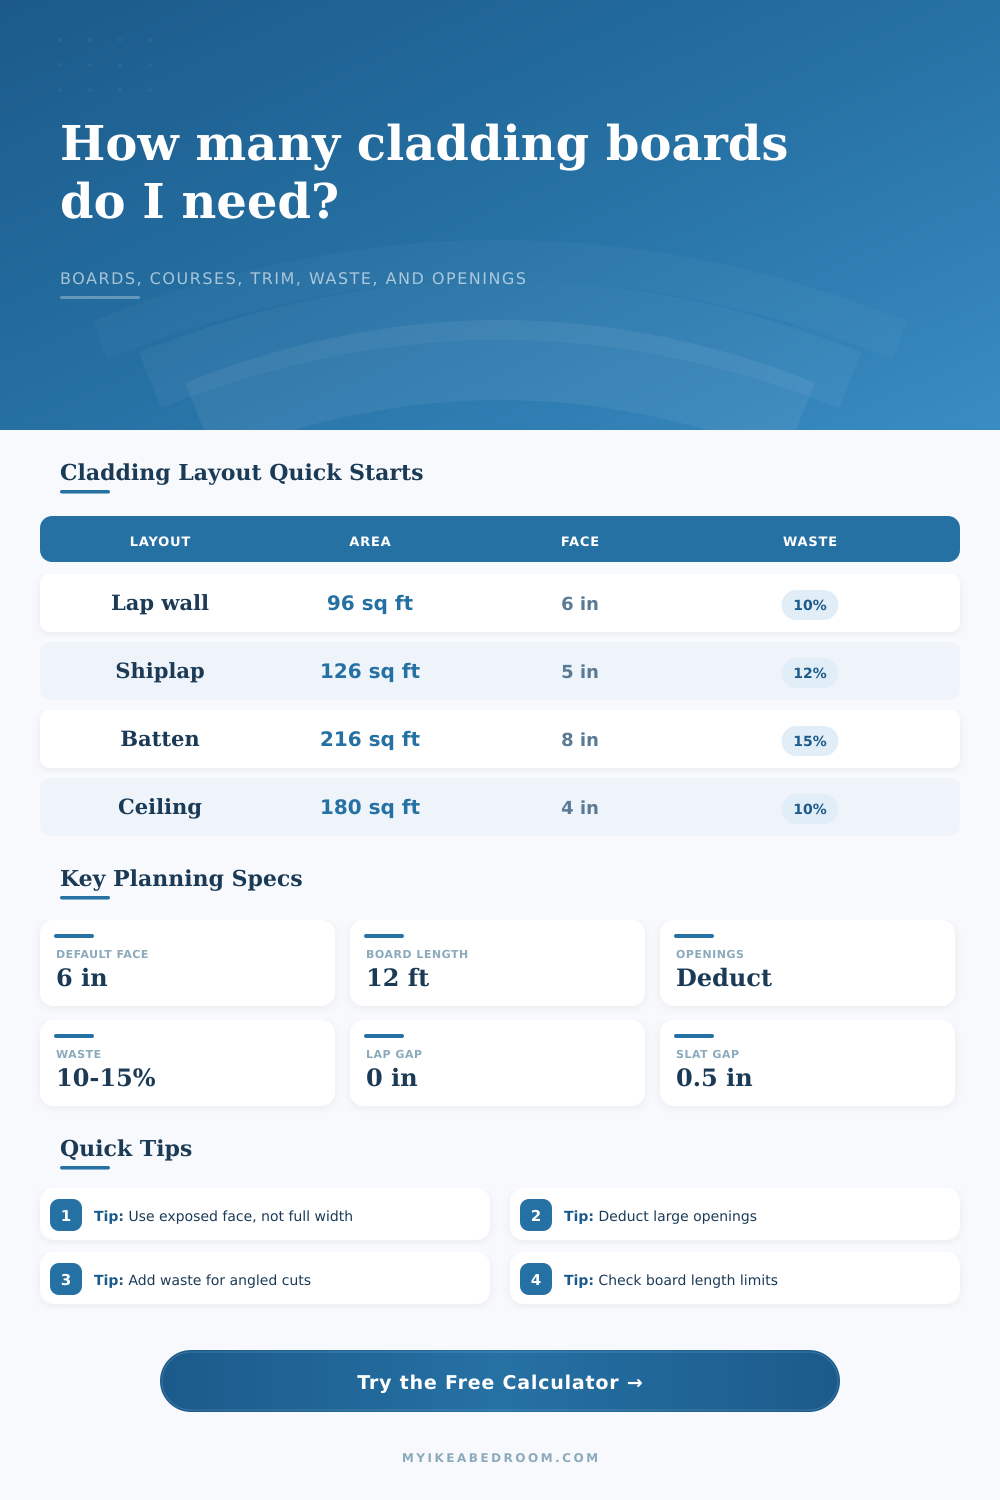
This is where people gets tripped up: they confuse nominal width with exposed face. For example, a typical 6″ wide shiplap board may be labeled as being 6″ in actual width. But once you factor in that overlap joint, you’re actually going to have maybe a five inch face left on your wall (the piece itself won’t cover six inches). If you input six inches into an off-the-shelf calculator, you’ll end up with fewer board than necessary. This is because you’re using the nominal width instead of effective coverage, which is what remains after the joint has been snapped together. That difference is why so many estimates is wrong. By asking how much of the board will be exposed, we can account for that in the tool. You’ll get a more accurate number based off what you see versus what’s listed on the retail packaging.
How does the waste change when you think about direction? For example, horizontal siding on a rectangular wall with same or greater stock length than your wall will have very few end cuts. Vertical means each individual board need to be cut to match the height of the wall, so no two sides is alike. If you have an eight foot wall and buy twelve foot boards, you are generating four feet of scrap per board unless you can stagger joints perfectly. So the calculator factors in this type of geometry. Herringbone or diagonal patterns further increase waste factor, as every piece has to be precisely angled (meaning hardly any usable leftover bits).
Another sneaky variable when taking off cladding is openings. Electrical outlets, doors, windows all eat into total surface area, but don’t always decrease your overall board count. You can’t just subtract the area covered by a window (for example) without considering the added trim and cuts you’ll have to make around it, so if there’s a window sitting somewhere on a course, you’re going to have to cut that board out anyway to accommodate it. When you take away the opening area, the tool also keeps a buffer for the added trouble these breaks cause.
Finally, pay attention to material type when using these calculations as your guide. If you’re building with PVC siding, it’s going to be straight and stable. This allows for more precise cuts and less waste than if you were working with natural woods like cedar or pine that is twisted, cupped, or inconsistent. The nature of natural materials demands a bit more give-and-take: You’ll inevitably end up culling boards that are too warped to run visibly, so err on the higher waste side of the estimators estimates, it’s better to have a few extra pieces of wood left over than to trek back to the hardware store in a torrential downpour. You should of planned for this.
A last bit of linear footage comes into play with trim and starter strips. Although they aren’t part of the total surface area, these pieces define the layout of your installation, so don’t skimp on them! And because it’s easy to forget about in a quick estimate, you might have to wait while you run back to the store to pick up that starter strip below the wall or casing around your windows. That’s why the calc keeps these linear items different than the board count, so you know exactly what’s going in the cart.
To conclude. The point I’m making is that when you plan for any sort of cladding job, it’s not just about multiplying the area. It’s about understanding how many courses you have. It’s about knowing how much cut waste there is per course. It also involves the joints. Getting an accurate idea of how much material will be exposed makes the whole thing manageable instead of a guessing game.
By following your layout’s shape, you can complete the wall confidently without leaving any gaps because you ran out of wood, only having leftover scraps that can be used again. And that careful attention to detail is why this looks like a pro job as opposed to another do-it-yourself lesson learned far too late. You should of known!