Ceiling Grid Calculator
Estimate suspended ceiling tiles, main runners, cross tees, wall angle, hanger wires, trim pieces, obstacle cutouts, and waste for a rectangular or approximated room grid.
Choose a common room layout, then fine tune tile module, runner direction, hanger spacing, cutouts, perimeter trim, and waste.
| Grid item | Common spacing | Count driver | Calculator treatment |
|---|---|---|---|
| Main runners | 4 ft apart | Room width across runners | Rows plus 12 ft stock pieces |
| 4 ft cross tees | 2 ft or 4 ft along runners | Cross tee spacing and runner gaps | Counted between runner rows |
| 2 ft cross tees | 2x2 grids inside 2x4 openings | Tile size and bay count | Added for 2x2 layouts |
| Wall angle | Full room perimeter | Perimeter plus cutout trim | Allowance applied before stick count |
| Tile size | Area per tile | Typical cross tee pattern | Useful for |
|---|---|---|---|
| 2 ft x 2 ft | 4 sq ft | 4 ft tees plus 2 ft tees | Basements, bedrooms, smaller rooms |
| 2 ft x 4 ft | 8 sq ft | 4 ft tees only in most bays | Offices, storage, long open rooms |
| Metric 600 x 600 | 0.36 sq m | 1200 mm and 600 mm tees | Metric 2x2-style planning |
| Metric 600 x 1200 | 0.72 sq m | 1200 mm tee spacing | Metric 2x4-style planning |
| Condition | Spacing input | When to adjust | Calculator note |
|---|---|---|---|
| Typical room | 4 ft | Standard light tile grid | Counts one point per row interval |
| Loaded grid area | 3 ft to 3.5 ft | Light fixtures or diffusers | Adds more hanger points |
| Small closet | 4 ft to 5 ft | Short runner spans | Minimum one point per row |
| Perimeter miters | 5% to 15% | Many jogs or cutouts | Wall angle allowance covers extras |
| Room type | Example size | Tile choice | Planning focus |
|---|---|---|---|
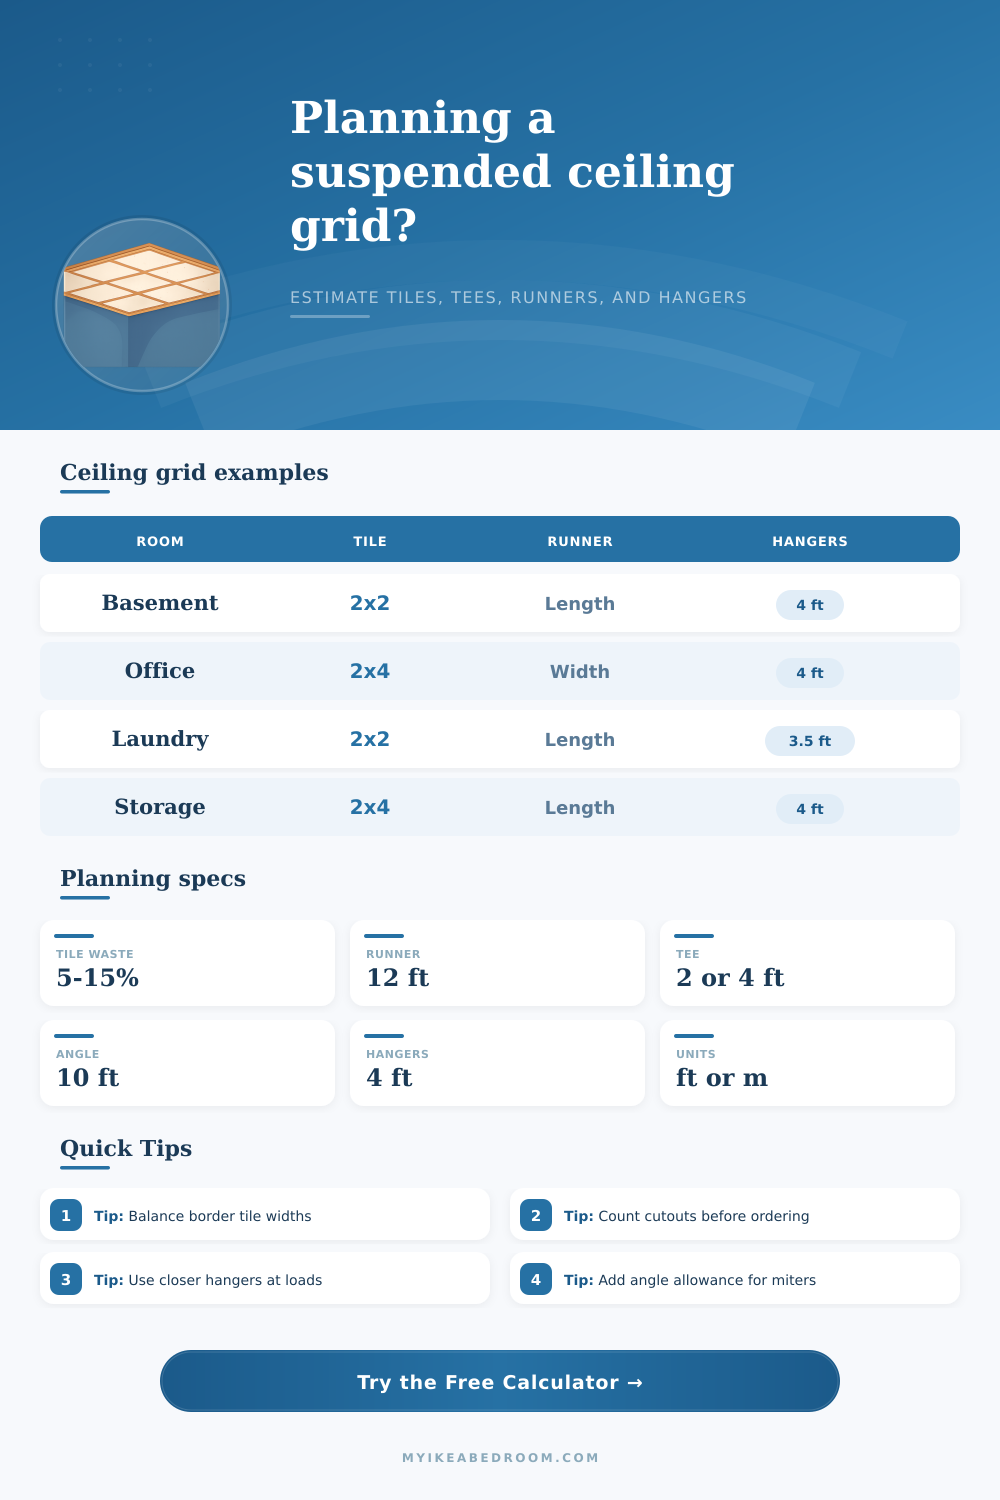
| Basement room | 24 ft x 16 ft | 2x2 panels | Balanced borders and many tees |
| Office suite | 30 ft x 20 ft | 2x4 panels | Fewer tiles and simpler tees |
| Laundry room | 10 ft x 8 ft | 2x2 panels | Cutouts for lights and vents |
| Workshop | 28 ft x 22 ft | 2x4 panels | More hangers around fixtures |
0 tiles
More panels, more 2 ft tees, flexible around small cutouts.
0 tiles
Fewer panels and fewer short tees for larger open rooms.
0 ft
Main runners follow the room length and rows cross the width.
0 ft
Main runners follow the room width and rows cross the length.
Balance the border before counting: The calculator estimates material from the total field, but a real layout should start from the centerline so opposite border tiles are similar widths.
Treat obstacles as material interruptions: Enter cutout area for removed tile surface, then enter extra trim around access panels, columns, soffits, light wells, or other framed openings.
Planning a suspended ceiling require that you determine the exact numbers of ceiling tiles and the exact number of metal piece that will be required to build the ceiling. The number of ceiling tiles and metal pieces will be dependent upon the shape of the room, the size of the ceiling tiles, the direction of the main runners, and the number of cutouts that may be required for lights or ducts in the ceiling. Each of these variables can be accounted for in the calculator to determine the number of each type of material that will be required.
A person can begin to plan the suspended ceiling by choosing the dimensions of the space to be covered in the ceiling and the size of the ceiling tiles that will be utilized. Ceiling tiles can be of the size of 2×2 tiles or 2×4 tiles. Each type of tile will cover the area with a different number of main runners and cross tees.
Plan a suspended ceiling and count tiles and metal parts
The calculator allow for a customer to change from 2×2 to 2×4 tiles and to see the impact upon the amount of each metal piece that will be required for the ceiling job. Another decision that must be made is the direction of the main runners for the ceiling. The main runners can be aligned with the length of the room or the width of the room.
Each of these alternatives will impact the number of main runners that will be required and the number of cross ties that will be needed to attach the main runners to the ceiling. Another decision that must be made is the amount of waste that will be created in the cutting of the metal pieces for the suspended ceiling. Because each cut will be made around a light or an vent, for instance, some of the metal will be wasted.
Thus, an allowance for waste must be made in the calculation for the amount of metal that will be required for the job. The same rule will apply to the calculation of the amount of wall angle that will be required for the installation. An allowance will also be made for the wall angle calculation to ensure that the supplier does not run out of that type of metal prior to completing the installation of the suspended ceiling.
Another parameter for the installation of the suspended ceiling is the spacing of the hanger wires. Standard spacing for hanger wires is four feet apart, but if the suspended ceiling will be supporting heavy fixture, the spacing between the wires may need to be less than four feet. By reducing the number of feet between the wires, the suspended ceiling will be less likely to sag over time.
Thus, the spacing between the wires will impact the number of hanger wires that are required for the job. The number of cutouts for lights will have an impact upon both the number of ceiling tiles that are required for the job and the amount of perimeter trim that will be required to frame the edges of the cutouts. For instance, a tile cutout for a column will remove two of the ceiling tiles, but will also add four new edges of trim that must be included in framing the ceiling.
The cutouts can be accounted for in the calculator, as can the amount of trim that will be required for the ceiling. The calculator will provide an output that includes the total number of ceiling tiles that will be required, the main runners, the cross tees, the amount of wall angle that will be required, and the number of hanger wires that are required to build the suspended ceiling. These categories allow for a person to compare two different layout plans for the ceiling to determine which plan will require fewer metal pieces to build the ceiling.
Many rooms are not perfect in their dimensions, especially in the case of rooms that have L-shapes or alcoves. Thus, the area of the largest rectangle in the room should first be calculated, and then the remainder of the area of the space can be calculated as a second calculation. This calculation method allows the border calculations to remain within reasonable limits for the room.
In addition to calculating the amount of each metal piece that will be required, the length of each piece of metal has a bearing upon the total number of each metal piece that will be ordered. For instance, main runners come in twelve foot lengths, wall angle comes in ten foot lengths, and cross ties come in two or four foot lengths. Thus, the metal supplier will divide the total linear footage of each metal by the length of the metal pieces that is sold by the metal supplier.
The number will then be rounded up to the nearest whole metal piece because rounding the number down may indicate a quantity of metal that is not enough to complete the job. Another aspect of planning a ceiling installation is the border balance. If the tiles are installed in one corner of the room, for instance, there may be a narrow strip of ceiling tile along one of the walls, while the opposite wall has a wide strip of ceiling tile.
These issues can be avoided by installing the ceiling tiles along the center lines of the room such that the amount of striping along each wall will be the same. The calculator will provide a note regarding the border of the ceiling to ensure that the layout plan will allow for even borders along the ceiling walls. Another aspect of planning the installation is to account for any obstacles in the ceiling.
You’ll measure the actual opening of the obstacle. An allowance will be made in the calculation for the framing that will be installed within the suspended ceiling grid. Such treatment of the framing within the ceiling is correct because the framing will require additional metal to be cut for the ceiling.
Additionally, the net area of the ceiling tiles will be reduced to account for the area that will be occupied by the framing. Finally, each of the scenarios for the installation of the ceiling can be compared to ensure that the layout will use the minimum amount of metal for the ceiling. There are variables within the calculation that allow for changes to the size of the ceiling tiles, the direction of the main runners, and the spacing between the hanger wires.
Each of these variables can impact the total amount of metal that will be required. Thus, each of these scenarios can be compared with the calculator to reveal scenarios with few metal pieces to build the suspended ceiling. The calculator will handle all of the mathematics necessary for planning the installation of the ceiling panels, allowing the contractors and builders to focus upon the physical layout that will be employed to build the ceiling panel.