Canvas Stretcher Bar Length Calculator
Estimate paired stretcher bars, finished cut lengths, wrap allowance, cross brace needs, miter or overlap allowance, and total linear bar length in inches or centimeters.
🖼Canvas presets
📏Canvas and bar inputs
Core formula: two width bars + two height bars + cross braces, then add miter or overlap allowance, canvas quantity, and planning buffer.
Stretcher bar result
🧮Cut list snapshot
📋Common canvas sizes
| Canvas preset | Finished size | Outside bar pairs | Typical brace note |
|---|---|---|---|
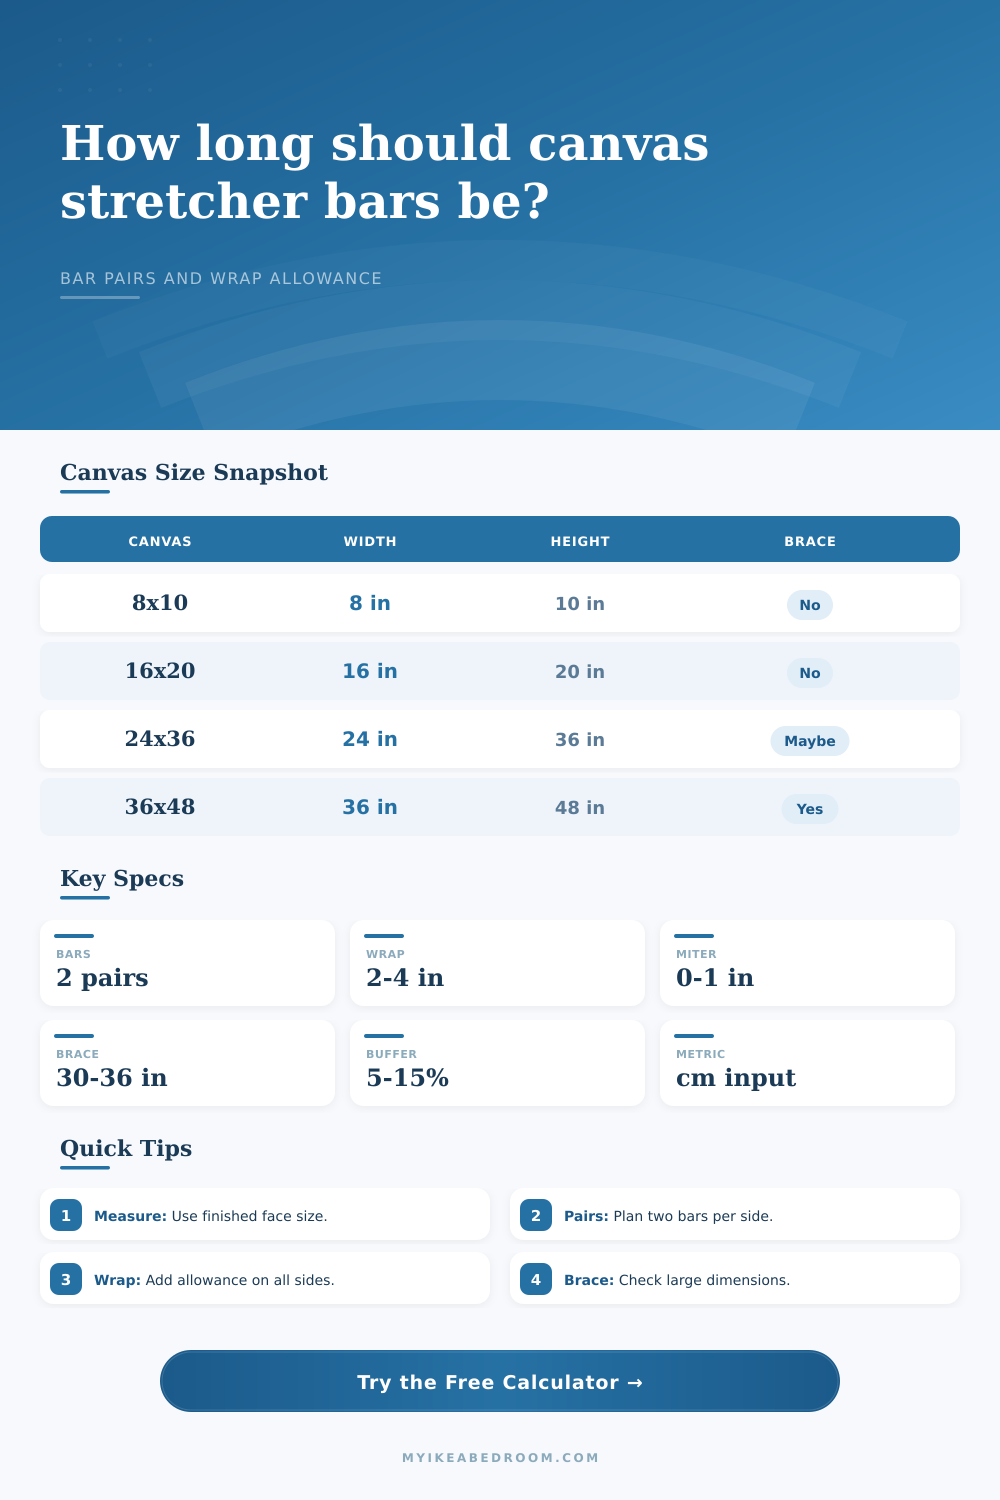
| Small study | 8 x 10 in / 20.3 x 25.4 cm | 2 width bars, 2 height bars | Usually no cross brace when rails are straight and snug. |
| Desk or shelf art | 11 x 14 in / 27.9 x 35.6 cm | 2 width bars, 2 height bars | Small enough for a simple rectangular frame set. |
| Bedroom wall art | 16 x 20 in / 40.6 x 50.8 cm | 2 width bars, 2 height bars | Brace is normally optional with stable bar stock. |
| Poster canvas | 18 x 24 in / 45.7 x 61.0 cm | 2 width bars, 2 height bars | Check rail stiffness if using very slim bars. |
| Gallery rectangle | 24 x 36 in / 61.0 x 91.4 cm | 2 width bars, 2 height bars | Often benefits from one brace across the longer span. |
| Statement canvas | 36 x 48 in / 91.4 x 121.9 cm | 2 width bars, 2 height bars | Plan cross bracing in both directions for a flatter frame. |
🛠Bar pair and brace formulas
| Line item | Formula | Uses these inputs | Shown in calculator |
|---|---|---|---|
| Width bar pair | 2 x (canvas width + 2 x end allowance) | Finished canvas width, miter or overlap allowance | Each width bar cut and outside bar pairs. |
| Height bar pair | 2 x (canvas height + 2 x end allowance) | Finished canvas height, miter or overlap allowance | Each height bar cut and outside bar pairs. |
| Vertical cross brace | inside height when width exceeds threshold | Width, height, rail face, brace threshold | Cross brace pieces and breakdown. |
| Horizontal cross brace | inside width when height exceeds threshold | Height, width, rail face, brace threshold | Cross brace pieces and total length. |
| Total linear length | (outside bars + braces) x quantity x buffer | All dimensions, canvas count, buffer percentage | Total linear bar length card. |
| Fabric cut size | canvas dimension + 2 x wrap allowance | Width, height, wrap allowance | Canvas fabric cut size card. |
📐Cross brace threshold guide
| Largest dimension | Metric equivalent | Common brace choice | Planning note |
|---|---|---|---|
| Under 24 in | Under 61 cm | No brace for many small canvases | Use straight bars and square corners before stretching fabric. |
| 24 to 30 in | 61 to 76 cm | Optional brace for slim profiles | Choose the 24 in threshold when rail stock is narrow or soft. |
| 30 to 36 in | 76 to 91 cm | One brace across the longer span | The calculator adds braces when a dimension exceeds the selected threshold. |
| 36 to 48 in | 91 to 122 cm | Bracing usually recommended | Large bedroom wall art can twist without a stabilizing member. |
| Over 48 in | Over 122 cm | Multiple braces or a grid | Use a lower threshold to force extra brace pieces into the cut list. |
✂Allowance reference
| Allowance type | Typical setting | Metric equivalent | How to use it |
|---|---|---|---|
| Pre-cut stretcher bars | 0 in per bar end | 0 cm | Use when the bought bar length already equals the finished canvas side. |
| Fine miter cleanup | 1/8 in per bar end | 0.32 cm | Adds a small trim margin for a saw kerf and final squaring pass. |
| Standard miter margin | 1/4 in per bar end | 0.64 cm | Useful when cutting your own rails and checking corners carefully. |
| Lap or overlap joint | 1/2 in per bar end | 1.27 cm | Use for joinery where one member overlaps or nests into the other. |
| Gallery wrap fabric | 3 to 4 in per side | 7.6 to 10.2 cm | Wrap allowance affects fabric cut size, not the outer bar pair length. |
📊Stock rail conversion table
| Stock rail length | Metric length | Best suited for | Cut planning note |
|---|---|---|---|
| 48 in rail | 121.9 cm | Small canvases and short brace pieces | Convenient for compact work areas, but offcuts add up on large frames. |
| 72 in rail | 182.9 cm | Medium wall canvases | Often handles 16 x 20, 18 x 24, and some 24 x 30 layouts cleanly. |
| 96 in rail | 243.8 cm | Common studio frame making | Good default for mixed canvas sizes and a balanced reserve length. |
| 120 in rail | 304.8 cm | Large gallery rectangles | Useful when long width bars should be cut from fewer continuous blanks. |
| 144 in rail | 365.8 cm | Oversized canvas work | Supports bigger cut lists, but needs careful storage and straightness checks. |
💡Stretcher planning tips
If you’ve ever picked up a frame only to discover it’s stable on the wall but wobbly in your grip, you’ll know what I mean. In most cases, the problem isn’t the fabric canvas; it’s the wooden structure that backing the picture. Creating a stretcher bar frame by hand can appear straightforward, till you remember that each brace, joint and cut needs to takes into consideration the tension you’re applying. Four identical-length sticks aren’t going to do the job. As soon as you pull the fabric taut the geometry shifts.
It’s nice to have the calculator do all that math for us (no more guesswork about how many boards to buy). But it’s equally useful to know what all that means. Novices often gets confused by the difference between the finished canvas dimension (the outside of the art) and the raw materials needed. Entering the width and height means you’re talking about the finished piece. It will calculate the allowances required for corners. If you’re making miters, there is an additional amount to add at either end of each bar so that they fits together properly. This extra length is needed to cover the cut itself [kerf] and other side of the angle. With pre-cut bars this allowance becomes zero. That makes a big difference in terms of what materials you order.
How to Measure Wood for Your Frame
And then there’s the wrap. How much of your fabric will be wrapped around sides of the bar? How much fabric do you need to cut? That doesn’t affect length of the wooden bars at all. Only how big should I cut my canvas fabric? At home studios a typical wrap size is 2″. For gallery wrapped art, it might be 3-4″ in order to keep some depth. The calculator keeps these options separate. One box says how long your wood piece will be (the perimeter). And the other says how big you should of cut your fabric (subtracting waste). Keep this in mind. The wrap is the waste. The wood frame itself create the perimeter.
As frames get larger, gravity and tension start to fight each other more. Stiffness by itself keeps an eight-by-ten inch frame straight. The study sketch doesn’t require interior supports. Beyond thirty inches in either dimension, however, the bars will begin to bow under the pull of the canvas. Cross braces prevents this. Setting a threshold tells you how many braces you’ll need to reach your goal. Lighter-weight pine requires you to lower that threshold so you can add some more support; heavier-duty, kiln-dried fir or pine gives you more wiggle room to work with fewer braces. It’s a balancing act of structural strength versus material cost.
When the frame warps, it pull the canvas taut in unequal amounts, causing ripples that won’t be eliminated no matter how much you stretch it. Another thing: Wood flexes with humidity. That’s another reason for the planning buffer. Never ever cut your stock rails to the actual minimum, theoretical length. Humidity changes seasons; wood will too. A tight joint in a dry studio may crack open in the humid summer months. Include an extra ten or fifteen percent as a total linear length buffer. This accounts for seasonal shifts, mistakes you’ll make cutting things up for the first time, and any defects in your lumber. Better to end up with some scrap wood for test joints than to find yourself a bit short half way through the project.
How does that translate into stock lengths vs final cut? The reference table on the page shows that. For big frames you want to buy longer rails which reduce waste, whereas small studies does fine with shorter rails.
Last, consider how you’ll do it: Cut the outside bars as pairs to ensure symmetry. Do this symmetrically. Check the diagonals before you glue or nail the corners. Run your fingers over the diagonal lines first. If they’re off, even slightly the picture will look distorted once the canvas is mounted. It will look distorted. Your eyes have to deal with the geometry; the tool does the arithmetic. Get the dimensions correct and then, poof! (the frame vanishes). You’re left with nothing but the image, hanging cleanly in space, free from any distracting buckled or crooked edge.