Cabinet Crown Molding Length Calculator
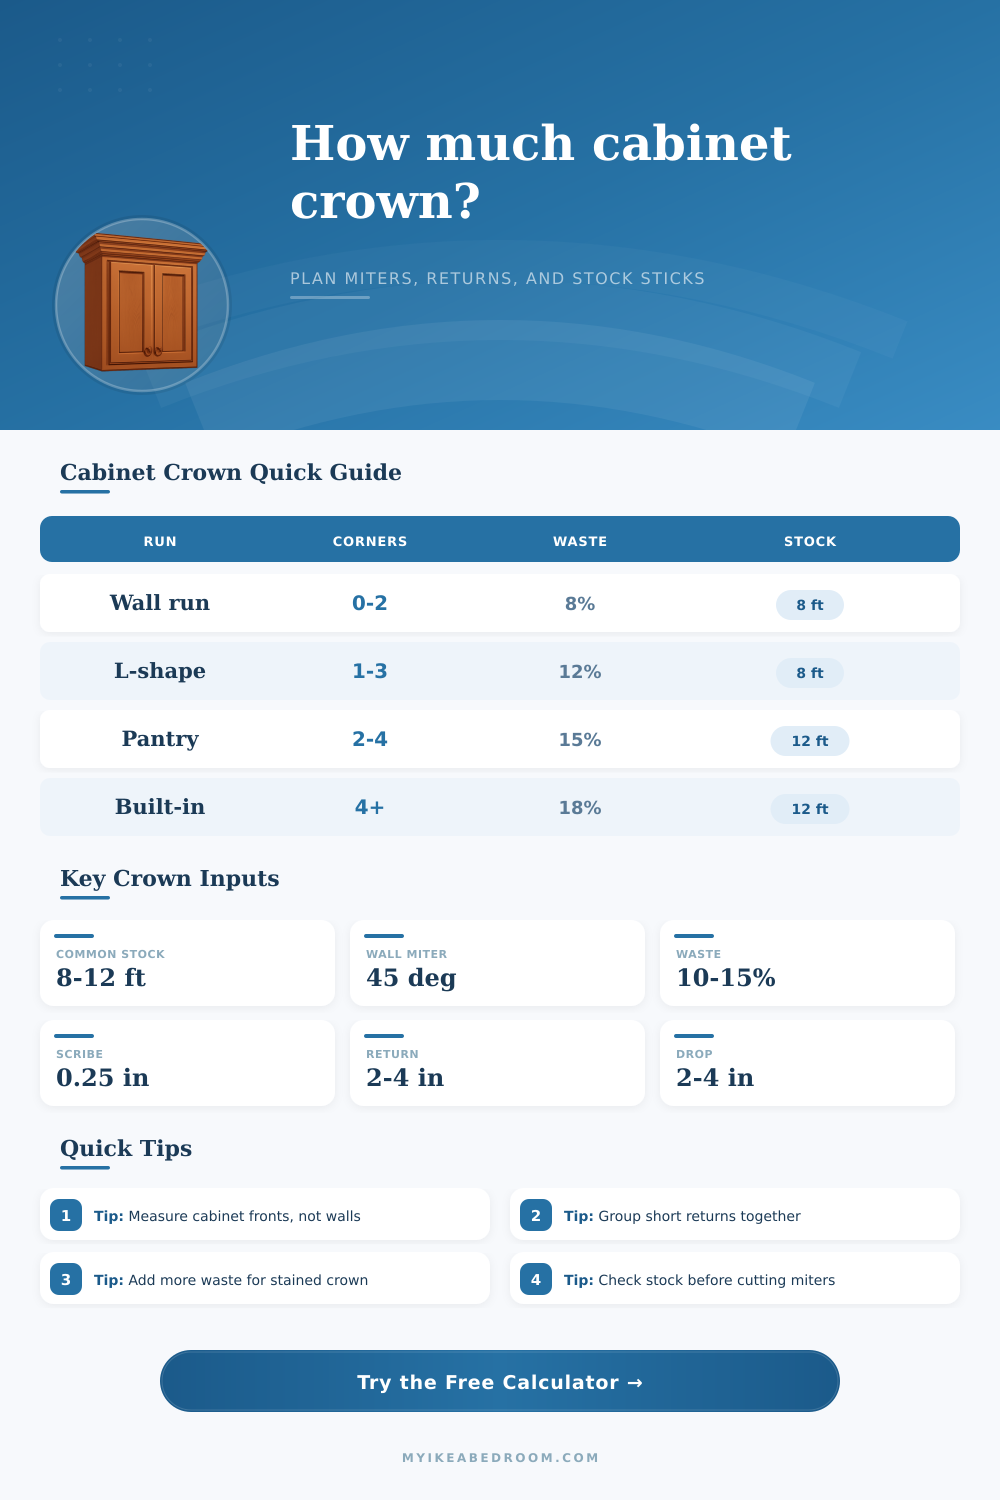
Estimate cabinet crown molding from actual cabinet run lengths, inside and outside corners, miter angle, return pieces, stock length, reveal, scribe allowance, and waste.
Choose a starting layout, then adjust every run, corner, return, and allowance to match the cabinet plan before cutting stock.
| Corner type | Count as | Allowance driver | Typical planning add | Layout note |
|---|---|---|---|---|
| Inside cabinet corner | Two miter cuts | Coping, scribe, and saw trim | Reveal based allowance plus fine trim | Dry-fit before cutting the second long run. |
| Outside cabinet corner | Two exposed miter cuts | Visible point and profile alignment | Higher handling allowance | Best cut from adjacent pieces when grain matters. |
| End return | One short return piece | Projection, miter, and scribe | Return length times piece count | Group returns from offcuts when possible. |
| Butt or scarf seam | One straight splice | Stock length limits | Fine trim at both ends | Place seams away from focal cabinet faces. |
| Stock length | Best fit | Watch point | Efficiency target | Example use |
|---|---|---|---|---|
| 72 in stock | Short uppers and laundry rooms | More seams on long runs | 75% to 88% | Small cabinet groups and closets. |
| 96 in stock | Most wall cabinets | Plan long runs before cutting returns | 80% to 92% | SEKTION and mixed kitchen uppers. |
| 120 in stock | Pantry banks and built-ins | Transport and straightness | 82% to 94% | Tall cabinet walls and wardrobes. |
| 144 in stock | Long bookcase or media runs | Harder to handle alone | 85% to 95% | Few seams across continuous crown. |
| Layout | Run range | Corner pattern | Return pattern | Waste starting point |
|---|---|---|---|---|
| SEKTION wall run | 96 to 168 in | Usually none | Two end returns | 8% to 12% |
| L-shape kitchen | 160 to 300 in | One inside corner | Two exposed ends | 12% to 15% |
| Pantry bank | 72 to 180 in | Outside wraps | Side returns common | 12% to 18% |
| PAX wardrobe crown | 80 to 240 in | Simple outside ends | Two to four returns | 10% to 14% |
| Built-in bookcase | 120 to 360 in | Inside alcove corners | Often no returns | 12% to 18% |
| Profile size | Typical reveal or drop | Scribe allowance | Miter sensitivity | Best use |
|---|---|---|---|---|
| Small cabinet crown | 1.5 to 2.5 in | 0.125 to 0.25 in | Lower | Short uppers, laundry, and wardrobes. |
| Standard crown | 2.5 to 3.5 in | 0.25 to 0.375 in | Medium | Kitchen wall cabinets and pantry banks. |
| Large stacked crown | 3.5 to 5 in | 0.375 to 0.5 in | Higher | Built-ins, bookcases, and tall ceiling rooms. |
| Flexible or poly crown | 2 to 4 in | 0.25 in | Medium | Lightweight installs and uneven walls. |
Primed MDF
Paint-ready. Stable, smooth, and common for cabinet crown.
Plan moderate waste for fragile sharp profiles.
Primed pine
Easy to nail. Good for shorter runs and simple returns.
Check straightness before assigning long pieces.
Poplar
Clean paint grade. Stronger edges help detailed miters.
Useful when outside corners need crisp points.
Stain grade
Grain matching matters. Layout order is more important.
Add waste for color, grain, and visible seams.
Assign long runs before returns. Cut full cabinet runs from the straightest stock first, then use predictable offcuts for short end returns and small scribe pieces.
Track the miter direction. Label inside and outside corners on the plan before cutting, because a reversed crown miter can consume a full stick faster than ordinary waste.
It is a particular kind of panic that hits you standing at your miter saw holding an armful of pricey crown molding, not sure how much you need, whether it’ll all even go on straight, or what the hell you are going to do about those corner. You measure the wall, run out to get what’s in stock, only to remember that you neglected to account for any irregularities in drywall. Before long, you’re back at hardware store on a Saturday night, after hours, trying to save the day (and your weekend sanity).
Cutting goes hand-in-hand with planning. Knowing ahead of time which lengths you need help save time, money, and sanity. This isn’t difficult math; just tedious math. You have straight runs and reducing miter cuts. You also has the tiny end caps to fit into small returns against wall. Then, there is scribe allowance for when your wall isn’t completely straight.
How to Plan Your Crown Molding Cuts
Once you describe your layout, the math gets done by calculator; it accounts for your cabinet run lengths plus a little extra for waste/fitting. It doesn’t even ask what size your room is; it asks how many linear feet of cabinetry you have. And a two foot void between wall stud and an upper cabinet doesn’t count if you don’t plan on wrapping that void in some kind of molding as well. Crown of cabinetry follows the furniture.
Most estimates ignores waste. People tend to purchase just enough to get the job done, without realizing that there’s going to be an inch or two of trim error and sawdust after each miter cut. If you’re using stain grade wood, you also has to account for sorting by grain direction (making waste a planning problem instead of simply a percentage). Grain should runs left to right over your kitchen island… no, you can’t just grab whatever stick is on the rack. With primed MDF, orientation doesn’t matter since all pieces will look the same. But there’s still got to be wiggle room for screw-ups!
This factor adjust how much waste you allow based off how confident you are with materials. Stock length also affects how you approach things. A short run over a small pantry bank or up a sink is no big deal with standard eight foot sticks. But when you have long walls of built ins, you will notice seams appearing in the middle of your view. How you place seams becomes an art form. You want to hide them where they are least noticed, such as behind doors or near inside corners. To minimize seam counts, try using longer twelve-foot sticks. They do come with their own set of handling headaches however.
These are the little bits that finish from the wall to the end of the cabinet. These don’t look like much until you’ve got four or five laying around amongst all your offcuts that just won’t go anywhere. If you group those short cuts, it’s a form of smart material management because you’ll make your long straight run cuts first so that your stock stays as straight and square as possible. From there, you fill in with leftover lengths for the scribe pieces and returns. This will increase layout efficiency, meaning how much actual molding actualy gets onto your cabinets and into the trashcan.
Reality includes bowed walls, sloped floors, and creaky cabinets that can’t be completely tamed. If you allow a quarter-inch at each end of the molding, then as you trim away excess you’ll have some wiggle room to get a tight fit against whatever crookedness you’re up against. That’s a tiny amount that will mean the difference between no gap (or one so narrow you could drive a dime into) different than a gap big enough to slide a dime into. Because where there’s a gap, there was once a precise cut, trying to force those precise cuts on crooked geometry just makes them look sloppy.
You’re not trying to walk on eggshells. You don’t want to be paranoid, but precise. Respect the material, plan your cuts, and account for the inevitable loss. Stop guessing and start building, and suddenly you know how it all adds up and the panic goes away. Knowing precisely what you’ve got in front of you before you make that first cut gives you the confidence to make each piece fit right into its place.
You should of known this sooner.