Fixture bulb planning tool
Bulb Quantity for Fixture Calculator
Estimate total lumens needed, bulbs per fixture, total bulbs, achieved lux, fixture spacing, and dimming range from room area, lighting target, fixture count, shade loss, ceiling height, beam spread, and task-to-ambient split.
| Room or task | Typical target | Best split | Planning note |
|---|---|---|---|
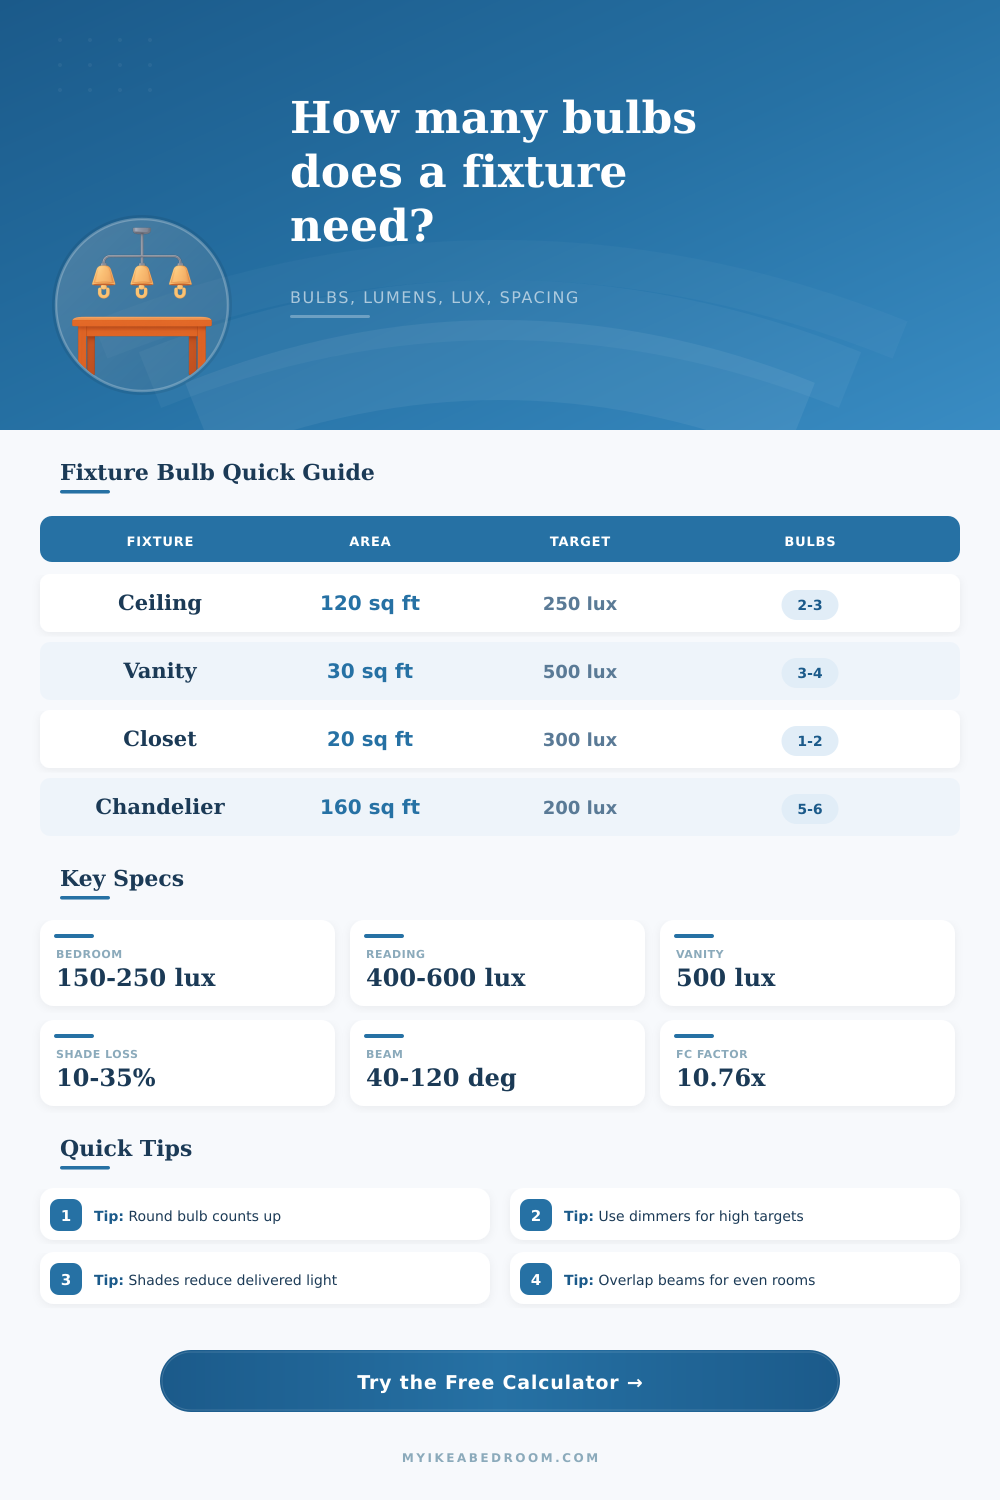
| Bedroom ambient ceiling fixture | 150 to 250 lux / 14 to 23 fc | 10% to 25% task | Soft general light with a dimmer usually feels comfortable. |
| Reading nook or bedside sconce | 400 to 600 lux / 37 to 56 fc | 65% to 85% task | Keep the source shielded and close to the chair or bed. |
| Vanity mirror bar | 450 to 600 lux / 42 to 56 fc | 70% to 90% task | Use diffused bulbs to keep face lighting even. |
| Closet or wardrobe fixture | 250 to 400 lux / 23 to 37 fc | 20% to 40% task | Dark shelves and dense clothing often need extra bulbs. |
| Dining chandelier | 150 to 250 lux / 14 to 23 fc | 20% to 40% task | Use lower-output bulbs when many sockets sit near eye level. |
| Fixture type | Calculator factor | Typical shade loss | What it means |
|---|---|---|---|
| Flush or semi-flush ceiling | 1.00x | 5% to 20% | Broad room lighting with moderate losses. |
| Fabric shade fixture | 0.92x | 20% to 45% | Softens glare but lowers delivered lumens. |
| Vanity bar or mirror light | 1.04x | 10% to 25% | Efficient because light is aimed at the task plane. |
| Chandelier or multi-arm fixture | 0.82x | 25% to 50% | Decorative shades and upward lamps need more output. |
| Track or multi-head fixture | 1.08x | 5% to 15% | Aimed heads deliver more usable light to selected zones. |
| Beam spread | Common fixture | Spacing cue | Use case |
|---|---|---|---|
| 25 to 40 deg | Narrow pendant or spotlight | Overlap beams carefully | Desk, art, or reading target rather than a whole room. |
| 50 to 70 deg | Medium pendant or shaded lamp | Spacing around 0.7x beam diameter | Small rooms and defined task zones. |
| 80 to 110 deg | Ceiling dome or wide LED bulb | Spacing near room grid estimate | General ambient bedroom and closet lighting. |
| 120 to 150 deg | Globe, bare bulb, or diffuser | Watch glare at low heights | Soft fill, chandeliers, and wide multi-socket fixtures. |
| Preset scenario | Starting area | Fixture count | Typical bulb plan |
|---|---|---|---|
| Bedroom ceiling fixture | 120 sq ft / 11.1 sq m | 1 fixture | Two or three 800 lm bulbs behind a diffuser. |
| Vanity bar | 30 sq ft / 2.8 sq m | 1 fixture | Three or four softer bulbs across the mirror width. |
| Desk pendant | 18 sq ft / 1.7 sq m | 1 fixture | One high-quality bulb, shaded and dimmable. |
| Walk-in wardrobe | 70 sq ft / 6.5 sq m | 2 fixtures | Two pairs of moderate-output bulbs for fewer shadows. |
The problem isn’t typically about taste; it’s about math. This means math, specificly light output versus physical obstruction. What looks like a bright fixture in a showroom look bright because the bulbs are exposed. Crystal arms, fabric shades, and ceiling height diminish brightness of what we see in our homes. So you choose a beautiful chandelier, hang it with pride and then flip the switch to discover that your table remain dark. You picked the right style but you didn’t get math.
This is not just practical, but it’s also about planning. It’s about estimating: How many bulb does this fixture hold? How many usable lumens are produced per bulb to reach work surface or floor? Use the calculator above; input the room size and desired brightness values, and it will do all the rest. It adjusts for ceiling heights and any light lost there. It also accounts for shade loss factors. Finally, it consider if you are focusing light on tasks or want general ambient lighting.
The Math Behind Choosing Light Fixtures
These is things most of us never think about. Learn what goes into this, and then go shopping differently: no more purchasing a fixture based off purely on appearance. Think of lamps as optical instruments that require specific fuel.
There’s also a big part for shades. A soft-looking linen drum shade will absorb as much as thirty percent of the light produced by its enclosed bulb. That’s not an estimate; that’s physics. Using expensive bulbs covered in heavy fabric may requires twice as many sockets as you’d planned if you’re aiming for two-hundred lux on your dining room table. To make up for this, the tool factors in what I call the loss factor (which is dependent upon the type of fixture). Does your fixture sit flush against the ceiling? It loses nothing. Is it some sort of elaborate chandelier? It’s gonna lose you a lot. Knowing this could of save you from making the mistake of under-lighting your fancy fixtures. Why are you paying money to wrestle with material between you and bulb?
The second consideration is ceiling height: The higher the ceiling, the greater its dilution effect, scattering the light over more and more area until it reaches whatever surface you intend for it to light. A ten-foot ceiling require more raw lumens than an eight-foot one to create same perceived brightness because a lot of those lumens are spread out long before they reach their target. When most people buy a light, they assume that’s the only variable: square footage. They’re wrong. Tall ceilings requires more watts (or more lumens) than short ones. Photons spreads out over larger areas, so fewer of them hit the target spot.
The calculator takes all of this into account automatically, you don’t have to imagine what inverse square law looks like or try to picture conical beams. You just learn that your vaulted ceiling require more oomph than your typical flat ceiling.
You can also think about this as task lighting. How useful is soft ambient glow when you’re applying makeup? Nothing beats bright, focused light shining on the plane of the face. That’s why a vanity bar works; you want your light shining directly onto the task, not diffusing out across the room. At what point do you start thinking about lumens per bulb? Where do you compromise for more shade loss? When you apply makeup, the difference between “professional” and “muddy” starts during the planning phase. Get these layers separated now to avoid needing to add accent lamp down the road.
Beam spread dictates spacing. If lights are too far apart, narrow beams produce separate pools of light with dark areas in between. Conversely, wide beams spreads into one another for evenly lit spaces while potentially causing glare when positioned too closely to eye level. Consider what you’re attempting to illuminate and select your beam angle accordingly. For instance, a tight beam focuses well onto a reading nook. Meanwhile, a broad wash illuminates a bedroom ceiling. When the beam matches the fixture’s purpose, it will be efficient; you’ll recieve more value per unit of light when the light hits intended spot.
Control is the name of the game when it comes to light. It is harsh, clinical, and too much. It is unsafe, neglected, and too little. The sweet spot is part math and part looks. Begin with the mood desired. Subtract for materials lost. Add for any height issues. Round up on bulbs for dimming flexibility.
Dimmers are the great equalizer of residential lighting design. They let you dial down an otherwise slightly overpowered setup to a cozy environment. Always better to plan for excess capacity rather than wish for more output once installed. Visibility isn’t just the goal. It’s comfort, wrapped in enough clarity to see what matters.