Seat, backrest, and outdoor bench layout planner
Bench Slat Spacing Calculator
Calculate how many slats fit across a bench span, the actual gap after rounding to whole slats, open-area percentage, board coverage, fastener count, and expansion allowance for indoor and outdoor bench builds.
Use the result as a layout starting point. Confirm with real spacers before drilling because actual board widths can vary after sanding, finishing, or moisture change.
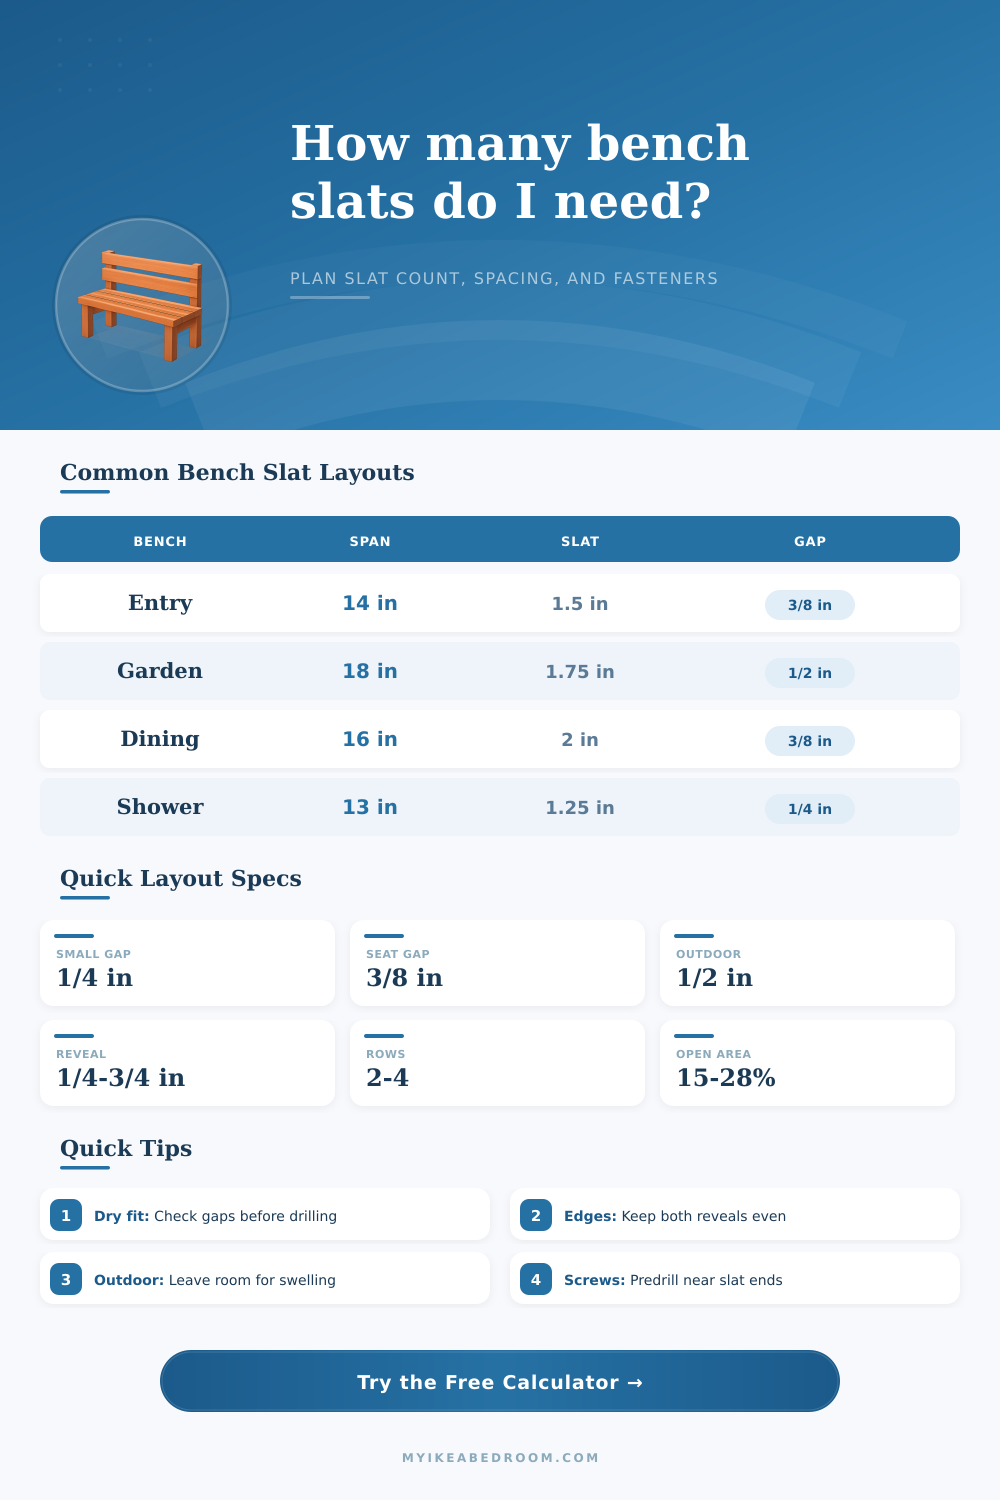
| Bench use | Comfortable gap | Open-area feel | Layout note |
|---|---|---|---|
| Mudroom or entry bench | 1/4 to 3/8 in | Low to medium | Keeps small objects from dropping through the seat. |
| Outdoor garden bench | 3/8 to 5/8 in | Medium | Leaves drainage and swelling space for rain-exposed slats. |
| Shower or spa bench | 1/4 to 1/2 in | Medium | Use stable material and avoid narrow hard-to-clean slots. |
| Backrest panel | 1/2 to 1 in | High | Airier spacing is comfortable when the slats are not bearing weight. |
| Dining bench seat | 1/4 to 3/8 in | Low | Closer gaps feel smoother under cushions and clothing. |
| Slat width | Common stock | Typical gap | Best use |
|---|---|---|---|
| 1 to 1.25 in | Ripped strips or narrow battens | 1/4 to 3/8 in | Shower stools, sauna tops, small benches. |
| 1.5 in | Nominal 1x2 face width | 3/8 to 1/2 in | Mudroom, storage, and entry benches. |
| 1.75 to 2 in | Decking or ripped 1x3 | 3/8 to 5/8 in | Garden benches and patio seating. |
| 2.5 to 3.5 in | Wide boards or deck planks | 1/2 to 3/4 in | Chunkier outdoor seats with fewer slats. |
| Fastener rows | Bench length | Fasteners per slat | When to use |
|---|---|---|---|
| 2 rows | Up to 36 in | 4 | Small stools or short bench seats with end support. |
| 3 rows | 36 to 60 in | 6 | Most entry, mudroom, and garden benches. |
| 4 rows | 60 to 84 in | 8 | Long dining benches or slats crossing a center support. |
| 5 rows | 84 in plus | 10 | Very long benches with several intermediate rails. |
| Expansion setting | Use it for | Typical value | What it protects |
|---|---|---|---|
| Tight indoor | Painted pine, oak, or composite indoors | 0 to 1/32 in | Cleaner reveal with minimal seasonal swelling. |
| Normal wood | Most indoor benches and covered patios | 1/32 to 1/16 in | Minor moisture change without crowding gaps. |
| Wet outdoor | Garden, shower, or balcony benches | 1/16 to 1/8 in | Drainage, swelling, and finish buildup between slats. |
| Heat exposed | Sauna, sunroom, or metal slats | 1/16 in plus | Thermal movement and easier cleaning. |
After all that planning, there’s nothing left but standing in front of a pile of cedar boards feeling good about the bench you’re designing. You’ve got the frame squared up, and the legs is level. But now you notice that if you use seven slats spaced out by a quarter inch, it’ll fit the seat depth… but if you use eight, they’ll be tighter together and just look better. One board can make or break the whole thing. Not only does it change visual weight, but it affects size of the board purchase and whether your shoes will sink through when you sit down.
Why do most DIY projects go off track? Because people plan by guessing instead of doing math. On paper, the math behind slat spacing seems simple enough; but until you’ve built it before, this is one of those traps that can catch you off guard. Once you plug in what kind of material you want to use and the size of your frame, the calculator above do the math for you. You won’t have to guess about looks or structural strength anymore.
Stop Guessing: Use Math for Your DIY Bench
Edge reveals are probably the most overlooked part of building a seat. Many people think their seat will be fourteen inches deep, so they cram as many slats onto that fourteen inch depth as possible. Normally, you’d prefer there to be a half-inch reveal on both sides (meaning the slats don’t butt up directly against the frame rails). Not only does this help keep water from wicking back into the structure, but it also provide a clean line for your eyes to follow. By allowing for these reveals, the tool reduces your available space to match. That way, the end result appears purposeful, instead of forced. Again, it’s something small, but makes all the difference in the perceived quality of your work.
Once the bench comes out of the shop, how the material behaves make a difference. Humidity and temperature changes cause wood to move. It expands across the width of the grain in humid weather and contracts when it is dry. Cedar is especially prone to this. Even pine installed indoors will move, but only a little and predictably. Cedar installed outdoors (say, on an exposed deck) will experience noticeable swelling in spring rains. Don’t leave too little space between your slats, of course, or you won’t have good drainage. But leaving some room also matters so that the wood can breathe without cracking or buckling. The layout planner’s “material selection” option accounts for this behavior. Based off species information, it recommends suitable expansion allowances. So if the bench begins to look warped by next winter, you’ll avoid the annoying moment when the object of your pride and joy becomes something less than that.
And while you’re at it, think about the number and pattern of the fasteners. More support points is needed for long slats that might bend from a heavy load, as opposed to shorter ones. Support patterns vary with size: a little entry stool doesn’t need as many screws as a four-foot dining bench. Also, don’t use too few or the slats won’t be secure, but don’t use too many either or you’ll split the ends of the boards by driving them in too far. The output gives you a total fastener count according to your selected row layout. That’s right: no buying more screws then necessary for the project; a pain-in-the-butt nuisance if you run out mid-installation. Planning avoids all that like a bullet.
Inconsistent gaps often result in visual imbalance Eyes are quick to detect any irregularity in the spaces, more so than any other imperfection in woodwork. Alternating between tight and loose gaps comes across as slapdash. Even if the measurements are technically close to target, eyes still see inconsistency. Plan outwards from the middle and you’ll end up dividing an excess amount of space equally between both edges. That’s how hand-made projects appear professionally made, which looks symmetrical. You have to measure twice and mark once. The added effort pays off in appearance every time.
Because we control how much moisture comes into contact, narrow spacing works fine for indoor benches. For outdoor furniture, wide spacing will let water flow out quickly. You don’t want it standing around on top of the seat. Shower benches are a bit of an in-between scenario. You need something sturdy that won’t rot (like teak wood or treated wood like thermowood) but don’t need huge spaces for draining. So the tables included as part of the tool give you some fast comparisons of shower benches to indoor and outdoor furniture, which can help you pick what looks best but is also strong enough to hold up day-to-day use.
Too small of a space for your climate means early decay. Too big might make a bench that feels flimsy and uncomfartable. You are looking for a seat that appears balanced from all angles and feels solid underfoot. You want the slats to be noticed, but not draw too much attention. The right amount of space between them does this by giving a consistent texture that complements the rest of design. The texture does not take away from the design. Rather it transforms raw wood into a piece of furnitures. Both environment and proportion are carefully considered. And when you’re done with the last bit of sanding on those edges, the evenness of the spaces will show how much thought went into its creation. That attention to detail is what makes the difference between a quick fix and an enduring addition to your garden (or home).
You should of checked everything before starting!