Air Compressor Tank Size Calculator
Estimate receiver tank gallons, delivered CFM, pressure reserve, duty-cycle load, run time, recovery time, simultaneous tool demand, and leakage buffer for air-tool planning.
Choose a preset close to the job, then tune the CFM, PSI, duty cycle, tank gallons, and leakage buffer to match the compressor nameplate and tool rating.
Air tank sizing results
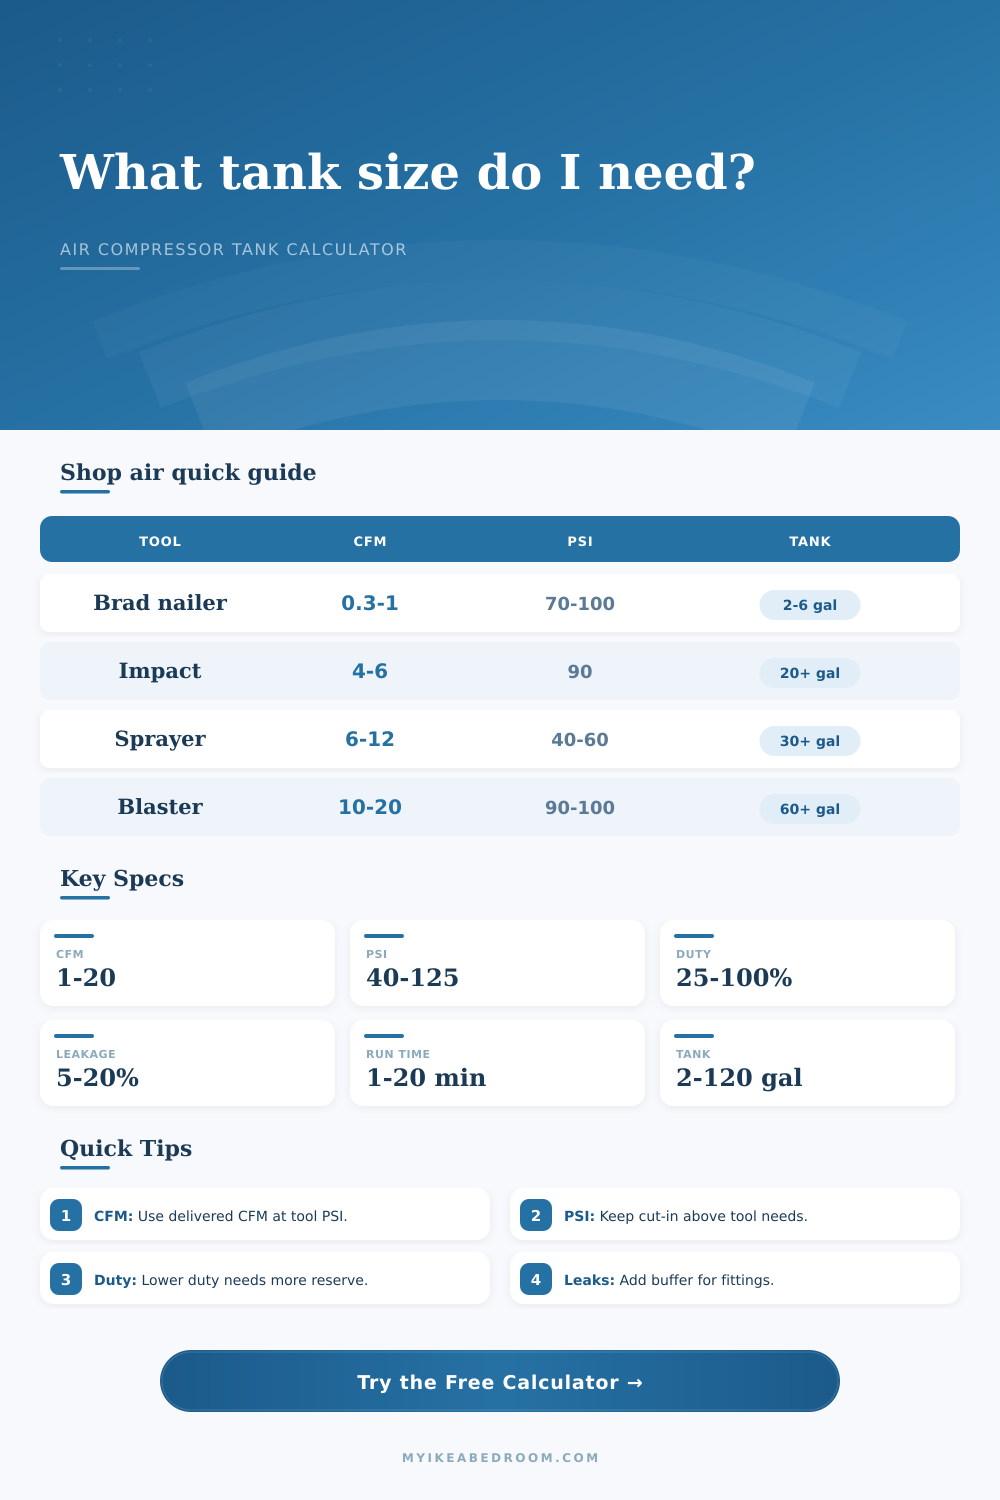
| Tool or task | Typical CFM | Typical PSI | Tank planning note |
|---|---|---|---|
| Brad nailer or pin nailer | 0.3-1.0 CFM | 70-100 PSI | Small tank works for burst cycles |
| Finish nailer pair | 1.5-3.0 CFM | 80-100 PSI | Add count and trigger overlap |
| Tire inflation | 2-4 CFM | 90-120 PSI | Tank helps between fill checks |
| Impact wrench | 4-6 CFM | 90 PSI | Needs reserve for repeated bursts |
| Air ratchet | 4-5 CFM | 90 PSI | Watch sustained trigger time |
| Die grinder | 5-8 CFM | 90 PSI | Compressor CFM matters most |
| Paint sprayer | 6-12 CFM | 40-60 PSI | Continuous draw needs large reserve |
| Small sandblaster | 10-20 CFM | 90-100 PSI | Usually compressor-limited |
| Receiver tank | 30 PSI band | 40 PSI band | 50 PSI band |
|---|---|---|---|
| 6 gal / 23 L | 1.6 cu ft | 2.2 cu ft | 2.7 cu ft |
| 20 gal / 76 L | 5.5 cu ft | 7.3 cu ft | 9.1 cu ft |
| 30 gal / 114 L | 8.2 cu ft | 10.9 cu ft | 13.6 cu ft |
| 60 gal / 227 L | 16.4 cu ft | 21.8 cu ft | 27.3 cu ft |
| 80 gal / 303 L | 21.8 cu ft | 29.1 cu ft | 36.4 cu ft |
| Duty cycle | Meaning in 10 min | CFM sizing multiplier | Best suited use |
|---|---|---|---|
| 25% | 2.5 min on | Demand / 0.25 | Small burst tools |
| 50% | 5 min on | Demand / 0.50 | Home shop cycling |
| 75% | 7.5 min on | Demand / 0.75 | Longer repair tasks |
| 100% | Continuous | Demand / 1.00 | Rotary tools and spray work |
| Condition | Suggested input | Result impact | Calculator field |
|---|---|---|---|
| Tight new fittings | 5% leakage | Small CFM increase | Leakage buffer |
| Long hose run | 10% leakage | More reserve required | Leakage buffer |
| Quick coupler manifold | 15% leakage | Higher demand estimate | Leakage buffer |
| Older portable setup | 20% leakage | Larger tank and CFM | Leakage buffer |
| High pressure drop | 10-20 PSI | Raises minimum cut-in | Regulator drop |
It’s happened to you before, stopping work because the air compressor can’t keep up. The motor are running, but the pressure in tank has dropped too low for the tool to operate. The problem is that the tank and the motor aren’t balanced properly. It’s not a case of something being broken; it’s a matter of physics.
Match the size of the tank with demand of your tools. A motor is like a charger to your battery (the tank). Too small a battery will never gets recharged quickly by the charger.
How to Choose the Right Air Compressor Tank Size
First look at the demand side of the equation. A lot of folks see the CFM rating on their tool and think that’s what compressor needs to provide. Wrong! What you realy need to know is how much actual airflow you require at your operating pressure. That’s different than the peak displacement rating advertised by the manufacturer.
How much air does the tool consume? This is where the tool make a big difference. For example, a die grinder requires constant air flow and the motor might not be able to refill the tank fast enough. In contrast, a brad nailer fire a small burst of air, which can last for hours off a small tank.
Adding the trigger time give you control over how much to adjust your calculation. The trigger time represent the percentage of time you have your finger on the trigger. If you’re painting with a sprayer, that’s pretty close to a one-hundred-percent number. If you’re nailing up some trim, maybe it’s thirty percent. That make a huge difference when calculating needed tank size.
The air system will leak, as well, reducing your supply of air. Any hose fitting or other connection are a potential source of leakage. A ten percent buffer should of be added in the calculation for leaks. If you don’t add the buffer, you might believe you only need a twenty gallon tank. Then you’ll have to wait a few seconds for the pressure to build up between uses.
Another consideration is the pressure band. That’s how much air was lost from start to stop of the motor. The bigger the band, the greater amount of air stored. It also cause a bigger swing in the pressure at the tool. Not enough reserve causes stall out. But you don’t want it so wide that the tool pressure drop below what is needed to function.
Protecting the motor means paying attention to its duty cycle. For example, a fifty-percent-duty-cycle compressor will run for five minutes and rest for five. Too-small a tank will cause the motor to start-stop too much, destroying the compressor in what’s called short-cycling.
Tables lists reference pressure bands and how they impact usable air volume. The wider the pressure band, the more usable air in that same size tank.
Size matters The size should be based off the application. Sandblasting require a larger tank than hanging drywall does.
Remember that air is a consumable resource. Plan for it. Think about recovery rates, leaks, trigger time, etc. You want to make sure your compressor is capable of keeping pace with your workload without having to wait for air.