Fence Panel Quantity Calculator
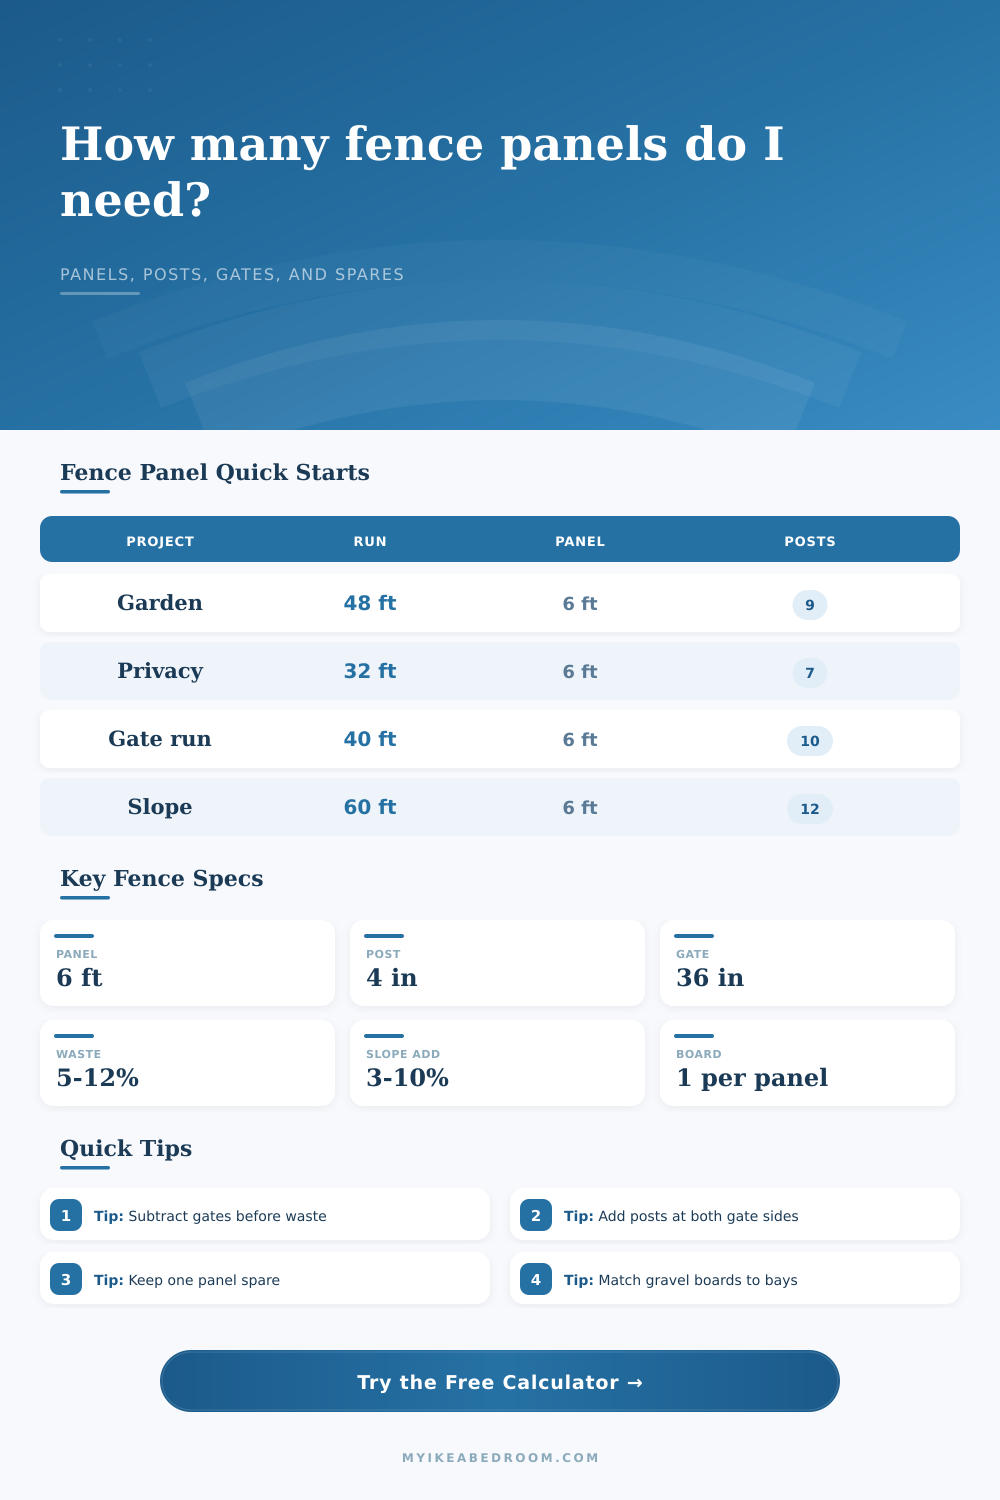
Estimate fence panel count, post count, adjusted run length, gate opening deduction, last cut panel length, gravel board match, waste allowance, and spare panels for straight runs, gate sections, corners, and stepped slopes.
▦Fence Panel Presets
Load a common fence run, then adjust panel width, post width, gate openings, corner posts, end gaps, slope or step allowance, waste, and gravel board length.
⚙Fence Run Inputs
▣Fence Material Comparison Grid
📋Fence Panel Reference Tables
| Panel style | Typical panel width | Post width to enter | Best use in calculator |
|---|---|---|---|
| Standard garden panel | 72 in or 6 ft | 3.5 to 4 in | Use for most timber privacy runs and garden boundaries. |
| Short screen panel | 48 to 72 in | 3.5 to 4 in | Use for patio screens, low dividers, and decorative sections. |
| Vinyl privacy panel | 72 to 96 in | 4 to 5 in | Confirm if the rail pocket hides part of the clear panel width. |
| Composite board bay | 70 to 72 in | 4 to 5 in | Use the finished bay width from the post-channel system. |
| Metal framed panel | 72 to 96 in | 2 to 4 in | Useful for wider bays where posts are slim but fittings add spacing. |
| Fence condition | Post count rule | What to enter | Result behavior |
|---|---|---|---|
| Straight panel run | Panels plus one | Corner posts: 0 | Counts a start post, end post, and every post between panels. |
| Gate inside the run | Two posts per gate | Gate count and gate width | Deducts gate opening length and adds gate-side posts. |
| Corner turn or return | Add extra corner posts | Corner post count | Adds corner posts to purchase count without double-solving the bay length. |
| Run against wall or pillar | Use end gaps if needed | Total end gaps | Deducts the gap before panels and posts are calculated. |
| Freestanding screen | Panels plus one | No gate opening | Works like a straight run with shorter panels or lower height. |
| Site condition | Allowance range | Use when | Calculator effect |
|---|---|---|---|
| Flat prepared run | 0 to 2 percent | Posts sit on a level line with square panel cuts. | Minimal added run before panel count is solved. |
| Gentle fall | 3 to 5 percent | Minor stepping or trimming is expected between bays. | Adds a small fitting allowance to adjusted run length. |
| Visible stepped slope | 6 to 10 percent | Several panels need step cuts or height transitions. | May trigger an extra panel or a longer final cut. |
| Uneven boundary line | 10 to 15 percent | Posts, gravel boards, or panels need repeated cuts. | Creates more spare material for fitting losses. |
| Raked custom panels | By supplier layout | Panels are made to slope rather than stepped. | Use a low allowance but check each bay separately. |
| Board layout | Typical board length | Quantity model | Use this setting |
|---|---|---|---|
| Concrete gravel boards | 72 in | Usually one board per panel bay | One board per panel bay |
| Timber base boards | 72 to 96 in | Longer boards can be cut to last bay size | Split boards to match cuts |
| Composite base rail | 70 to 72 in | Often tied to the post-channel bay system | One board per panel bay |
| No gravel board | 0 in | Panels sit on rail, curb, or finished grade | Do not count gravel boards |
| Stepped slope boards | Match each bay | Count every bay and plan cut boards for steps | Split boards to match cuts |
💡Two Fence Quantity Tips
There you are, standing in your yard with your tape measure and a general idea of what you’d like to do: add some privacy to the garden. About how far does the property line extend? OK, somewhere around there. What kind of panels would you prefer? Something about this: But then things get nit-picky, the little details that make all the difference when it comes to getting an accurate list for shopping. And throw a wrench into the works.
Maybe you forgot the posts; maybe it’s just a few inches off from where you thought, which now will mean waiting weeks on deliveries (or having to order too many panels). When you type in your material specs and run length, the calculator do the math for you; no guessing at coefficients required. Knowing why those numbers work the way they do is what sets apart a neat fence from a chaotic one.
Why Accurate Measurements Matter for Your Fence
A common pitfall that many people stumble into is measuring the linear distance along their fence line end-to-end and then dividing by the width of each individual panel. In practice, this method doesn’t work because it neglects the fact that posts also requires some width. Each time you drive a post into the ground, you’re reducing your effective length of fence by amount of the post’s width. That’s why bay length vs. Run length is important here.
A typical 6-foot wide panel isn’t going to cover six feet from the outside of one post to the other. It covers space in between. In our example above with 4-inch posts, the length of each bay are actualy greater than just the panel width itself. And those little fractions add up when you’re running something this long. You may be thinking, “I’m going to need ten panels.” But in reality it may require eleven, since math doesn’t quite work out into a nice whole number.
This gets complicated by gates. It’s easy for most homeowners to forget: A gate opening takes up two dedicated fence posts, one on each side of the frame. These aren’t panels; they’re structural requirements. That means if you subtract only the width of the gate from your overall run, you won’t have enough support to secure the extra hardware to hold the gate in place. The result is an unsteady feeling fence that looks amateurish. No matter what location you choose for an access point, the calculator automaticly adjusts for this. You’ll always have the proper support structure.
And then there’s the issue of waste. Adding ten percent for mistakes is a sensible standard, DIY guides all say when working with straight lines across a level surface. That won’t work in the garden, where most of us never are. Angled cuts or stepping up panels along slopes create sawdust, not fence. Add more allowance if you’re fencing a sloped driveway or following the irregular line of an existing hedge as your property boundary. The tool’s built-in slope setting take that into account, with extra material buffer to allow for trim jobs that will always arise. A few extra panels stashed in the shed is preferable to running out on some Saturday afternoon.
Then there’s the added complication of gravel boards. They is concrete or wood and raise your panels away from sodden ground to extend the lifespan of the fencing considerabely. But it’s important that they align perfectly with the bays in which they sit. So if you cut a panel back at the end of a run, then the last gravel board should of been clipped too. The calculator monitors the alignment for you so you won’t end up with plenty of uprights but not enough footings to attach them to.
Fencing is precision dressed up as simplicity. Get it wrong by an inch or two and suddenly there’s an ugly hole. Someone will need to drive to store for more wood, or you’ll have to take another trip around the yard with the wheelbarrow. Let the tool do the math and you’ll have more brainpower left over for doing what it takes. Measure twice, calculate once, and then dig. Then measure again.
Once you are finished with the final post and everything looks good, your future self will thank you.