Terrarium Glass Panel Size Calculator
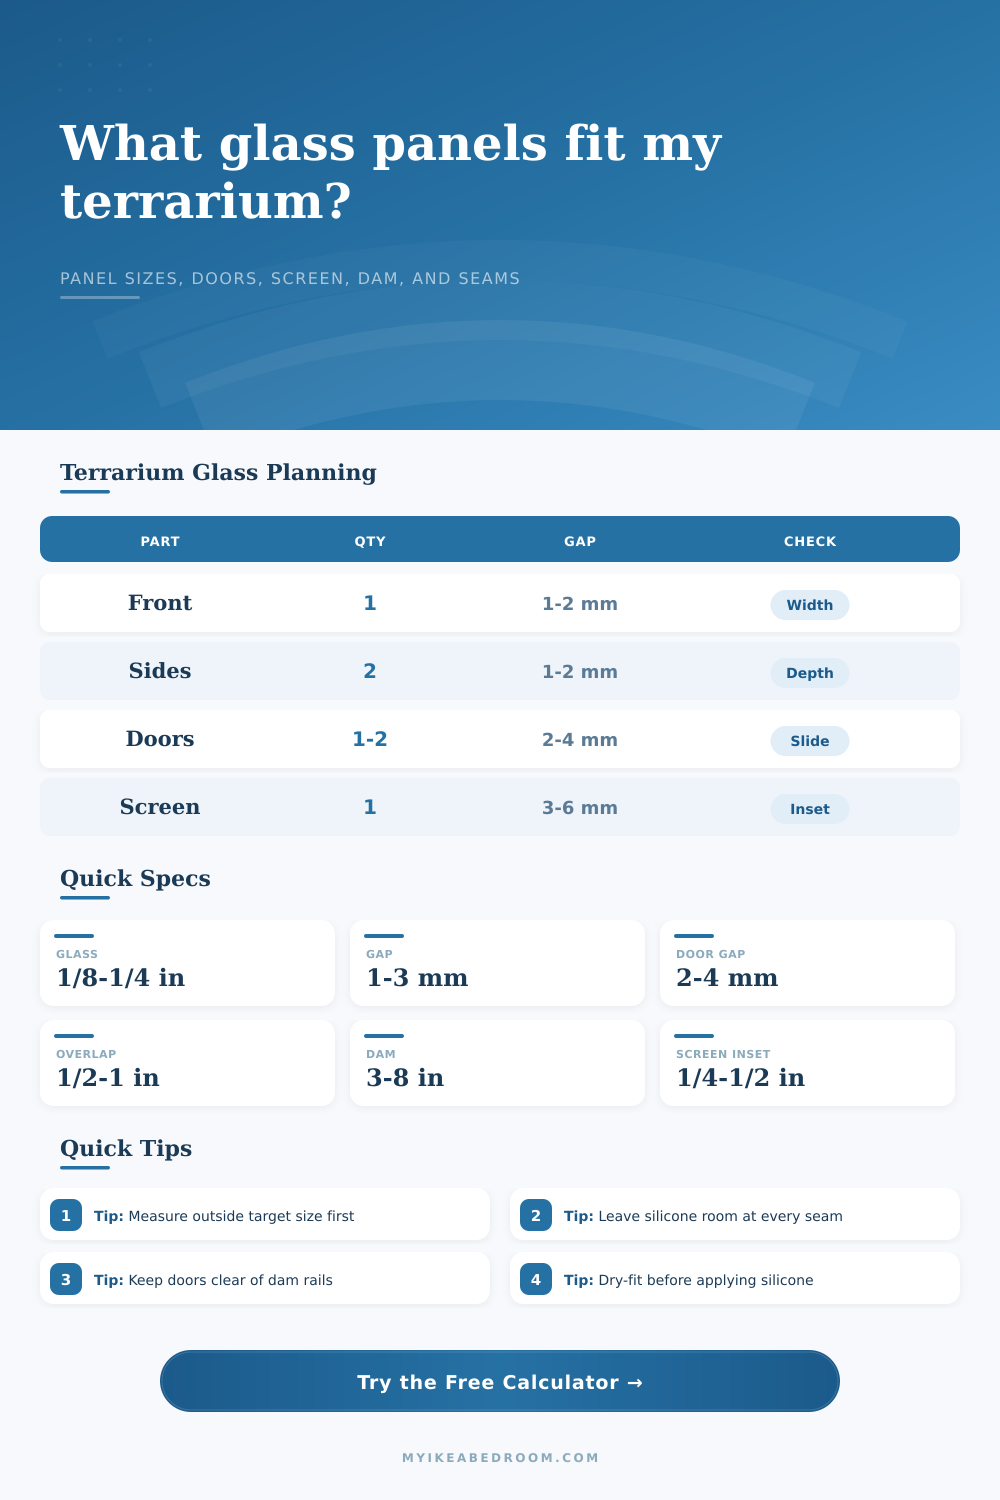
Plan a terrarium glass cut list with enclosure dimensions, overlap, thickness, door gap, top screen inset, substrate dam height, and silicone clearance.
🌱Terrarium Presets
📏Enclosure and Panel Inputs
Terrarium Glass Cut List
🧪Glass Thickness Reference
📋Panel Calculation Rules
These formulas assume a rectangular terrarium with front and back panels overlapping the side panel edges. Always confirm your shop tolerance before ordering glass.
| Panel | Quantity | Width Formula | Height or Depth Formula |
|---|---|---|---|
| Front wall | 1 | outside length | outside height minus base if base is under walls |
| Back wall | 1 | outside length | same as front wall |
| Side walls | 2 | outside depth minus 2 glass thicknesses minus seam gaps plus overlap | same wall height as front and back |
| Base panel | 1 | outside length, or inside length if base sits inside walls | outside depth, or inside depth if base sits inside walls |
| Substrate dam | 1 | inside front opening minus seam clearance | entered dam height |
🚪Door Gap and Track Reference
| Door Style | Width Method | Height Method | Planning Check |
|---|---|---|---|
| Two sliding doors | half opening plus center overlap | opening height minus 2 door gaps | Leave smooth track travel |
| One hinged door | opening width minus 2 door gaps | opening height minus 2 door gaps | Check hinge side reveal |
| Fixed front | front panel only | dam or full front panel | Use access from top |
| Raised dam front | dam spans inside front opening | soil height plus clearance | Door starts above dam |
🌳Top Screen and Dam Reference
| Terrarium Use | Typical Dam Height | Screen Allowance | Reason |
|---|---|---|---|
| Dry display | 2 to 3 in | 1/4 in per side | Light bedding and simple lid fit |
| Gecko or snake | 3 to 5 in | 1/4 to 3/8 in | Substrate depth and secure front |
| Bioactive base | 5 to 8 in | 3/8 to 1/2 in | Drainage layer and soil depth |
| Tall planted case | 6 to 10 in | 3/8 to 1/2 in | Higher media and removable screen |
📐Common Terrarium Size Table
| Preset | Outside Size | Common Glass | Typical Front |
|---|---|---|---|
| Nano cube | 12 x 12 x 12 in | 1/8 in | Fixed or single door |
| Arboreal small | 12 x 12 x 18 in | 1/8 to 3/16 in | Single hinged door |
| Frog tank | 18 x 18 x 24 in | 3/16 in | Two sliding doors |
| Bioactive wide | 36 x 18 x 18 in | 1/4 in | Raised dam with sliders |
| Panorama display | 60 x 24 x 24 in | 3/8 in | Wide sliding doors |
💡Cutting Tips
When people assume that all they need to build a custom terrarium is a sheet of glass and some silicone to stick them together, their assumptions is usually wrong. Even a millimeter error on a cut will destroy an enclosure. And there’s no bending glass to compensate. Before you make any cuts, consider the thickness of your material, the necessary spacing for seals, and mechanical demands of doors.
There’s more to “height” and “width” than just… Well, “height” and “width.” Part of that is understanding how these two dimension relate to each other in three-dimensional space. If most hobbyers start with the size on the outside of case, they’re right, that’s where you should start. But it’s not the whole story.
How to Measure and Cut Glass Correctly
The calculator converts the outside size you want into exact cut lengths for all the panels. Then it subtracts the gap for the seams and the thickness of glass itself. No more trying to visualize “the end” of the material and then guessing “where does this start?”
The calculator takes into account the standard overlap between the front/back and side panels. Why? If you don’t compensate for the overlap, the sides will be wider than the front and back. This means the front panel won’t fit. And now you have a box that isn’t sitting flush and looks… askew. It look ugly. It is harder to seal correctly.
Another variable many people overlook is glass thickness. Strength isn’t the only consideration. How the glass connect matters too. And the internal volume does. A quarter-inch thick panel will use much more room than an eighth inch panel. That reduces your available space inside.
Make that decision at the beginning: Are you making a large display, needing the rigidity of thicker glass? Or you could made a nano cube that can be built out of thinner glass and still stand up to life. See the table below, under “Reference” for what thickness works with what size range. Thinner glass in a wide enclosure creates bowing. Thick glass in a smaller box is overkill and expensive. Finding the right balance makes it work.
Then there are doors. Both sliding and hinged doors present a different set of problems. A door must have enough space to swing open (hinged) or track along (sliding). Binding can occur if they’re too tight to frame edge. A sticky door that won’t slide easily may be due to not leaving enough space between the door frame and the door edge, as the gap was measured using only the glass thickness instead of including the door hardware.
To compensate for this, you’ll enter an exact door gap into the tool, so the cut dimension includes adequate space for the hinge or wheel to function while still preventing a pet from slipping out. This may seem like a small thing but it makes all the difference in whether the enclosure works or frustrates you.
A substrate dam is what distinguishes a nice box from a functional habitat. Its job is to hold the soil and drainage layers in place while you open the door. The height of this dam determine the start point of the main viewing area. Higher dams = more stable structure (good if you want to load up your tank with lots of bioactive components) but less soil being visible.
So you have to consider aesthetics vs. You must consider aesthetics versus function regarding how much soil you can see. How much you need to contain. Based off your dam input the calculator will adjust the front panel height to ensure that the rest of the glass above the dam is cut to the proper size to accommodate the doors.
Before you glue anything in place, dry fit your panels. Are they square? Do the corners align neatly? Silicone isn’t magic and it won’t save you from a panel cut too large. You should of measured better. Measure twice, cut once… take your time. What looks like a perfect rectangle on the screen is only as accurate as the person cutting it out with their hands. Make a careful cut list, and when you’re done, what’s left behind will look like a pro did it.