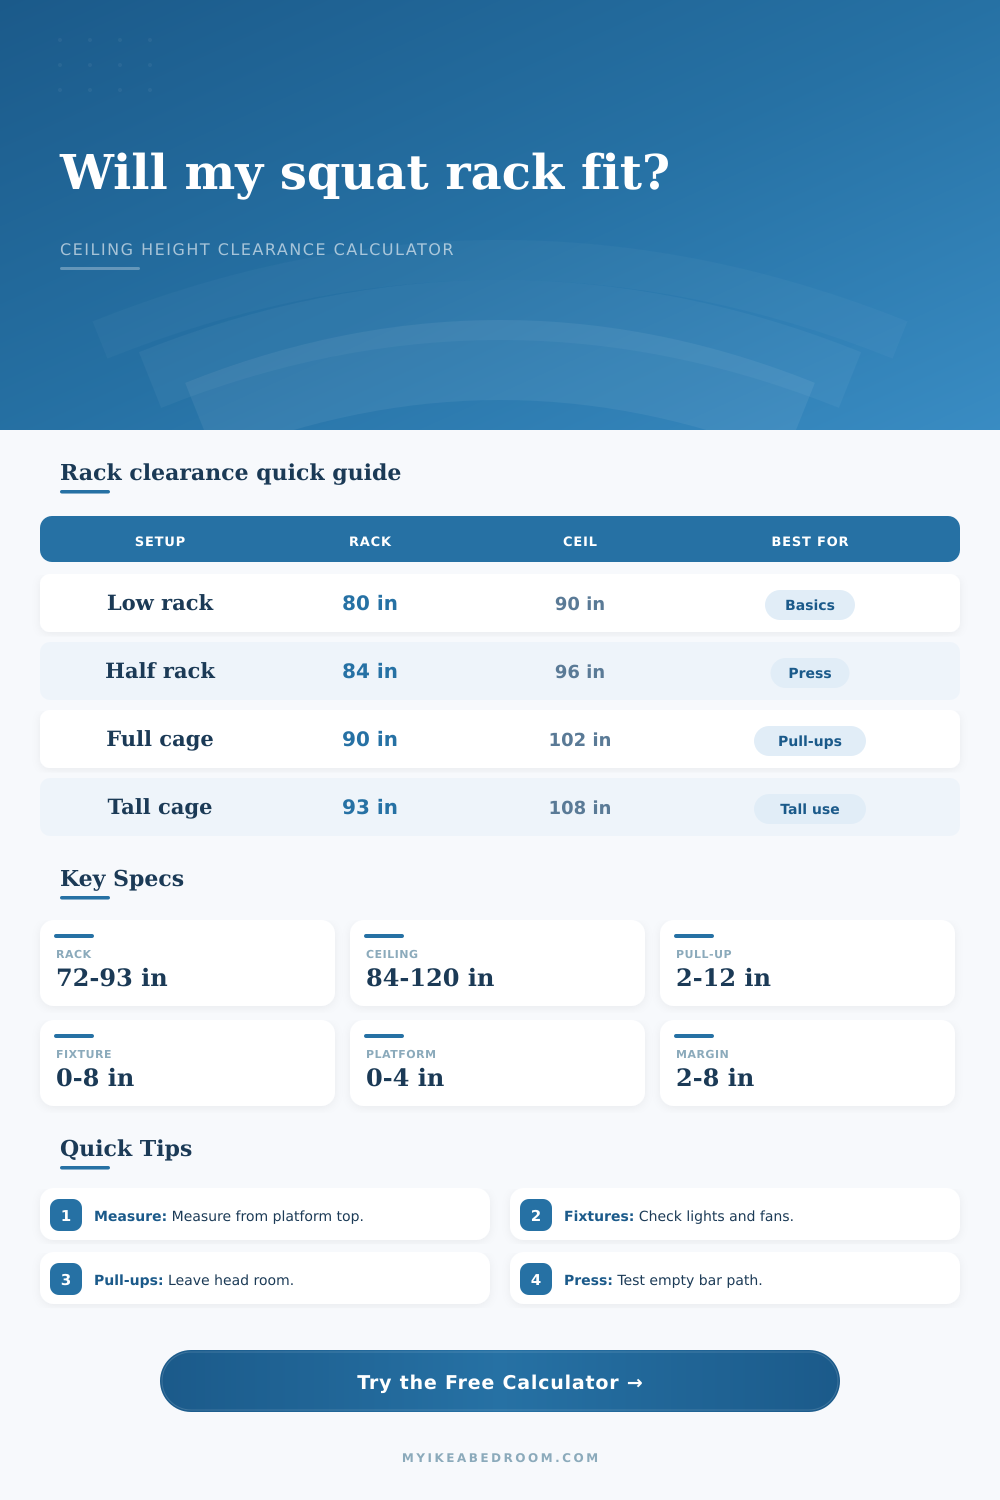
Squat Rack Ceiling Height Calculator
Check whether a rack, pull-up bar, overhead barbell path, platform, light, fan, or beam will fit with a practical safety margin.
Use a preset as a starting point, then adjust every dimension to match your rack, ceiling, platform, and fixtures.
| Rack Type | Typical Height | Minimum Ceiling To Check | Best Use |
|---|---|---|---|
| Short squat stand | 70-75 in | 84-88 in | Squat and bench where pull-ups are not needed. |
| Low profile half rack | 78-82 in | 90-94 in | Basements and apartments with limited ceiling height. |
| Standard half rack | 84-86 in | 96-100 in | General lifting with moderate pull-up clearance. |
| Full power cage | 90-93 in | 102-108 in | Pull-ups, straps, lever arms, and taller athletes. |
| Pull-Up Style | Head Rise Above Bar | Suggested Margin | Ceiling Note |
|---|---|---|---|
| Dead hang only | 0-2 in | 2-3 in | Enough for grip and still position checks. |
| Chin over bar | 6-8 in | 3-4 in | Common home gym target for strict reps. |
| Chest to bar | 10-12 in | 4-6 in | Needs extra room above the pull-up bar. |
| Dynamic reps | 12-18 in | 6-8 in | Use a conservative margin and avoid fixtures. |
| User Height | Estimated Standing Reach | Press Path Check | Use This If |
|---|---|---|---|
| 5 ft 4 in | 82 in | 85-88 in | You press inside a low ceiling room. |
| 5 ft 10 in | 90 in | 92-96 in | You need a common adult baseline. |
| 6 ft 2 in | 95 in | 98-102 in | You are tall or use bumper plates overhead. |
| 6 ft 6 in | 100 in | 103-108 in | You may need to press outside the rack zone. |
| Item | Common Deduction | Why It Matters | Measurement Point |
|---|---|---|---|
| Lifting platform | 1.5-2.5 in | Raises rack, lifter, bar, and pull-up path together. | Top of platform to ceiling. |
| Garage door rail | 3-6 in | Can block the top crossmember or pull-up space. | Lowest rail above rack footprint. |
| Ceiling fan or light | 4-12 in | Creates a smaller usable ceiling zone than the room height. | Lowest part of fixture. |
| Basement beam | 5-10 in | Often becomes the controlling ceiling height. | Beam bottom, not drywall ceiling. |
The math takes into account the practical requirements of your exercise regime, which stands next to you with a tape measure as you’re trying to measure out the height of your garage’s ceiling, seems plenty high until you want to get a power rack. But there is a risk that your rack might collide with a beam if you don’t plan ahead. That mistake isn’t uncommon for people building a home gym.
The calculator examines the shape of your space compared to the shape of your workout regimen. Not only will it tell you if the steel fit under the drywall, but it also informs you whether you’ll be able to use equipment safely without sticking your head into the rafters, or running into them. If you’ve got it in your head that you measure from the floor to the ceiling and that’s all there is, then good luck. You’re wrong.
Why You Need to Measure Your Gym Space
Measure from surface upon which the rack will rest to the ceiling. The plywood lifting platform eats into your vertical clearance. A minor amount of a 1/2 inch sheet adds up, but a 3 inch platform really move the whole thing up a lot. The tool handles this subtraction. Now the ceiling dimension represent what’s actualy available instead of the room’s nominal height.
Then there are obstacles. In garages, things will hang from the ceiling. Recessed lighting, a ceiling fan and that garage door rail will all bring down the practical ceiling by a few inches. Find lowest spot in the space where you plan to put a rack. Is it where a fan blade would dip? Then that’s your ceiling now. Enter that fixture drop into the calculator. It forces you to get out and check first. This is a good way to avoid issues later when you pull those box off the shelf.
And then there’s the human side of it. For the big guys, the pull-up bar can be limiting. You may be able to fit on a standard rack, but then the pull-up bar isn’t high enough. You’re hitting your head on the ceiling before clearing your chin over the bar. With this thing, you can enter in your height and how far above the bar you want to go. It’ll show you an accurate picture of if you’ll need to limit your pull-ups. That little bit makes all the difference in whether that piece of equipment works for you.
The same goes for overhead pressing. The bar rises higher than expected. Because it’s thick, it takes up even more room. And because it has an arc, that further increases the need for space. If you do a strict press, you’ll need more room different than just the height of the racks. Enter in your overhead estimate and account for some whip on the bar. That will tell you whether or not you have enough clearance at lock out position. It saves you from those awkward pauses during middle of your press to see if there’s enough room.
The page includes reference tables so you can see what’s normal for various types of rack, full cages or low-profile half racks. There are some typical configurations to work from as a starting point. But no two spaces are alike. Your dimensions add up into something that makes sense.
The calculator takes all this in. It weighs the static load of your gear against the dynamic requirements of the lift itself. Expectations are managed by planning. Maybe you can’t have as high of a ceiling, which means no pull up bar or doing anything too heavy overhead. Ok, cool, it’s a trade off not a failure. Doing the math before drilling holes leads to an informed decision. Adjust where you place things, what rack you get, or how you change your routine.
The point is to make a training space that fits your layout in a way that keeps you safe while still giving you something to lift. Measure twice, do the math once, and lift confidently.